Clean and take care of your backyard cooker the right way with our step-by-step guide.
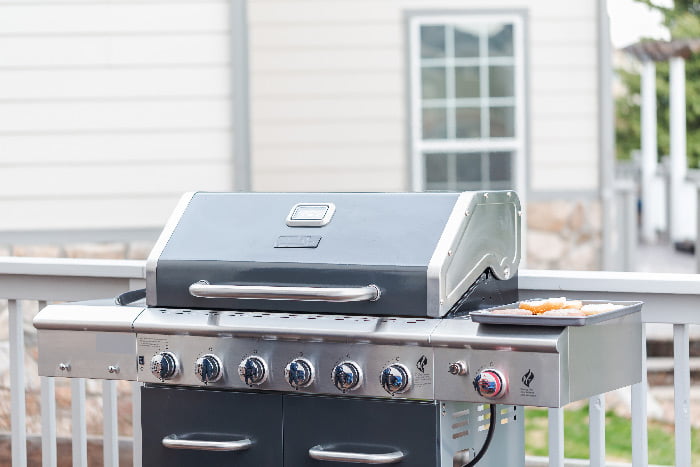
Very few things are as annoying as a gas grill that goes bust mid-season. It can completely derail your BBQ season and could mean weeks—maybe months—until you’re back up and running.
The best way to avoid this is to give your grill a quick mid-season tune-up. Just like a car, regular care and maintenance can help protect your grill against the effects of frequent use and wear, and help avoid the need for major repairs down the line.
Thankfully, this is quick and easy to do. From cleaning to maintenance fixes, here’s how to tune up your gas grill today.
What You Will Need
- Grill brush
- Cooking oil
- Dry paper towels
- Warm soapy water
- Soft fabric cloth
- Venturi brush
Step 1: Clean the Grill Grates
Good cleaning not only rids your grill of built-up dirt and grease but also helps protect it from future wear and rust.
If you have just used your grill, ensure you let it cool completely. Then, remove the grates from your grill.
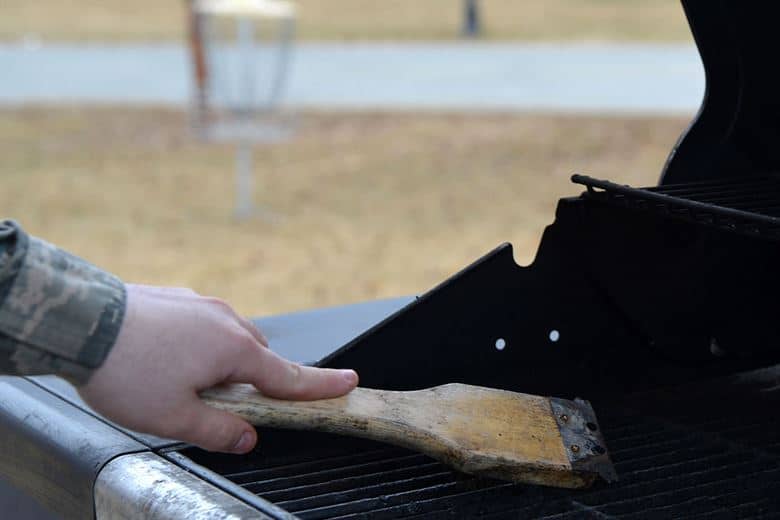
If you are cleaning stainless steel grates, use your grill brush and soapy water to scrub the grates down, removing as much burned-on food, grit, and grime as possible. If your brush has a scraper attachment, you might find this helpful for removing any stubborn bits of burned-on food or grease.
If you are cleaning cast iron grill grates, take care here: Harsh cleaning surfaces and chemicals can damage the grate’s surface. Instead, use a soft brush and only use warm water to clean the grates.
Wipe down the grates with a dry cloth, before leaving them in a well-ventilated area (ideally outside) to dry while you perform the rest of the tune-up.
Step 2: Empty the Drip Tray
Many grills have a drip tray (sometimes called a grease pan) to help catch any fatty fun off from your meat as it cooks. This not only helps to make it easier to clean your grill but also helps reduce the risk of flare-ups as you cook.
It’s a great feature to have, but it can build up quite quickly and it’s definitely a lot easier to empty when it’s only half full. Make the most of the opportunity to do so while you tune up your grill.
Step 3: Test the Ignition Button
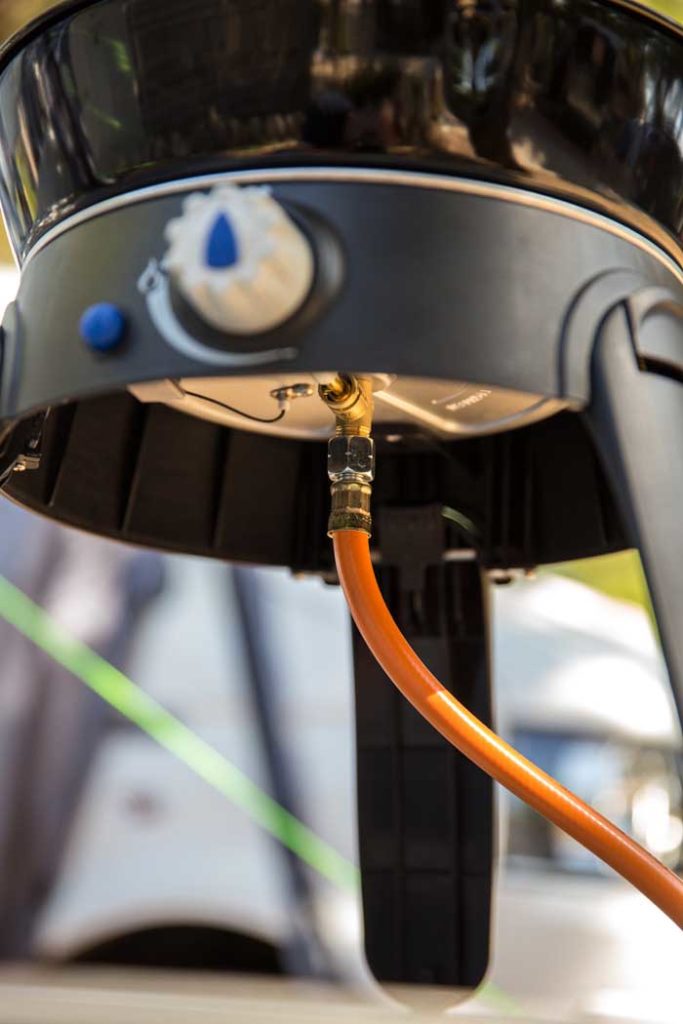
Your gas grill’s igniter button provides the spark that gets your grill burners going, lighting the propane or natural gas fed into the grill by your grill’s regulator hose. While it is a simple device, it’s also prone to failure from time to time. Luckily, finding the causes behind your grill igniter not working is easy.
With the gas turned off, check your grill’s ignition button. If it doesn’t click the first time then it’s quite possible that the igniter’s electronics or circuits have failed.
More often than not the easiest solution is just to replace the system’s batteries. If this doesn’t work then you will need to test the connections between the wires and the igniter box.
If neither this or applying new batteries work then you may need to replace the ignition system altogether.
Step 4: Check the Lines or Tanks for Leaks
Natural and propane grills are different here. First I’ll start with natural gas.
If you’re familiar with repairing a puncture on a bike’s inner tube then you’ll be familiar with the concept here.
To test for potential leaks in along your BBQ’s fuel line, wipe it down with a light amount of soapy water and a cloth. If bubbles appear then there is likely to be a leak at that point.
If this happens, tighten the connectors in your grill and then test again. If the issue persists then you may need to replace the regulator or main hose.
For a propane gas grill, check the propane tank for leaks or if the connector is loose.
Also if you’re using a propane gas grill then make sure that you have a decent supply of propane. Nothing’s more irritating than running empty halfway through cooking.
Step 5: Clean the Grill Chamber
Tuning your grill doesn’t mean just testing the ignition and scrubbing the grates. Learning how to clean a gas grill, from inner tube to chamber, is the key to long term use.
Use a venturi brush to clean your grill’s inner tube. A lot of things like grease or even insects can find their way up here and can easily cause blockages, so be sure to give these a good clean. Venturi brushes are fairly cheap and easy to find online so I urge you to get one (like this one on Amazon)
Clean all your grill’s inner parts as best as possible using a light amount of soapy water, your grill brush, and a cloth.
Follow that by washing the outer shell of the grill with soapy water.
If your grill has porcelain enameled grates then I recommend using glass cleaner. This will help preserve the quality of the grates without breaking the enamel.
If you have stainless steel grates then you can either use soapy water or specialist stainless steel cleaner.
Allow your washed components to dry properly before reinserting your grill parts.
Fixing Common Issues
It’s not uncommon to encounter issues with your grill, particularly after a year or two of frequent use. Fortunately a number of these are simple to solve.
Ignition: If your grill is having problems with its ignition system, you may have to either replace its batteries of the igniter altogether. Test each in isolation before diagnosing the problem. Replacement batteries and igniters are fairly easy to buy, particularly from popular brands like Weber or Char-Broil.
Heat distribution: Modern gas grills have become increasingly stronger and better at ensuring good heat distribution across their surface. If your grill is suddenly experiencing problems with cold spots of poor heat distribution, then you might have a blocked burner or even a burner malfunction.
Blocked burners can be easy to clean, as this guide from Char Broil demonstrates.
If you burner is broken then you will need to replace it. Luckily this is much easier than you might think. Check out this guide.


