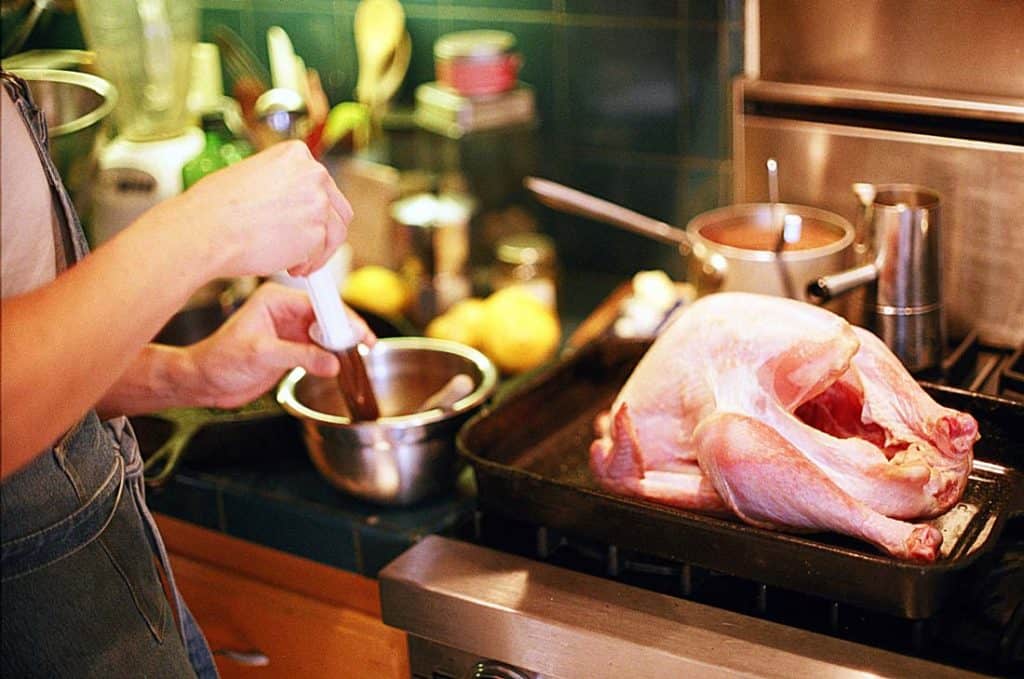
The faux Cambro technique is one of the best ways to enhance your meat holding for smoked brisket, pork butt, and turkeys. Discover how to upgrade your BBQ meat with a faux Cambro today.
Preparing and cooking food before a big event can make all the difference. Catering companies and restaurants do it all the time, so why not do the same for your next big BBQ or grill-off with the help of a faux Cambro?
When we talk about cooking on the grill or smoker, we’re always going on about ensuring food is cooked to the right temperature and safe to eat. That’s fine for the actual cooking part of grilling or barbecue, but what happens when we need to keep that food at a safe temperature?
Storing food correctly is just as important as cooking it correctly, especially if you want to prepare it in advance or transport your finished dish elsewhere. Good barbecue isn’t always a quick process, and if you need to prepare a big cut of meat – and organize additional appetizers or sides – it can be a logistical nightmare.
This is where a handy invention called the Faux Cambro comes in! This homemade alternative can keep cooked meats at a food-safe temperature for up to 4 hours, meaning you have plenty of time to prepare everything else for your BBQ.
Discover why the technique works and how to make your own DIY Cambro at home with our easy faux Cambro guide. Let’s get cooking!
What is a Cambro?
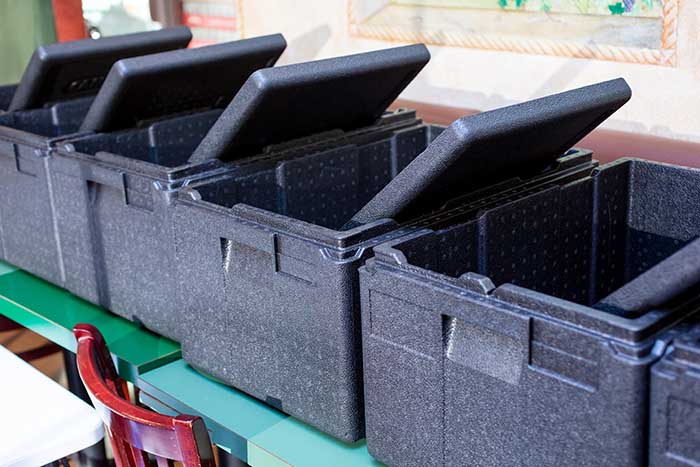
A Cambro is an insulated container that keeps food warm or cool until it is ready to serve. When we are talking about using a Cambro for barbecue, it’s being used to keep food that has come off the smoker warm and in the ‘safe’ temperature zone for a prolonged period of time.
‘Cambro’ is in fact a brand name and comes from the company Cambro Manufacturing, who first created these specialist food storage boxes for caterers and professional kitchens, like this one on Amazon. They were made so that it was easier to transport hot foods to venues outside of catering kitchens while ensuring that the contents stayed above 140°F (60°C).
While it would be nice to have your own commercial or professional-grade Cambro, it’s not really a necessity for the average backyard chef. Instead, it’s more cost-effective to make your own DIY faux Cambro by using a large plastic cooler and other bits you already have around the house!
How a Faux Cambro Works
Before diving into the how to of making a faux Cambro, let’s first look at the science behind it and its main component – the cooler.
As the name suggests, coolers were originally created to help keep foods cold. Ideal for things like picnics, road trips, and camping, they were designed so that we could transport foods that should be kept chilled without them spoiling.
Coolers are tightly sealed, double-walled boxes with a layer of insulation (usually foam or plastic) in the cavity between the two walls. This layer of insulation and tightly sealed lid help slow down the transfer of convection heat, slowing down the rate at which heat escapes from your freshly cooked meat.
Also, if we warm up the cooler before using it to store food, the insulation will absorb that heat energy and then release it back into the inside of the cooler thanks to another heat transfer process called conduction.
By preparing your faux Cambro properly, you can keep cooked meats warm and in the safe temperature range for 3-4 hours.
Benefits of Using a Faux Cambro
Here are some of the main benefits of using a faux Cambro for barbecue:
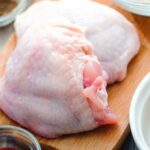
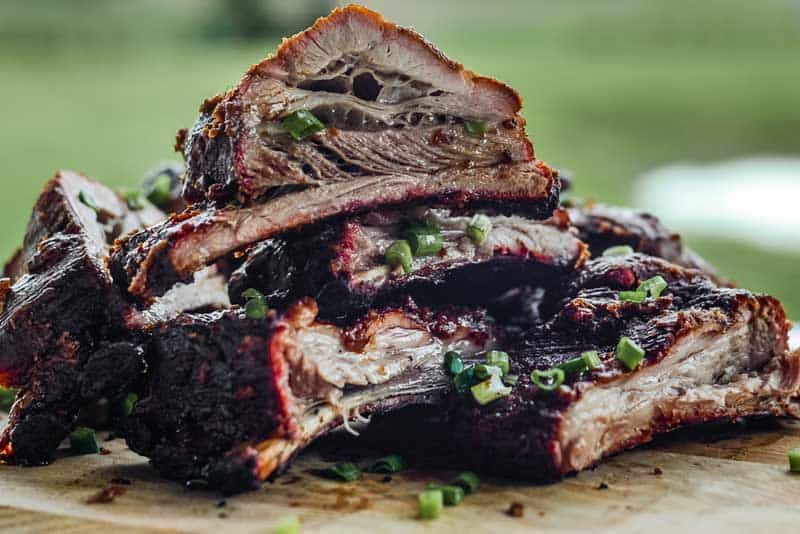
- Ideal for ‘holding’ smoked favorites such as pork butt or brisket, which both need a good hour or so of holding to finish cooking to perfection
- It allows you to easily transport food you’ve cooked at home, keeping it warm and avoiding spills or messes.
- It gives you time to prepare other parts of your meal while keeping the meat portion warm
How to Make Your Own DIY Cambro
While it would be nice to have your own commercial or professional-grade Cambro, it’s not really a necessity for the average backyard BBQ fan. It’s easy to make your own DIY version of this handy piece of equipment with bits you have around the house.
Gear Needed
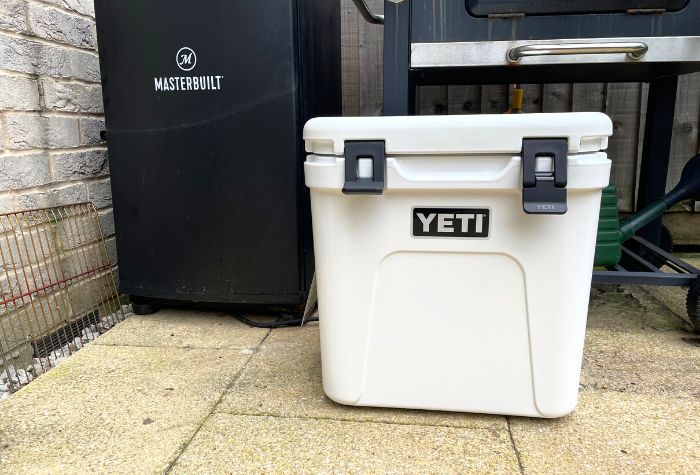
- Large Plastic Cooler (I use my trusted Yeti, which you can find here on Amazon)
- Hot Water (enough to fill your cooler to just over one-third capacity)
- 2 Towels
- Disposable Aluminium Tray (that will fit snugly into the bottom of the cooler; Amazon Link)
- Aluminum Foil
- Meat Thermometer
Step-By-Step Guide
If you plan to use a faux Cambro to keep cooked meat warm, you need to start preparing it around 45 minutes before the end of your cooking time.
- The first step is to prepare the cooler by heating it up. To do this, pour hot water (tap water, not boiling from the kettle) into your cooler until it is around ⅓ full, and then close the lid. The heat released from the hot water will be ‘absorbed’ by the insulation layer between the two walls of the cooler. Leave the water in there for 30 minutes before carefully pouring out or emptying via the cooler box drain tap.
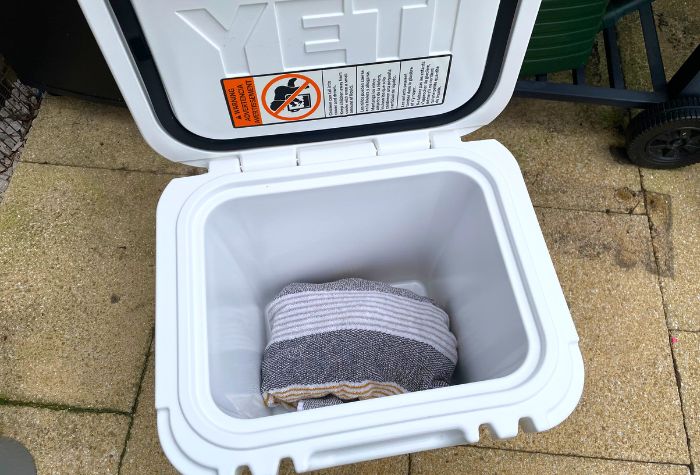
- Once the water is drained, dry the inside compartment with some paper roll and lay one of the towels in the bottom of the cooler.
- By this point, your meat should have finished cooking. Transfer it off the smoker, wrap it in aluminum foil, and then place it into the foil tray. If you are using a meat thermometer, insert it into the meat before you wrap it in the foil. If it’s a wired thermometer, leave it so the wire can trail outside of the box and the temperature monitored.
- The foil tray can then be placed in the cooler on top of the first towel, with the second towel laid over the top of the meat. If there is a bit of a gap around the foil tray/meat and you are hoping to transport it somewhere, it can be worth adding another towel around the sides to stop it from moving around.
- Finally, close the lid, making sure it is properly sealed. Your meat will stay warm for 3-4 hours in a faux Cambro and be kept above the food-safe temperature zone of 140°F (60°C).
Cleanup
Ideally, you should clean your cooler straight after using it. If you leave it to sit without being washed, the plastic can absorb odors from the food, and any spills of meat juices could congeal.
Cleaning out a faux Cambro can be done easily with warm soapy water – give it a good scrub, rinse out with clean water and then dry thoroughly before storing with the lid on but not sealed.
If you find any stubborn stains or odors, baking soda is your best friend!
Stains
Mix a paste of baking soda, dish soap, and water. Work the paste into the stain and leave for a few minutes before rinsing off. If the stain remains, then a light rub with a magic eraser can also work.
Odors
Baking soda can be sprinkled into the cooler, the lid put back on, and left to sit for 24-48 hours. Remove the baking soda and rinse the cooler out with clean water.
Quick Tips
Making a DIY faux Cambro really is simple, but there are a few things worth keeping in mind if you are going to buy a cooler box in order to make your own. Here’s what to keep in mind for your DIY Cambro.
Cooler Size
One of the most obvious things to consider when creating a Faux Cambro is making sure that your cooler is big enough to hold the food you want to put in it. Also, bear in mind that whatever you have cooked will then be wrapped in foil and towels, so find a cooler with adequate space based on the cooked and wrapped version of the meat.
Insulation
Insulation is the main component that makes our faux Cambro work so well. So if you are buying a new cooler to make your DIY Cambro, it’s important to make sure you buy one with adequate insulation.
You don’t need to buy an expensive cooler; there are lots of great value options on the market.
The main thing to look for is that it’s well-insulated and has a gasket seal on the lid (a rubber seal like you have on your freezer door) so that we can prevent airflow in and out of the cooler.
Ease of Draining & Cleaning
Since we fill our cooler with hot water to raise the temperature, it’s handy if you can find one that has an accessible draining plug or even a draining tap.
For cleaning, if you can find a cooler with a smooth internal chamber, it will make any cleaning you have to do much easier.