Want to smoke fish and cheese in your backyard? Learn how to build a DIY cold smoker with our step-by-step guide.
Looking for a way to build a cold smoker? Let’s start by defining what cold smoking is before explaining the small details involved. Cold smoking involves introducing flavors to food using very minimal heat.
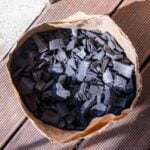
Cold smoking introduces smoke and fumes into the meat, making it imperative to ensure that your smoking wood is safe and introduces a pleasant flavor. A cold smoker will help you make smoked meats that can easily be used as cold meat. Today we’re looking at how you can build a cold smoker yourself.
How to Maintain Low Temperatures in a Cold Smoker
The presence of smoke insinuates that there is a certain amount of burning going on. So how do you have a heat source to produce smoke while maintaining low temperatures? The aim is to keep temperatures below 85°F (30°C).
The importance of keeping the surrounding temperature below 40 degrees is to balance out the heat inside the smoker with the cold temperatures outside. You can maintain the temperature by putting an ice-filled aluminum drip pan inside the smoke chamber. Ensure it is placed between the firebox and the food.
The ideal time to cold smoke is during the year’s cold months. But if you want to do it at any other time, you need to keep the temperature down. You can do this by opening the intake damper and the chimney by approximately half an inch.
Materials and Tools
Building your cold smoker is a simple task that can be done within one afternoon, with different versions you can build. Some can be used for cheese, bacon, and other meats. The length of time you will need to use the smoker will also determine how robust it should be.
Firstly, we look at a smoker best used for quick food, like smoked cheddar or gouda. The tools you will need for this, include a soldering iron, an empty can, and smoker pellets. To use the tin can, open it three-quarters. You will need the leverage to hold the soldering iron.
The soldering iron is probably the only thing that you will need to buy as a new tool. The reason for getting a new one is so that you are not contaminating your food with possible residue on an old soldering iron. Make sure that the one that you get can be used with food and that it does not have any paint or coating that could be potentially harmful.
These tools will let you use your new cold smoker on your grill. The first thing that you will need to do is to make sure that the can is cut open and that the lid is left attached. Then make a hole in the lid.
Next, place the pellets in the can, making sure that they fill the can about a third. Then tilt the can, ensuring that the lid is closed. Now place the soldering iron in such a way that the hot tip stays in the pellets when the can is on its side.
Once this is done, you can now place it on the grill along with the food that you want to smoke. Close the lid, staying clear of the electric cord. You can use this handy smoker for up to an hour before you need to replenish the pellets.
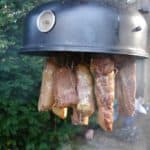
For other smokers that can go for hours, you will need wooden planks (a box can work just as well), nails, a hammer, a rack, a drill, a hook to hang your meat from and one of the most important things is a cold smoke generator, and pellets.
For the frame, what you want to create is a crate of some sort, hence an old box on its side with the front open will do the trick. Then make a hole in the top, bottom, and sides. This is so that you then create a shelf within the box as well as a place to hang your meat from.
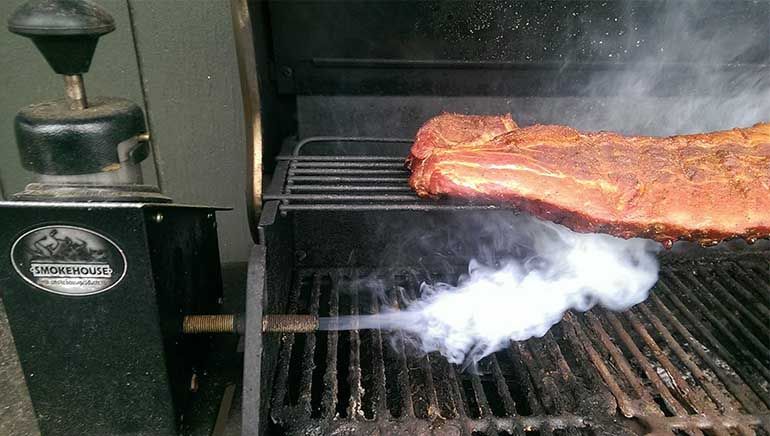
On the floor of the box, you can then place the cold smoke generator, which is essentially a metal tray with zig-zag patterns. This is where you will put the pellets that will generate the smoke that you need. The generator will also need to have enough space under it to light it up so that the smoke of the pellets or sawdust rises nicely.
Once you have set up everything, make sure that the box is closed so that not too much of the smoke escapes. The holes in the box are there for ventilation, don’t let all the smoke out the front.
Cold vs. Hot Smokers
The significant difference between cold and hot smoking is that when you cold smoke food, you are infusing flavor using smoke. Whilst hot smoking flavors the food and cooks it at the same time. Cheese would melt if it were hotly smoked, but it does very well with cold smoking.
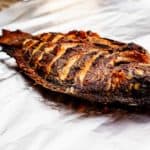
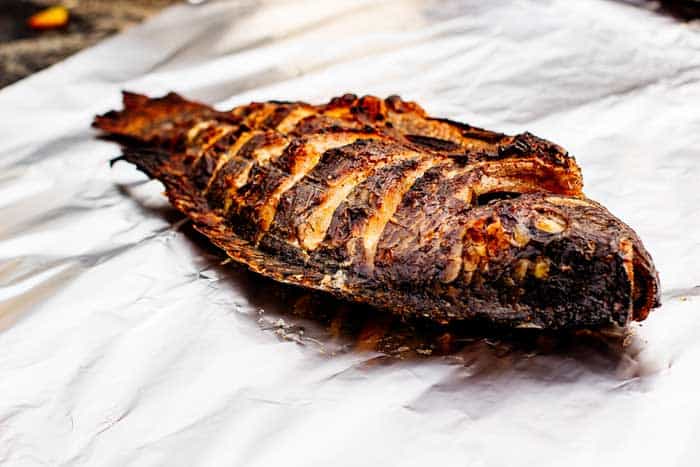
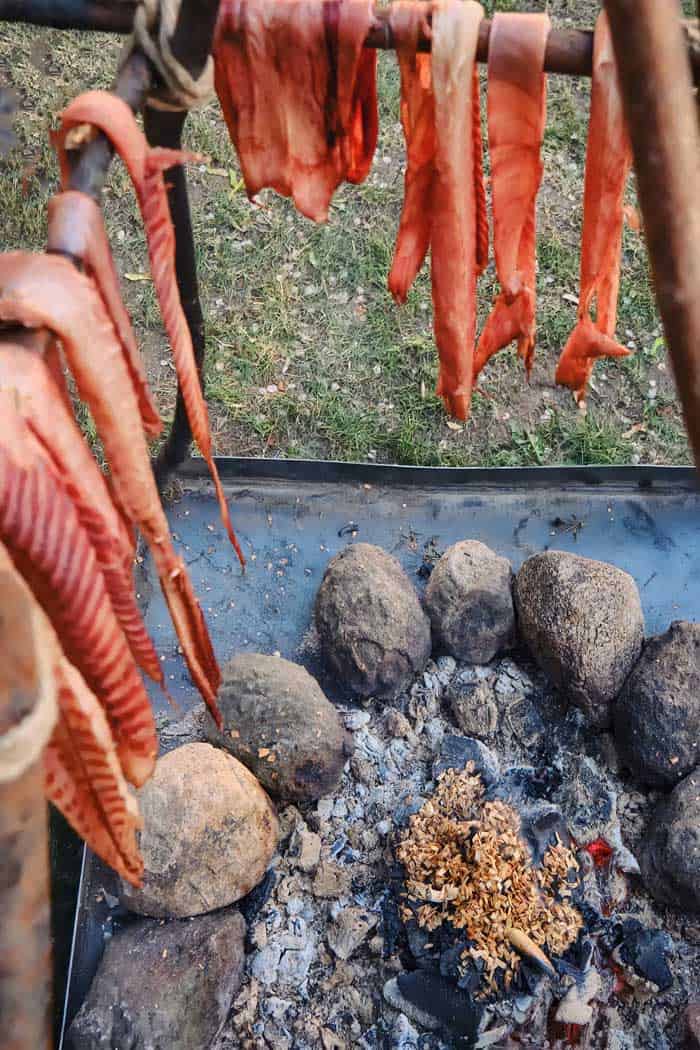
Cold smoking will flavor the food, using low and controlled temperatures. This is the reason why it works well with food such as cheese and fish, that does not need too much cooking. Cold smoking is incredibly helpful to preserve food by using smoke to dry the food of moisture and introduce antibacterial properties. This process involves smoke being pushed through a chamber for up to 48 hours. Once this is done, there is no need for a fridge.
Hot smokers will cook the food, and hence they do well with red meat and food that requires cooking. It utilizes higher temperatures than what you use with cold smoking. You can taste the smoke better if you hot smoke food, and this also leaves the food with more flavor and juicier and more tender.