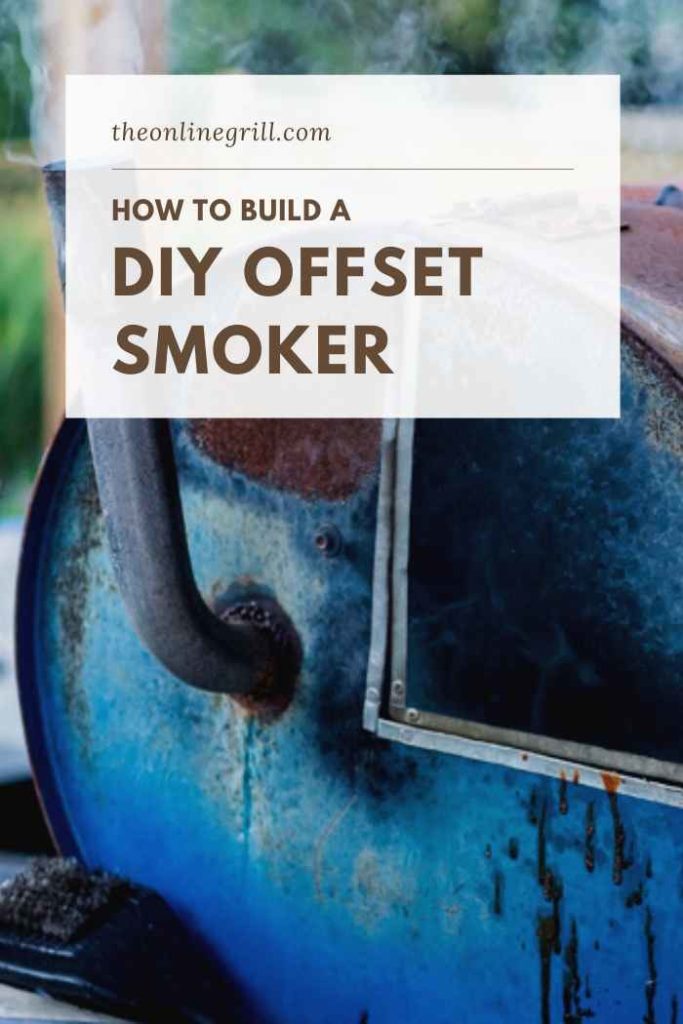
Build your own offset smoker with our full how-to walkthrough. Replicate the perfect barrel smoker design and custom fit with the best offset smoker mods.
With so many types of smoker out there, as well as different features, sometimes it’s difficult to cut through all the noise and find a smoker that’s perfect for you.
For this reason, sometimes you might just want to build your own.
While this might sound daunting, there are plenty of good reasons to do this.
You can include all the different features you want. You can select your heat source, your fuel type, and how your airflow and insulation is configured.
In this guide we’ll look at how to build your very own offset smoker, as well as everything you need to consider.
Shopping List
Some quick Amazon links in case you’re missing any important equipment

The best thing about offset smokers is that they’re not as complicated as you might believe. At their core they’re basic cooking devices, and are just tasked with generating a steady supply of warm smoke for an extended period of time.
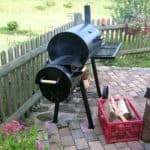
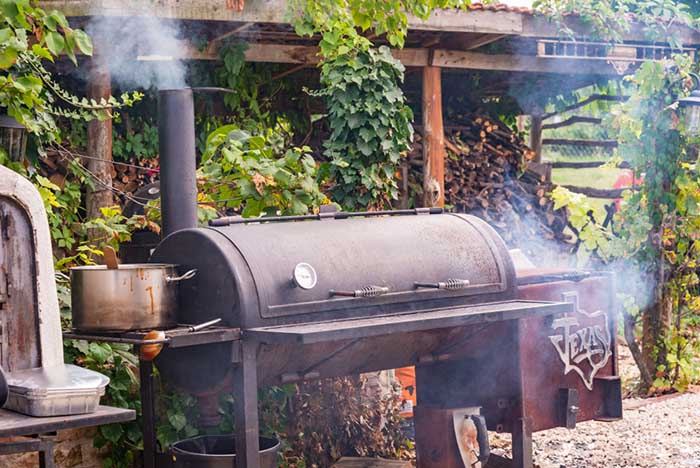
An offset smoker needs two core sections. One is the firebox element, which we will have ‘offset’ to one side and will house our heat source. The other is the main chamber where we will cook our food.
The two elements will need a connection between them and we will need to place vents one each to help regulate airflow. This will help us feed the heat while also ensuring that the smoke doesn’t build up and overwhelm our food.
In this guide I’ll be building this in line with a barrel design. Not every DIY smoker has to be built like this, but barrels suit a lot of purposes and are probably the easiest place to start.
Be warned: This will require a lot of welding.
Stock up
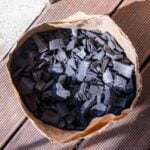
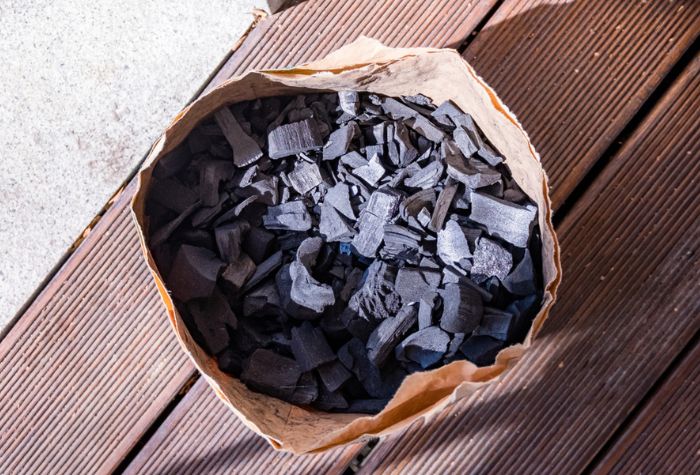
The main construction is built around barrels, so you will need some barrels.
Your chocie of barrel is down to you, but I heavily recommend getting used one BUT it is absolutely crucial (for the sake of your own safety) that the barrels have NEVER been used to store any chemicals, or anything similarly harmful.
Two 33 gallon barrels will work perfectly, but slightly bigger is also great. Just bear in mind that while a larger barrel will mean you can cook more food in it, it will also take longer to heat up and will be harder to control the temperature for. It’s all about finding a balance.
Next, get a welder/weldor. You can either hire a weldor to do this for you, or if you know what you’re doing you can use a MIG welder.
Stcik welders are prone to burning through thin metal, so opt for a MIG welder to help keep everyhting intact and tends to be much neater and cleaner.
Build a frame
At the core of every good smoker is a solid frame.
The best designed DIY smokers tend to be designed relative to the height of the pitmaster themselves.
With this in mind, try to design the frame so that the main chamber will be at waist height. This will prevent you from having to bend over constantly, or overreach. When you’re cooking for hours on end, this can put unnecessary strain on yourself.
Frame materials can vary. Some people use wood, and some people prefer steel. I’d opt for the latter just to reduce the risk of anything catching fire.
1-inch square steel is a good option, and should be fairly easy to source if you can scrounge from your local metal yard. Alternatively, steel tubing is easy to buy online.
You will need a chop saw or angle grinder to trim the frame in line with your specifications.
The dimensions you align these to will depend on what size barrels you’ve bought, but there are plenty of guides out there that will be able to help you here.
There’s no need to put any fasteners on the frame to hold the smoker barrel, but just build it so that the barrel can easily rest and set on the frame tightly enough.
You can then weld the steel together.
Cut the barrels
If your barrels are the same size then I recommend cutting out a section of the firebox barrel to help shorten it. There’s no need for it to be as big as your main chamber barrel.
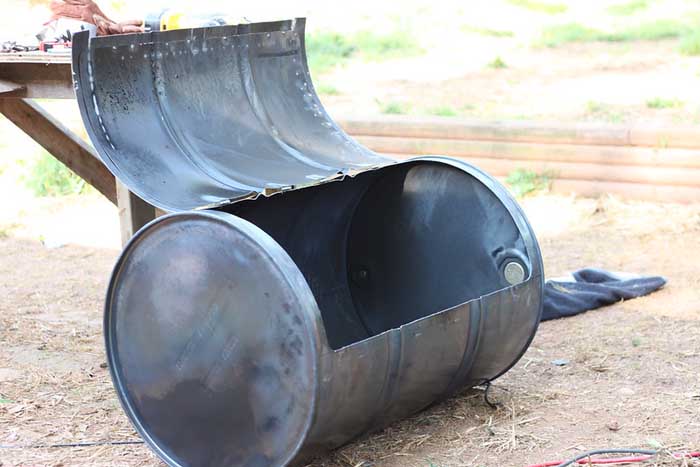
For the main chamber barrel, you will need to cut a door into it. WHen you do this, make the door large and try to make round corners. Rounded corners are safer to use and will reduce the risk of cutting you. Try to cut as smoothly as possible to help reduce leaking smoke when you come to cooking.
Cut a door in the smaller barrel for a firebox.
Welding
Weld the small barrel back together if you removed a section from it.
Line up the two barrels so that they are attached in an offset design, with the top section of the barrel side welded to the bottom of the large chamber.
Mark them and then cut out the corresponding sections of the barrel that touched. This will allow easy passage of smoke between the two.
Weld the small barrel to the large barrel, using the cut out sections as a guide. We want a passage between the two while also ensuring that they are sturdy to stand together.
Cutting
As well as the passage between the two chambers, we also need holes on either end of our new smoker. This will be to form the intake and exhaust vents for the smoker.
These need to be a good size to allow good airflow through the smoker, both in and out.
Cut a circular hole for the firebox intake.
Cut a hole for the exhaust on the main cooking chamber.
Attachments
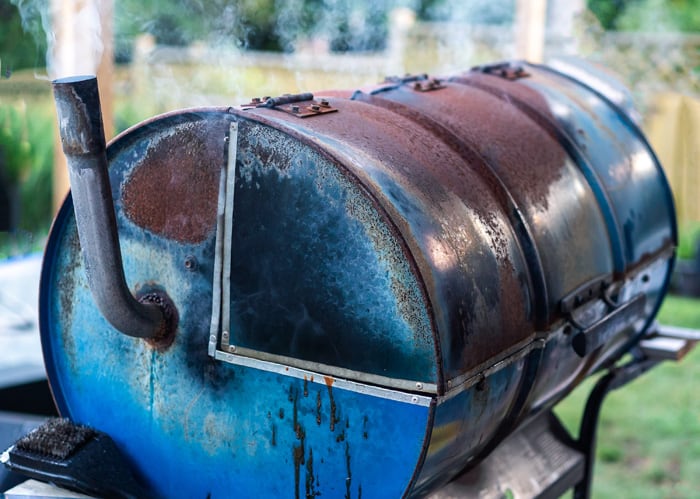
Just like DIY pellet smokers, offset smokers need attachments and conversion kits to get them off the ground. An important offset smoker mod attachment for our exhaust damper is an exhaust pipe. You can do this using a heat ductor elbow, usually available from any hardware store. The ideal length for these is about three feet.
Check out this calculator to figure out the exact sizes you should design your smoker with.
For your intake damper, you will need a damper to help control how much air comes in to it.
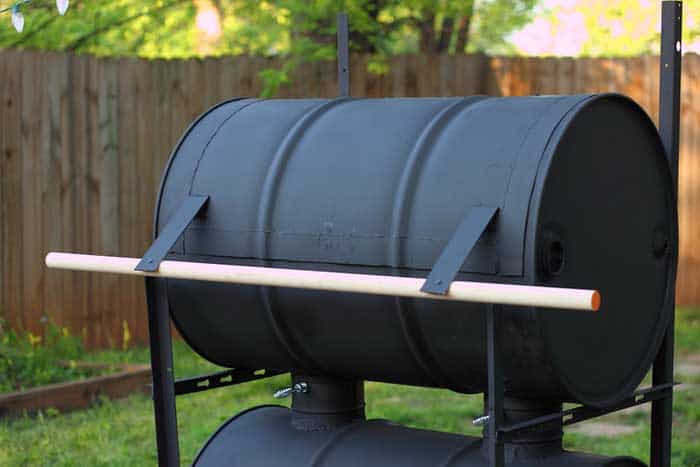
As a final note, you might want to attach some handles for stability. This will also help you move the offset smoker should you ever need to. It helps you keep your hands away from the chamber steel, reducing the risk of burning or scorching yourself.
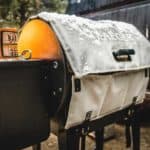
You can also get casters to help make your smoker portable, and a welding blanket to help insulate your smoker against cold weather in the winter.
You may also want to give your smoker a lick of paint. You can do this with high heat paint. I find dark paint is looks the baddest (bad as in good… I’m cool).
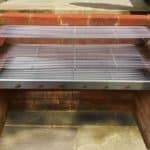
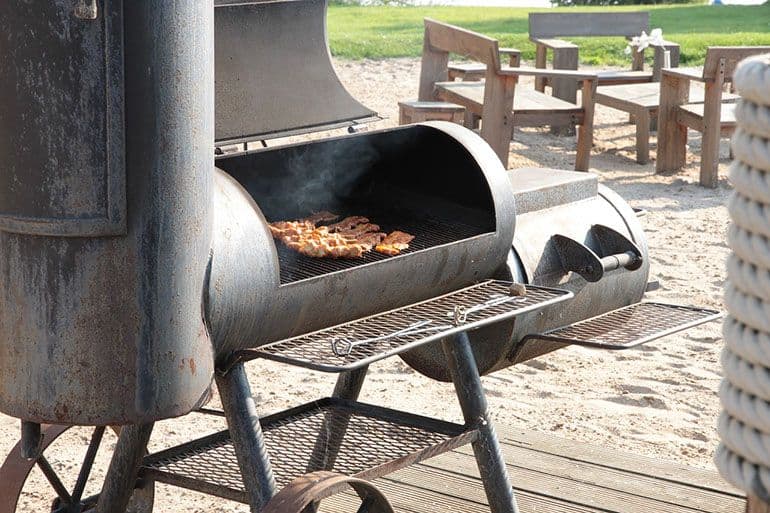
Grates, grates, grates
You can find grill grates fairly easily. Get these (porcelain enamelled is best, but cast iron is fine) and also get some hangers to weld in to your chamber and hold the grates.
Learn more about the differences between cast iron and stainless steel grates
Whatever method you use for putting your DIY offset smoker together, there are a few key principles and factors you need to pay attention to during the entire process.
Airflow
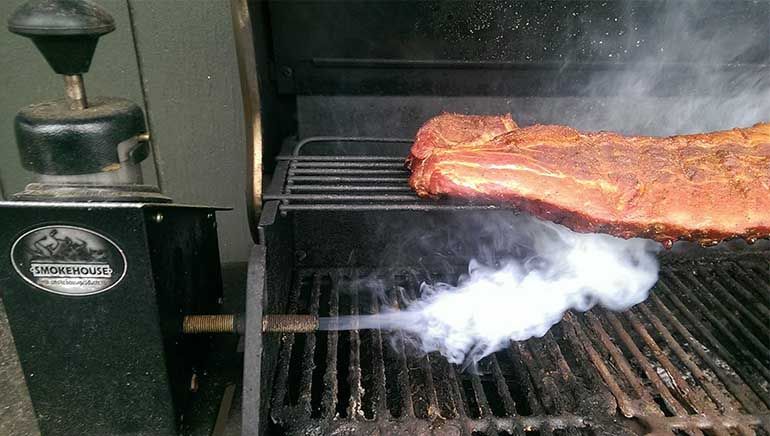
Good airflow is perhaps the most critical aspect of your smoker build. The crucial core principle is that air needs to flow into the offset smoker box, bringing heat into the main chamber, before escaping through the exhaust vent.
This helps keep a healthy supply of oxygen feeding the embers of our heat source, while also escaping to ensure that we don’t have an excess buildup of smoke.
A well managed level of smoke will cook meat and infuse it with flavor, spread out over a long period of time to cook it in the very best way possible.
Portability
This might not be your key concern with an offset smoker, but is worth considering prior to building your smoker.
If it’s important to you that you’re able to take your DIY smoker on the road, whether it be to a tailgate or camping, then you will need to design it to more lightweight.
This can be done in the form of wheels, or just making sure that you don’t load it with excess steel.
Portability also doesn’t necessarily mean taking it on the road with you. It can also simply mean that you’re able to move it a few feet when needed.
A permanent fixture is fine, but you will need to make sure that it’s built to withstand the weather, or sheltered from it.