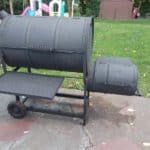
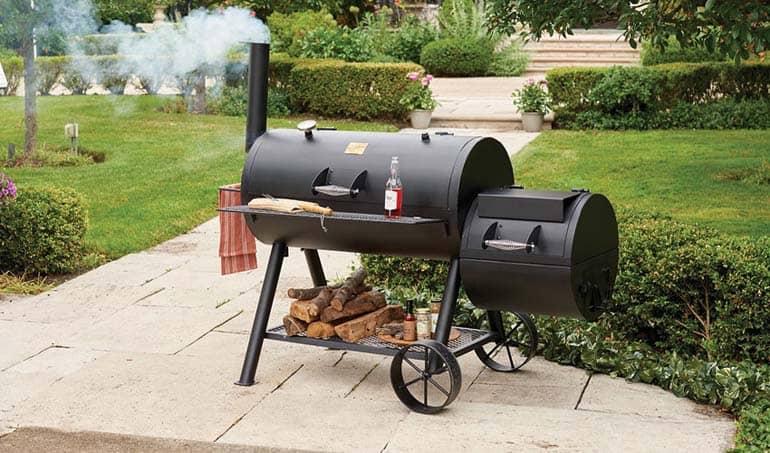
Got yourself a brand new offset smoker? Before you start ramping up the fire you’ll need to give it a good clean. Here’s my quick step-by-guide to seasoning your new offset smoker.
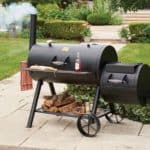
Using an offset smoker is one of my favorite ways to prepare food. They’re great at creating an ambient cooking environment that’s perfect for beautiful BBQ low and slow cooking.
If you have a vertical smoker then be sure to check out my guide on how to season a vertical smoker.
A lot of people miss out one of the most crucial stages of BBQ smoking preparation that you need to take. I’m talking about seasoning.
No, this isn’t adding salt or pepper to your smoker, but rather a way of giving it a deep clean and build a protective layer to shield it from potential rust or wear.
If you’ve ever seasoned a grill or camp oven then the principle is much the same. We use a thin coat of oil to help create a shield over many of the surfaces of your smoker, before we then blast it with heat to help it set and get into the grooves and pores of your smoker.
Here’s a step by step guide to doing the perfect seasoning job on your offset smoker.
Clean the grates
The most logical place to start when cleaning is the grates. We can actually remove these, which means that we can really get into them, but also it means that the rest of the smoker is much accessible as you won’t have the grates standing in your way.
These are usually removable, so you can take them out of your smoker and wash them with dish soap. Be sure to wipe down with a towel to help prevent rusting, and then leave out to dry while you season the rest of your smoker.
This might seem a bit unnecessary if your smoker is brand new, but it’s not unusual for residual particles or oil leftover from the manufacturing process to be scattered inside your grill. Cleaning the grates helps us make absolutely certain that your smoker is clean and ready for business.
Be thorough when cleaning the grates. I like to use a scrubbing brush, and when it’s time to rinse down I find a hose the most effective means of removing all the leftover suds. Wipe down with a towel and then leave outside to dry. Don’t put back in your smoker until you have seasoned the rest of your smoker.
Shield with Cooking Spray
The most important thing you’ll need for this entire process is cooking spray. We don’t use water for seasoning smokers because it can leave it prone to rusting (source), which is exactly what we are trying to prevent.
You can get oil in pure liquid form, but personally I much prefer it as a spray. It’s much easier to distribute, and ensures that you don’t waste too much in the form of run-off. I recommend getting this canola oil from Amazon.
If you do decide to go for oil form, then also make sure you have a rag to help you spread it. Also, whichever form you go for, be sure to go for something with a high smoke point. We need our protective later to have a high threshold for heat, so oils like extra virgin olive oil won’t cut it. Canola oil, like the one I’ve linked above, tends to have a much higher breaking point.
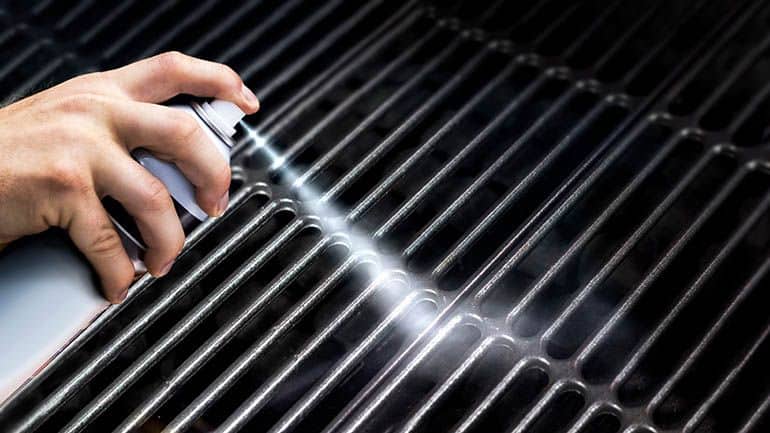
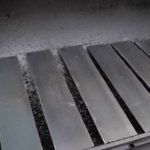
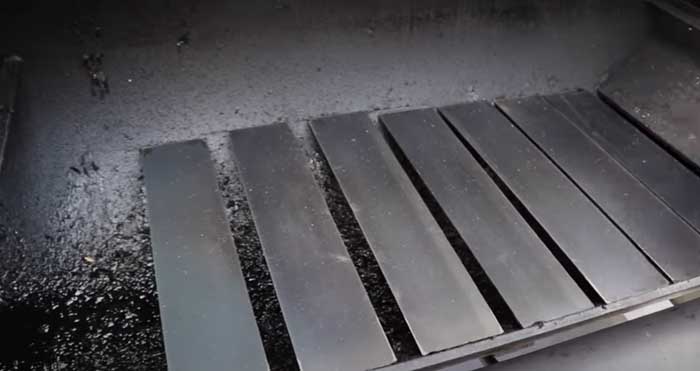
Use the oil to coat all the internal surfaces of your smoker. Be sure to cover the charcoal grates, firebox, and the heat plates. There’s no need to coat any external surfaces of your grill as we won’t be able to expose these to heat.
Light it up
Allow the cooking oil to sit for 15-20 minutes with the doors to your smoker wide open. This will allow the oil to set, as well as allow any fumes to escape the chamber before you light it.
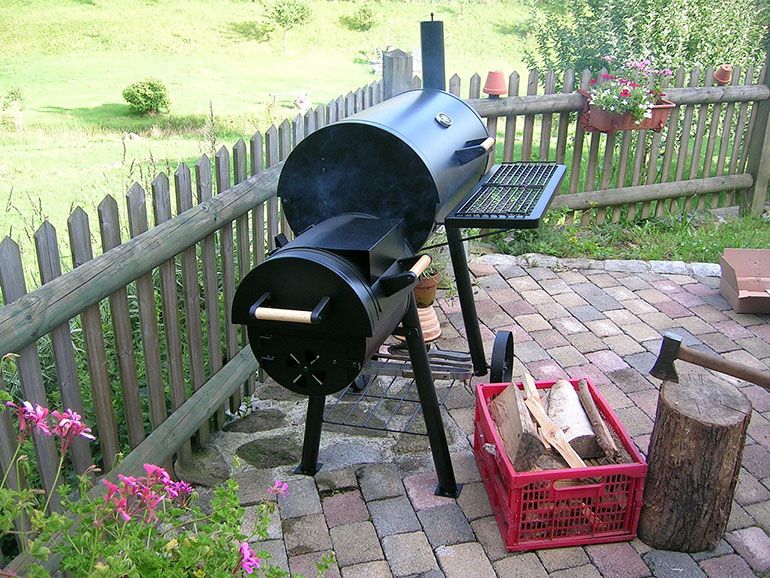
Start your charcoal grill. Different people have their favorite methods for this, but I personally prefer using a charcoal chimney starter. These are fairly inexpensive tools that are, well, chimney shaped. You place the coals you want to use in there first, and light them. The enclosed environment in a charcoal chimney is a much better environment for lighting coals due to the limited exposure to air.
Once they are lit then you can transfer them to your smoker. Do this by transferring them to your firebox. Close all doors to your smoker, but keep the dampers for your smoker wide open. Once the flames are going at a good rate, adjust the dampers to be set half open.
You ideally want to have the ambient temperature of your smoker running at at least 160°F, however I personally would aim for 250°F just to make sure the job is done as thoroughly as possible. This should be fairly easy to do as long as your dampers are open wide enough, but if you’re unsure then you can use a grill surface thermometer or an automatic controller to monitor the temperature. If you don’t have either of these then make sure to check out my guides on grill thermometers and automatic controllers.
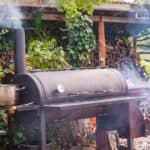
Leave running for at least 2 hours. What should happen is that the oil will set, forming a protective layer across the internal surfaces of your smoker.
Quick wipe down
Once your oil has set, allow the fire to burn out and leave the smoker for at least an hour to properly cool down.
Use a paper towel to wipe off any excess oil that may have run off during the heating process. Do not use anything abrasive as we don’t want to risk scratching off any coating. Also do not use any cleaning products.
How do you approach seasoning your smokers or grills? What do you find the most difficult? Let me know in the comments below!