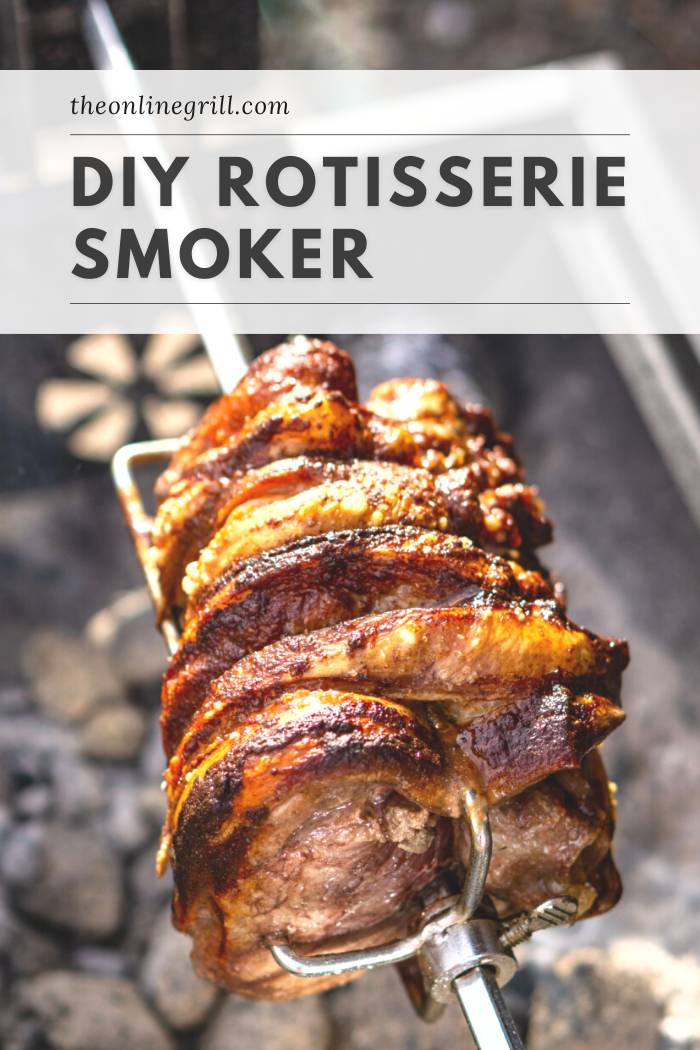
Looking for a new backyard DIY barbecue project? Learn how to build your own rotisserie BBQ smoker with our step-by-step guide.
Perhaps the holidays are coming up, and you have a lot of people coming over for a barbecue, the problem is, you have a grill that will only take a meal or one. Now you need a more effective outdoor cooking option for your pig on a spit. You can learn how to build a rotisserie smoker in your backyard.
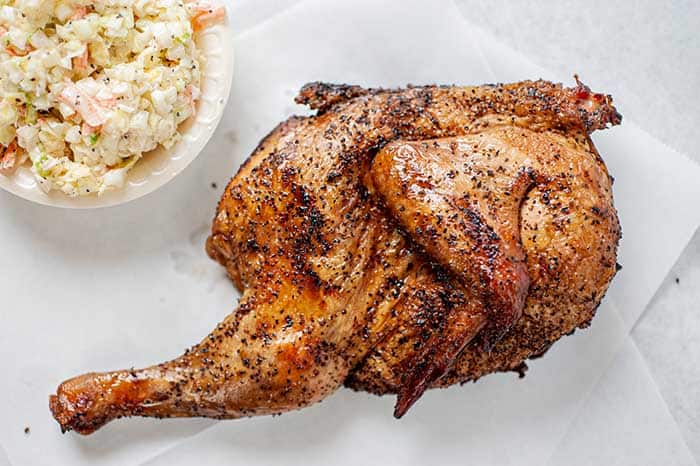
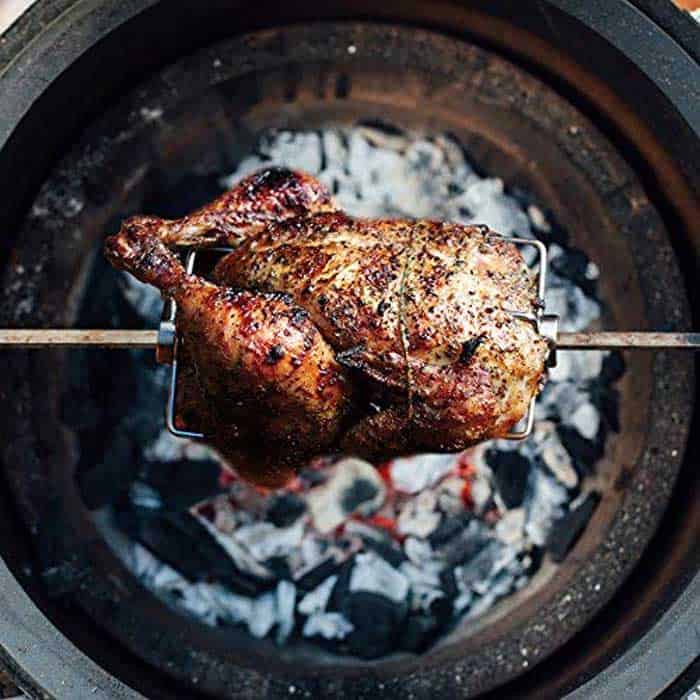
A DIY rotisserie smoker will take your home smoking to a whole new level. Whether it’s barbecue smoked chicken or low and slow turkey, you haven’t had anything like this before.
Building a rotisserie smoker on your means that you have to have certain materials and also the know-how. That is what we are going to tackle in this article. Let’s get down to it, shall we?
What is a Rotisserie Smoker?
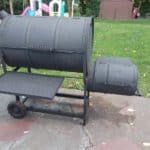
A rotisserie smoker is an outdoor cooking appliance that lets you cook meat on a spit, rotating it as it gets smoked and cooked through and through. This handy outdoor tool, lets you cook meat for hours, meaning that you are saving on the power you would use if you tried to do the cooking in the oven in your kitchen.
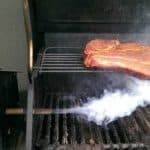
It’s a brilliant way to slow cook food and save power at the same time. Smoking also helps infuse a smokey flavor in your meat, better than any cooking methods can pull off. Smoking the meat, gives you a juicy and tender result, thanks to the long hours that the meat will spend rotating over the smoke. It may take longer than you’re used to, but it’s worth it.
Why Should I Build a Rotisserie Smoker?
Buying a ready-made rotisserie smoker can be pricey. For this reason, it helps to whip out the DIY guides and see how best you can build your own. Let’s take a look at all you need to build a masterpiece of a smoker.
Materials You Will Need
To make the barbeque body, the lid, and the grill, you will need certain materials. You will need 25, 8inch by 8inch by 16inch cinder blocks, string, 4 or 8 pieces of wood or metal stakes, 4.8inch by 8inch by 8inch half blocks, 15 8inch by 8inch by 16inch cap or standard blocks. If you’d like, you can also add 22 12inch by 12inch patio stones. This should build the body.
Cinder block is a fundamental material that we have used for many of our backyard cooking projects, including our best DIY BBQ islands.
The next set of materials that you will need is to build the pit. For this, you will need a metal pipe, preferable 4feet by 1.5inches, and also 2 to 3 cubic feet of sand or gravel. To make the lid, you can use a steel drum safe to use for food, an angled iron that measures 20feet by 1.5inches. you can also look for high heat flat back spray paint, a wooden hockey stick, two pieces of threaded rod, and 4.5inch by 5/16inch bolts. You may also want to make sure that you have expanded metal and rebar stakes.
Tools Needed
- Safety wear (e.g. gloves, goggles, and anything else to protect yourself)
- Short level
- Long level
- Measuring tape
- Chisel
- Carpenters square
- Handheld grinder
- Writing tool to mark points, (a permanent marker should do the trick)
- Metal cutting discs
- Hammer
- Metal or wooden stakes
Step-by-Step Guide
The dimensions are there as a guide, you can scale them up or down, depending on the size of the pit that you want to build. The first thing to do is to choose the right spot, safely away from trees, or anything that could catch fire once you start using it.
Once you’ve got your location locked, you can then prepare to lay the foundation. Make sure the ground is level. You can ensure this by laying the patio/walkway stones. The stones help to keep the cinder blocks from slipping into the hole.
Then you can use the flagging tape and the stakes, to map out the area around the patio stones. This is the measurement of how large the finished product will be. Once you’ve laid the patio stones, you can now begin digging the pit. About 1 foot deep should be sufficient.
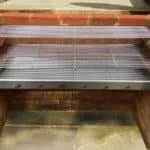
Now you can line the pit with the expanded metal and rebar stakes. These will keep the sand along the walls from caving in. Then fill the pit with gravel or sand. Once this is done, you can start stacking up the cinder blocks, around the hole, on the outside, following the building plan. As you lay the cinder blocks, you also want to make sure that they are level. To knock out any protrusions, you can use the chisel and hammer.
The cinder blocks are piled one on top of the other without mortar. This is why it is important to make sure that the blocks are level and fit into each other nicely. As you lay the blocks, you also want to make sure that you leave space in the wall to hold the rotisserie skewer. Also, drill a half-inch hole in the top row on both sides so that you can affix hinge brackets.
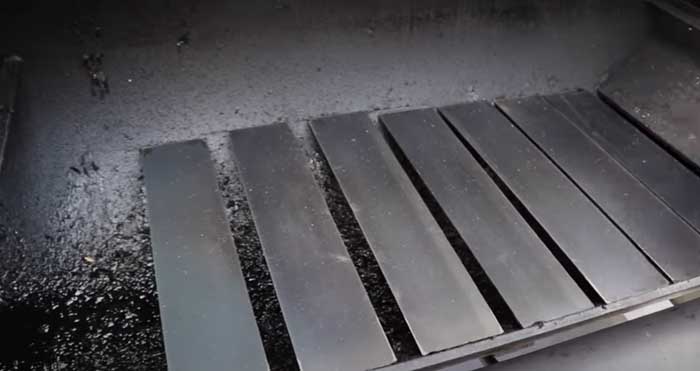
Now to make the spit. Use a steel pipe with holes along its length. You can then weld a gear onto the other end of the pipe. Make sure that it has the necessary support, drilled into the ground from both ends. You can then place horizontal arms on the pipes as well as brackets in the shape of a ‘v’ that will be able to hold the pipe as it turns, cooking the meat. The length and height that you choose are entirely up to you depending on what you think you will be cooking.
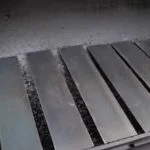
To make the covering, cut the drum in half, down its length. This is where you can now use the angle iron and threaded rod to make the hinged lid. The hockey stick can be used as the handle, by fixing it on to the drum using bolts and a copper pipe.
You can make the lid rotate by welding the threaded rods to the back of the lid and then feeding it into the vertical hinge brackets placed on the sides of the cinder blocks. Just make sure that it is secured properly.