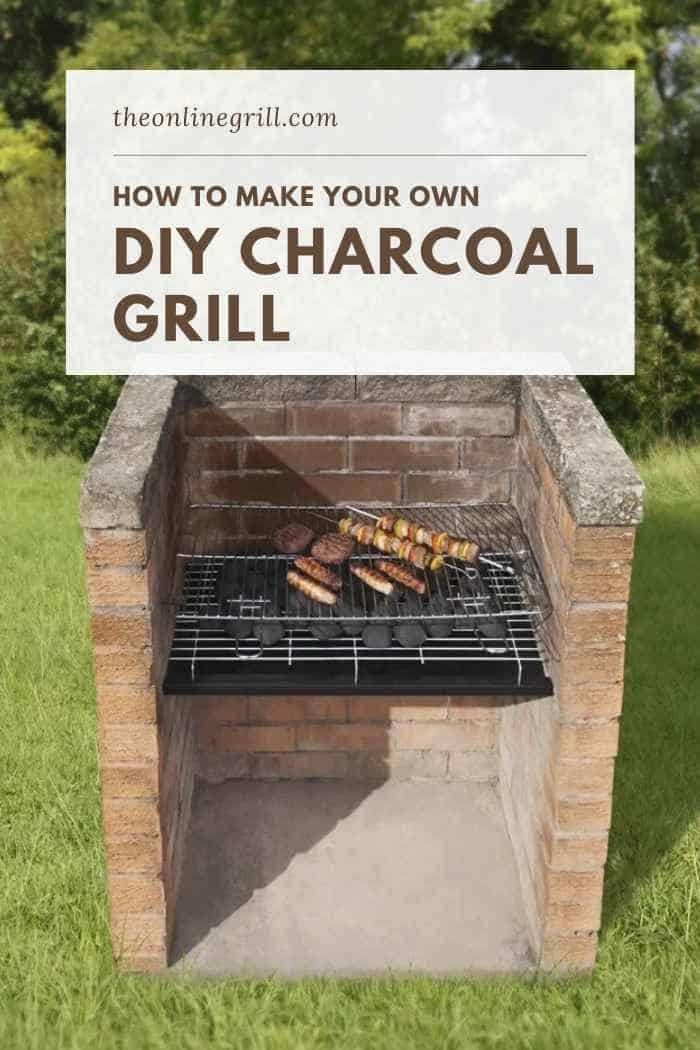
For DIY fans who love the beautiful pursuit of outdoor grilling, making your own large charcoal grill could be the ideal next home project.
While it might be tempting to buy a prebuilt grill, there’s a lot to be said for a DIY setup.
Unlike the standard steel designs from stores, a brick charcoal grill will last you for years.
Where steel grills might quickly wear and burn through, brick units are built to last.
They’re also easy to clean and, best of all, easy to build.
This step-by-step guide will show you exactly how to build the right grill for you, and show you the tools that will make your life a lot easier.
Note: This guide is for a U-shaped grill, with the design comprising of an outer U shell with an inner one.
Mark the foundations
Start by deciding where you want your grill to be. Keep a few things in mind here.
Stay away from obvious fire hazards, like tree branches or log piles. Also steer clear of gas or electrical lines.
Also keep in mind what space you need around the grill area. While you might not need space behind the grill itself, you will need to consider the areas immediately in front of and besides the grill.
Mark a 50-by-50-inch area for the foundations of your grill unit.
Shovel the soil from your foundation markings to create an area that is about six inches deep. Be sure to remove any rocks or debris that are leftover from the digging.
Use a spirit level to make sure that the exposed ground is level.
Note: This barbecue pit is in two sections. The first section is a U shape. The inner section fits inside the U.
Cement
Mix your fiber reenforced cement in line with the directions provided.
Pour into the foundation area and use a trowel to smooth the concrete surface evenly.
Pro tip: For the side of the foundation where the back of the grill unit will sit, aim to have the concrete area slightly higher. This will allow rain water or excess fat to run off the grill.
Leave the foundations to dry overnight.
Soak your bricks overnight. This will help act as an adhesive for the bricks and concrete.
Mark with string
Use string to create a square on the surface of the concrete, leaving a 2-inch perimeter of the concrete overlapping.
Lay the bricks
Time to start laying the bricks. Start across the back of the grill area, and aim to leave about half an inch space between each brick for the mortar.
With the 2-inch perimeter on either side mentioned in the previous step, the length of back side of the grill unit should measure 46 inches in length.
Move onto one of the sides of your BBQ unit. Continue to leave half an inches of space between each brick for the mortar. For both the sides of the U-shape, we want them to measure 32 inches.
Repeat for the other side to complete the first layer of the U-shape. Lay the second layer of bricks on top of the first.
Once you have done the second level, use this opportunity to check with your spirit level. If the layer is level then continue with the grill build.
Apply the mortar
Mix your chosen concrete in line with the instructions provided.
Remove the bricks from the foundation. Spread a layer of concrete in the string lines provided. Relay the first layer of bricks firmly so they can adhere to the concrete.
Apply the concrete to the half-inch gaps between the bricks. Routinely check that the bricks are level.
Pro tip: Gently tap each brick as you relay it. This will help shake off debris without disturbing the other bricks, as well as helping the concrete to align evenly.
Continue this process until all bricks have been laid in the U formation, and your desired unit height has been reached. Leave to dry overnight.
Begin the inner section
With the outer layer completed, we can move onto the inner layer.
Begin the inner section or hearth of the barbecue pit by laying a row of bricks on the inside walls of the U-shaped section and check they are level.
Apply the concrete like with the first section, and then continue to build the layers until you have reached three-quarters of the way up the outer wall.
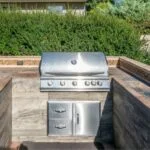
Store-Bought DIY BBQ Kits

If the idea of building a unit from scratch is daunting then there are store-bought options that are a good middle option.