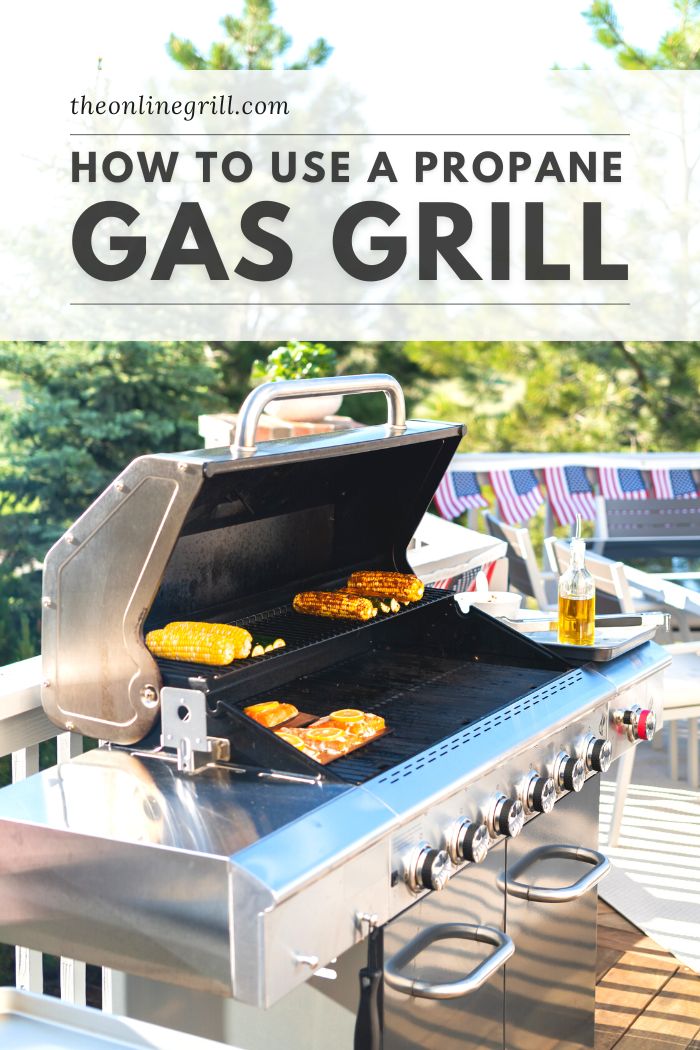
Got a new propane gas grill? Start with this guide. From set-up to grilling techniques, and cleaning to best accessories, learn how to use a gas grill today.
If you’ve just made the switch from charcoal to gas grilling, you might be feeling a bit out of your depth. While the grilling process is the same (food + flames = smokey deliciousness), there are a few nuances to gas grill cooking you’ll want to learn.
Our guide will tell you all the tips a novice griller needs to master their new gas grill. From the best propane grill setup to advanced grill tips, as well as maintenance and safety advice, discover how to use a propane grill today.
Install Your Propane Tank
If you’ve bought a brand new propane gas grill, you may find that it hasn’t come with the hose and regulator connections which can stump a lot of people when they first get set up.
This is because there is such an extensive range of gas tanks and cylinders available in most countries that it’s easier for manufacturers to let customers buy the one they need.
Gas hose and regulator kits are readily available online (like this one on Amazon). We also recommend investing in a propane tank gauge so you can know exactly when you need to replace your tank.
Once you have your gas hose and regulator attached to your grill, you are ready to connect it to the propane tank.
How to Connect a Propane Tank to a Grill
- Make sure the regulator switch is set in the off position
- Place the regulator down onto the propane tank valve and push until you hear the ‘click’ of it locking into place
- Turn the regulator switch on (quarter turn anti-clockwise to the on position)
And that’s it – your grill is now connected and ready to light.
How Long Will My Gas Tank Last?
This is one of those ‘how long is a piece of string’ questions in that it depends on a few factors. Firstly – how big is your tank? Most propane tanks come available in 20lb bottles, which is always our recommendation too. However, smaller tanks are also available in sizes as small as 14 ounces, which are best suited for portable gas grills.
If you’re using your grill for day-to-day cooking (as in cooking a meal and then turning it off rather than catering for a big crowd), then a 20lb tank should last for anywhere between 18-20 hours of grill time.
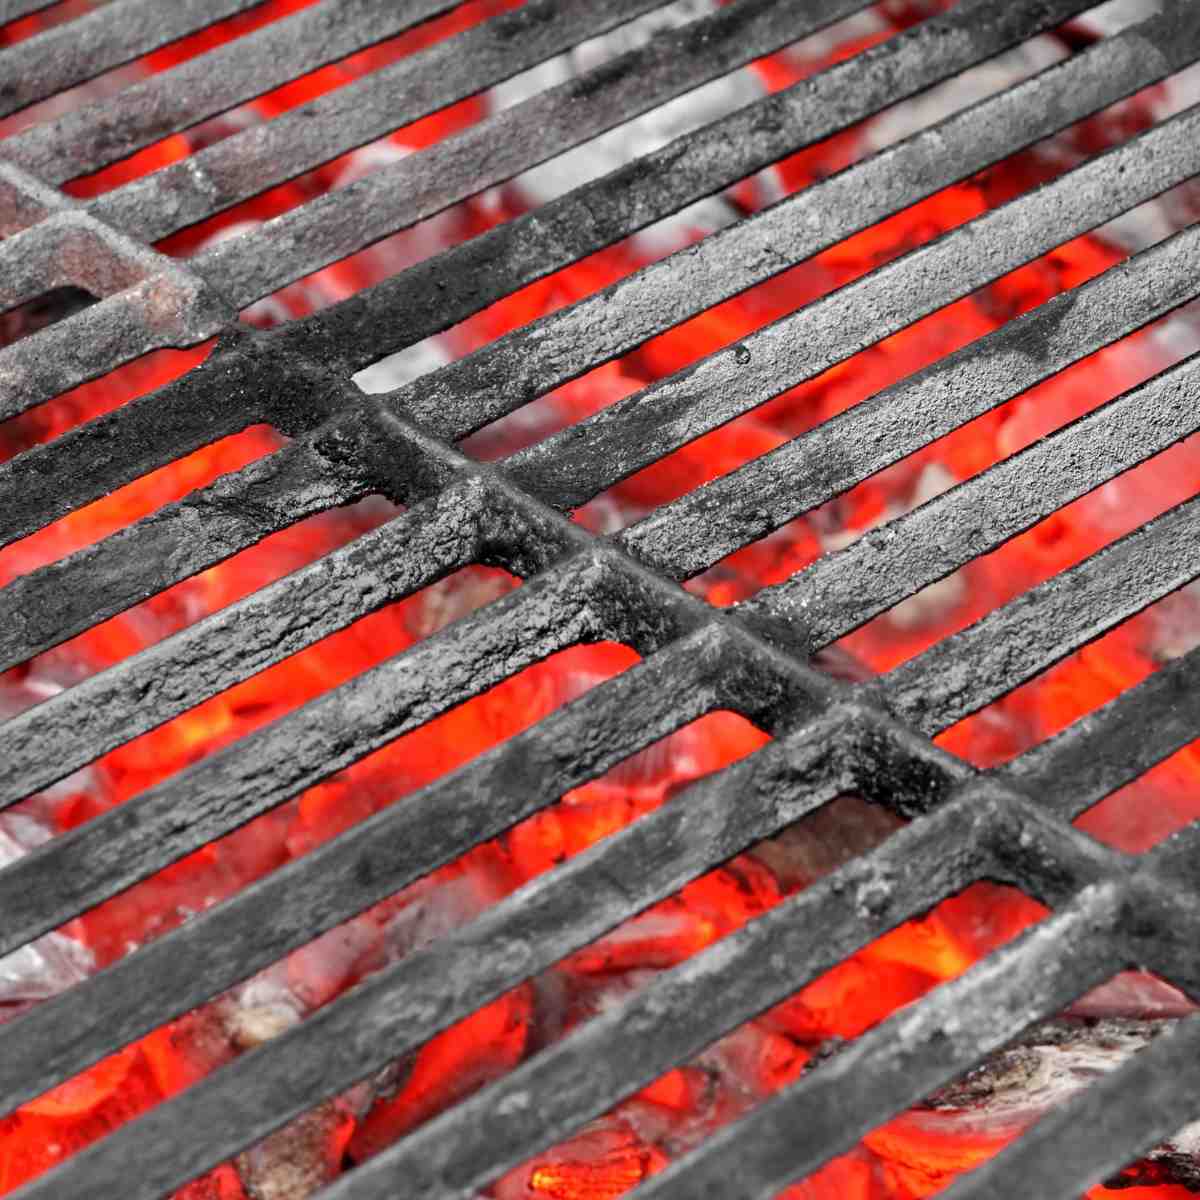
Seasoning
We all know how important seasoning our food is but have you ever seasoned your cooking implements? When it comes to cookware, ‘seasoning’ something doesn’t mean sprinkling salt and herbs over it as it would with meat. It actually refers to the method used to create a protective layer or patina over the cooking surface; this helps to make it non-stick and protects the surfaces from rust and corrosion.
How to Season Your Gas Grill
- Rinse & Dry the Grill Grates: Your new grill will have a coating of industrial oil (and usually dust) from the manufacturing process. If you were to start your grill with this still on there, it would produce nasty and possibly toxic smoke, so our first step is to give the grates a rinse down. This should be done by hand with warm soapy water, thoroughly rinsed, and then left to air dry.
- Coat with Oil: Once the grates are dry, we need to wipe them down with high heat resistance and high smoke point oil. We’re aiming for a thin coat, so wiping them down with oil on a paper towel is an excellent way to do it. It’s also worth giving the inside of the grill lid and any other sections that are likely to get really hot a thin coat of oil.
- Fire Up: When everything has a coat of oil, it’s time to crank up the heat! Set your burners on high and leave them to do their thing for 30 to 40minutes. The aim is to get the grill really hot so that the oil reaches its smoke point and the grills go from shiny to dark. The darker the grates, the more seasoned they are – once they are well seasoned, they will cook more evenly.
- Cool Down: Once you can see the color change on the grates and it’s stopped smoking, the grill can be turned off and left to cool.
It’s worth staying on top of seasoning as part of your grill maintenance every few months. You’ll want to clean away food debris as you would usually and then leave the burners running at high heat for 10 minutes. Then, turn them off and scrub the grates down with a grill brush to remove any burnt-on bits. Wait until the grates are warm, and reapply a thin layer of cooking oil.
When you next fire up the grill, put it on high heat so that the oil can smoke off, and you’re good to go again.
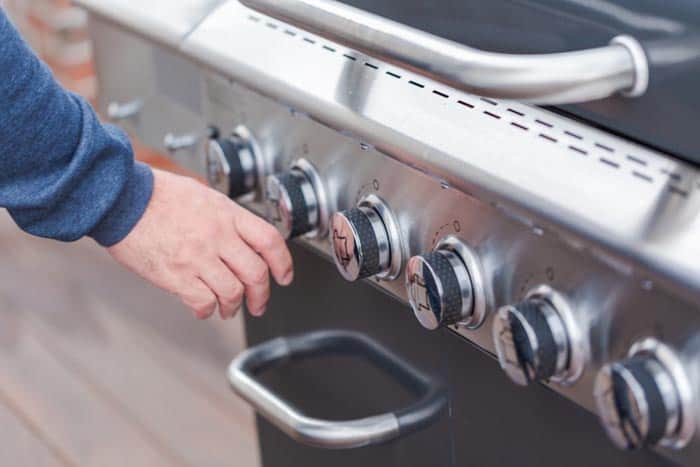
Adjust the Burners
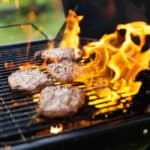
When you are cooking on a gas grill, you ideally want to be working with a blue flame, much like the flame on a gas stove, as it gives you the best heat. If the flames from your burners are more yellow than blue, it means there isn’t a good air-to-gas ratio – luckily, it’s an easy problem to fix!
The burners on your gas grill will have an air adjustment valve at the end of the burner where it meets the valve connection. You might need to remove the burner from the grill to get to the adjustment valve, and it will usually take one of three forms.
It can be a screw that you open and close, a metal slide that moves back and forth, or an air shutter that you move up and down.
Adjust the valve and put your burner back on the grill and test it to see if you get a blue flame ( we are aiming for blue flames with yellow tips). When you are happy with the adjustment, do the same for your remaining burners.
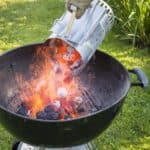
Ignition
There is a certain fear level with lighting gas vs. lighting wood or charcoal. It’s understandable; we’re always taught how dangerous and flammable gas can be, but it is perfectly safe as long as it’s used correctly.
How to Start a Gas Grill
A gas grill works in the same way as a gas oven hob does; you introduce the gas first and then use an ignition source to light it.
When lighting a gas grill, it is imperative that you have the lid open. If it’s left closed, the grill chamber will fill with gas and cause an explosion when you ignite it.
- Open the grill lid
- Turn on your gas at the propane tank (usually a tap-type valve)
- Turn on ONE gas burner on the grill
- Press the ignition or auto light switch
- Turn on the other burners; they will catch alight from the first burner.
You want to let your grill pre-heat before putting any food on to cook – This allows an even temperature to build in the grill chamber and also burns off any old bits of food or grease.
Put your burners on to their maximum and close the lid for 10-15 minutes or until the grill reaches 400°F (200°C). Once you hit that you can open the lid and use a grill brush to remove any debris from the grill grates. If the grill grates don’t clean easily you can close the lid and let it heat up a bit more before trying again.
Temperature Control
When we talk about controlling the temperature on our gas grills, it can help to liken them to our ovens at home. You wouldn’t try to cook food in your oven with the door wide open; you’d be letting all the heat escape! The same goes for our grills; once we’ve preheated the grill to get it up to temperature, we don’t then want to lift the hood and leave it up as all that heat from the burners will just be escaping.
Keeping the lid closed when cooking food and only opening it when you need to turn things gives you greater temperature control and will mean your food cooks faster.
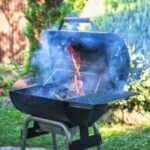
Controlling Flare-Ups
Flare-ups occur when oil or fat drips onto the flames, it can be anything from a quick spit of flames to a full-on fire, so it’s essential to know how to deal with them. Here are some quick tips on how to avoid and deal with flareups if they happen:
- Trim the fat on your food: Flare-ups are caused by fats and oils dripping into the flames, so try to trim off any excess fat on meat (without ruining the flavor) where possible.
- Keep the lid open: If you are cooking fatty food, it’s best to leave the grill lid open.
- Burn grease off: If you get grease pooling in any areas of your grill, remove the food and turn the burners on high with the lid open to burn it off.
- Keep your grill clean: Ensure you clean your grill after every use; old food debris and grease are the perfect fuel for a fire, so make sure they are removed.
- Turn it off: If a flare-up turns into a full-on fire, turn off the burners and let it burn itself out, OR close the grill lid to lessen the oxygen so that it extinguishes itself.
- DO NOT USE WATER: Oil and water repel each other. If you spray water on a flare-up, it can cause the grease to explode (because of the high temps) and spray everywhere.
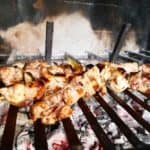
Direct vs. Indirect Grilling
This is a nice easy one to explain – direct grilling is where you cook your food directly over the heat source, and indirect is where you cook adjacent/near to the heat source.
On a gas grill, direct and indirect grilling is achieved by having separate ‘zones’. The direct zone has the burners directly underneath turned on, whereas the indirect zone doesn’t have any burners turned on; instead the food cooks because of the hot air circulating the grill.
Indirect heat obviously won’t be as hot as direct heat, so it’s a good way to cook food that might be a bit more delicate (oily fish or whole chickens) or need a lower temperature for a longer time (ribs or brisket).
How to Smoke on a Gas Grill
Not only is it possible to both hot and cold smoke on a gas grill, but it’s also probably even easier than you’d expect!
Cold Smoking
To cold smoke on a gas grill, you are best off using a pellet tube smoker and wood smoking pellets. The tube is packed with smoking pellets, and then one end is lit; once it has been left to burn for 3-5 mins, the flame can be blown out. The smoking pellet tube can then be put into the grill and the lid closed to create a cold smoker.
Hot Smoking
One of the easiest ways to create a hot smoker for your gas grill is by making a simple aluminum foil pouch filled with wood chips.
You want the pouch to be fairly robust, so it’s best to tear off two large sheets of foil and layer them before pouring dry wood chips into the center. The long sides can then be brought together and sealed by pinching or folding the foil, and the open ends can be rolled up to close it completely.
You then need to poke holes in the top of the pouch for the smoke to escape through.
Your finished pouch can sit under your grill grate directly on top of one of the burners; once your pouch has hit the right temperature, the wood chips will start smoking and you’ve created your own DIY hot smoker on your gas grill!
Shutting Down
To shut down your gas grill, you want to turn all the burner knobs to the off position and then close the valve on the gas tank. Depending on how you store your grill, you may also want to remove the regulator from the bottle. To do this, you press the ‘push’ button on the lower part, and the regulator will lift off of the valve.
If you plan to cover your grill, make sure that the hood is completely cold to the touch before doing so, we don’t want any melted fabric!
Safety
When using any type of backyard grill, fire safety rules should always be followed. However, with gas grills there are a few more to take into account, such as:
- Do not lean directly over the grill when lighting. If the gas has not been ignited as soon as it’s been turned on, it can easily create a flame that is a few feet tall.
- Make sure to keep the lid open when lighting the grill. If gas becomes trapped in the grill chamber and is then ignited, it can cause an explosion.
- If a burner goes out, immediately turn it off. Do not leave the grill unattended while in use.
If you want to be extra safe when it comes to outdoor cooking, it’s worth investing in a fire extinguisher to be kept within easy reach of your grill. You will want to buy a dry powder fire extinguisher as they work by smothering a fire/removing oxygen to extinguish the flames and can be used on gas, oil, and other flammable liquids safely.
Food Safety
Food safety is another factor to consider when cooking on a grill. Unlike ovens that produce a constant and steady temperature, grills can fluctuate, meaning that you can’t tell (just from looking) if meat is cooked all the way through.
There are a few simple remedies to this; you can either check the internal temperature of the food using a digital probe thermometer or consider pre-cooking meats such as chicken or pork in the oven first and then finish them off on the grill so that they still have that delicious smokey flavor.
You also want to have two sets of tongs to hand to avoid cross-contamination of raw and cooked meats.
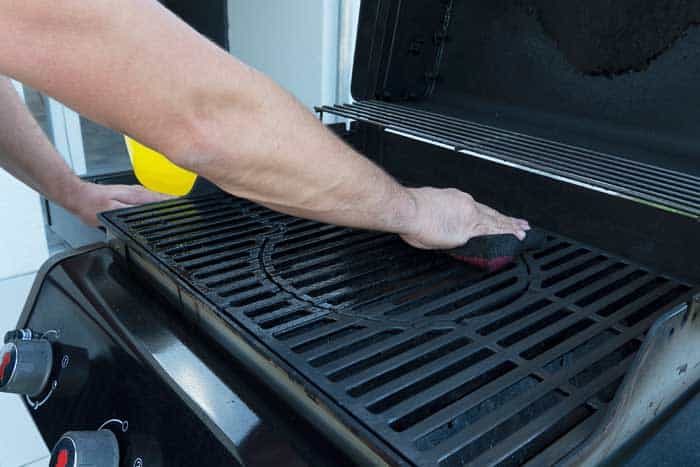
Cleaning & Maintenance
To keep it in tip-top working order, you will need to dedicate a bit of time to cleaning your gas grill. Don’t worry; we’re not suggesting you go scrub it down and polish it after each use! Here are a few points you should consider working into your grilling routine:
- Preheat your grill before each use. This high heat helps disinfect the grill and makes it easier to clean any residue and debris before cooking.
- Take out the grill grates and give them a wash. Also, give the burner covers/barriers a clean-off.
- Check the burners to ensure that the flames are even on all sides and that there aren’t any blocked ports. Blocked ports will make the flame uneven; if they are clogged, they can be cleaned with a pipe cleaner or thin piece of wire.
- Clean out the drip pan
- Every few months, check the gas hose and regulator for leaks or holes. This can be done by coating it in soapy water solution and turning the gas on (attached to the grill but not igniting it – we’re just creating pressure in the hose) to see if any bubbles form; if they do, then you have a leak, and the parts will need to be replaced.
Tools & Accessories
What is a chef without their tools? If you want to become the ultimate grill master, then there are a few grilling accessories you might want to invest in. Here’s our rundown of our favorite must-haves:
Digital Thermometer
A digital thermometer is a must-have if you have a gas grill; not only can it help you determine the temperature in your grill, but it can also be used to check that food has been thoroughly cooked.
We suggest getting an instant-read digital probe thermometer as they are easy to use and accurate. Better yet, if you can get a wireless one, they won’t get in your way as much when cooking!
Smoker Box
If you don’t fancy making your own mini hot smoking pouch for your grill, you can always buy a purpose-built one! A simple add-on smoker box is affordable and the difference they can make to the flavors of your food makes it one of the must-have editions to your grilling set-up.
Pizza Stones
Investing in a good gas grill pizza stone is a fantastic way to ensure you’re getting perfectly cooked pizza every time. They work by absorbing moisture to help create a crisp base while also distributing heat evenly to ensure an even bake.
Cast Iron Skillets
Nothing holds heat quite like cast iron! We’ve already talked about how it’s hard to maintain an even temperature with an open grill, but it’s not always practical to keep the lid of your gas grill closed. If you’re looking to cook something that needs good steady heat, you’ll want to get yourself a cast-iron skillet.
Rotisserie Insert
Cooking meats on a rotisserie can help to make them tender and juicy. Turning them on a spit means that they get a nice even cook all the way around, and since the juices don’t escape or evaporate as quickly, they end up being self-basted!
Using a rotisserie on a gas grill is a great way to add extra variety to your BBQ spread. You can buy rotisserie kits that are specifically made for your grill or opt for a universal one (which are generally more affordable)