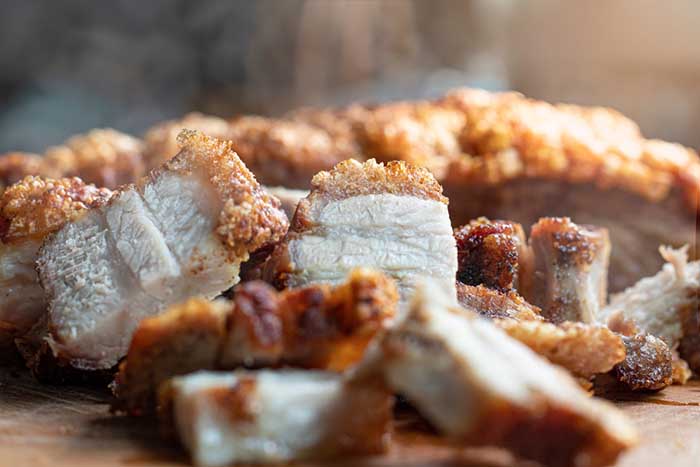
Easy pork crackling made from trimmed pork belly. Made with a salt dry brine and olive oil rub before grilled over low heat, these dried pork skin squares are deliciously crispy.
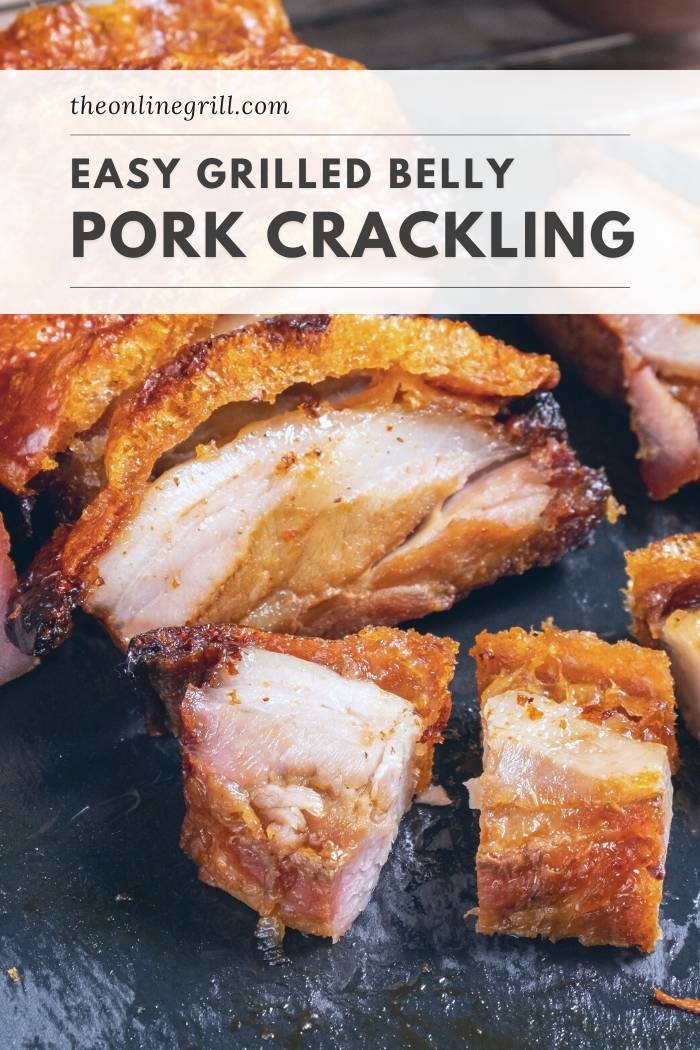
Enjoy a tasty, crunchy, savory bite of pork crackling. Available around the world, pork cracklings are more than a trendy snack. Whether produced commercially or made with love in your home, they leave a lasting impression on your taste buds.
Pork crackling has many different names, ranging from gratton to cracklin‘, and chicharrón to pork scratchings. No matter, what you call them, here’s how to make the best pork crackling at home on your backyard grill.
What is Pork Crackling?
A favorite of the Southern states, pork crackling is pork skin cooked over hot, dry heat to turn it beautifully crisp. With the fat layer underneath and a touch of pork meat still attached, these crunchy bites still carry rich pork flavoring, and preparing them on the grill takes the flavor to a new level.
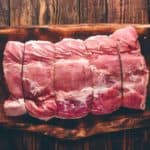
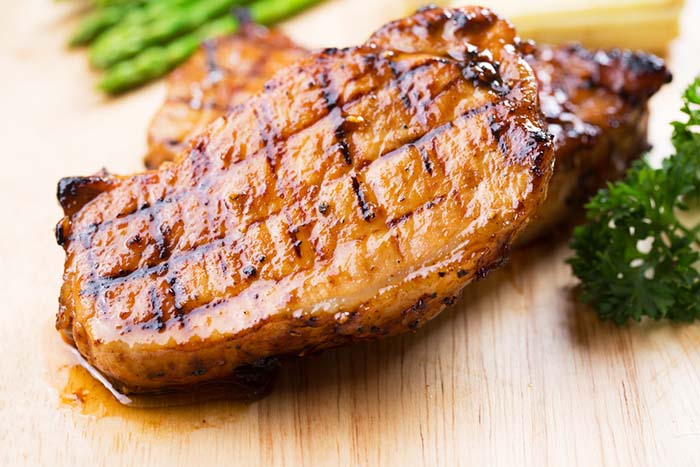
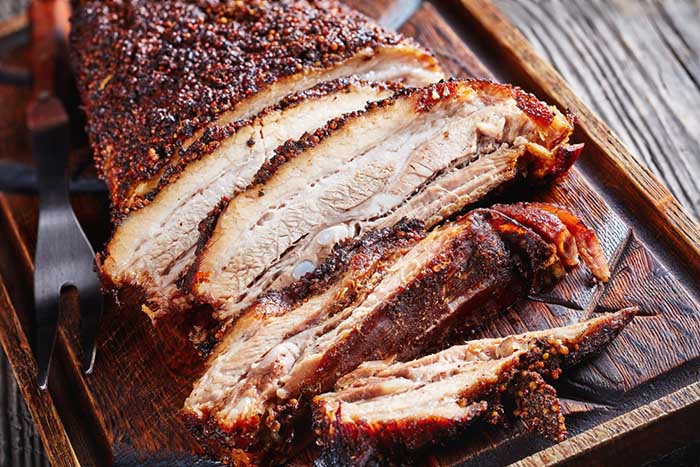
To make your own homemade pork crackling, you’ll need a pork cut with high-fat content and wide surface area. Some people go for loin or shoulder here, but I much prefer to use pork belly. The meat cut’s large surface area and thick fat layer make it rich and flavorful, as seen in our smoked pork belly recipe.
Unlike our low and slow approach for our smoked pork belly recipe, we’ll be prepping our crackling on the grill. Why? To create that iconic crispy top, we need to cook the pork over hot, dry heat. This means we need to do three things: Trim the meat off to remove excess moisture, salt the pork belly overnight to draw out more water content, and cook over hot indirect heat.
How to Make Pork Crackling on the Grill
- Rest and Dry: allow your meat to rest and dry for at least 24 hours. Try drying your meat in a cool refrigerator or meat locker.
- Prepare Your Grill: If you are using a charcoal grill, electric grill, or gas grill, prepare your grill to ensure that you will have proper cooking temperatures to produce a mouthwatering crackling.
- Tenderize: Now, take a moment to tenderize your meat manually. You can do this by pounding the pig cut with a mallet. If any excess moisture is present, pat it dry with a clean paper towel.
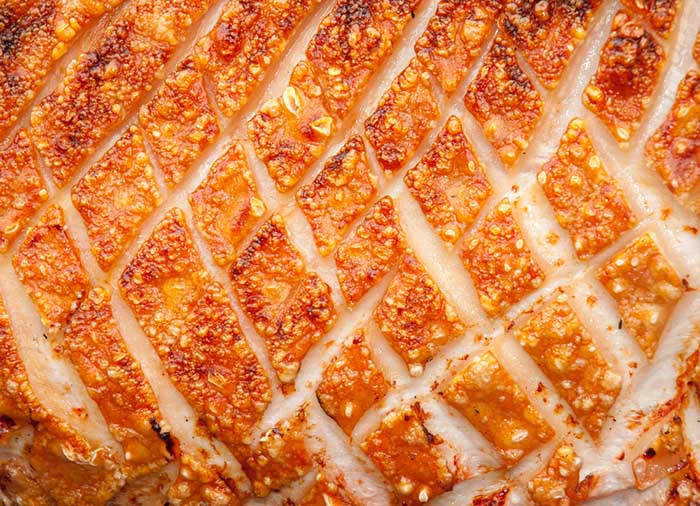
- Score, Score, Score: Carefully score the skin for crispy crackling. You can choose to score in a grid pattern or another pattern of your choice.
- Salt it Down: Add salt generously to your scored pig cut. Note: If you still have a lot of moisture in your meat, you can choose to coat the meat in salt and allow it to sit for at least one hour. Afterward, you can then remove the excess salt.
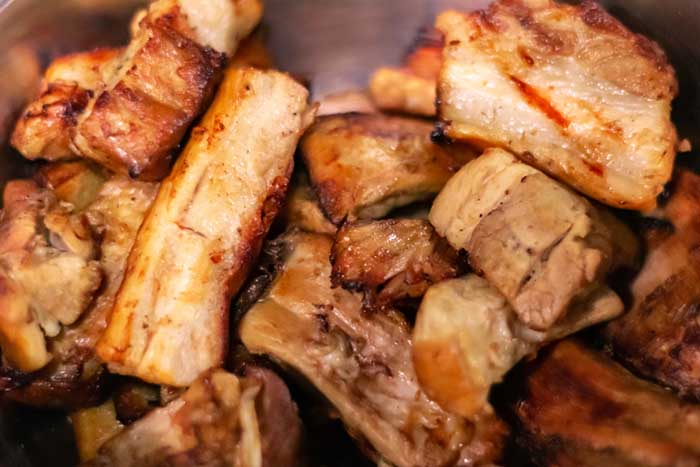
- Add to Heat: You can now add your crackling to your grill. If you cut your crackling into small squares, applying the meat directly to the grill gates isn’t recommended. You can place your crackling in a tin pan.
- Cover, Don’t Hover: Maintaining a constant high temperature is necessary to make the best tasting crackling. Cover your grill when cooking crackling. You will be tempted to check it often, but don’t hover. Every time you open the grill cover, you lose large amounts of heat.
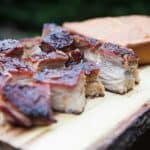
- Plate and Enjoy: After a couple of hours, your crackling should be near a golden brown crispy state. Remove from the heat. Season with your favorite dry rub. Enjoy!
Making the crispiest pork crackling can be pretty long, but the salty, crispy, and meaty texture is all worth it.
Why is it Important to Score the Skin?
Scoring the skin of your pig cut is a required step in making crackling. Take a sharp knife and make thin cuts into the skin along the width of the pig cut.
While scoring the skin, make sure that you don’t cut too deeply into the fat that you penetrate the meatier portion of your pig cut.
Making shallow cuts into the skin is necessary. The shallow cuts allow air and moisture to get beneath the skin. This helps with obtaining crispy pork cracklings.
Why is Salt Important?
Salt serves a multipurpose function when making crackling. It removes moisture from your meat and renders the fat while cooking, adding flavor. All are important to achieve crispiness.
The best crackling uses lots of salt. There is a science behind salt in cooking. Once you have scored your pork cut, the salt penetrates beneath the skin to remove excess water. Less water, less moisture give crispier pork cracklings.
Why is it Important to Cook Over Dry Heat?
Dry heat cooking techniques like grilling or barbeque, smoking, or roasting will not add the moisture you worked so hard to remove from your pork cuts. High temperatures are required to reach the desired outcome. Pork crackling is delicious, but soggy cracklings are not the best.
Cooking over dry heat is vital. Pork cracklings are most delicious when they have a crispy texture. You can achieve crispiness by cooking with dry heat whether using a grill, an oven, or a smoker. Dry heat at high temperatures allows the meat and fat to cook without added moisture.
Leftovers
If you are fortunate enough to have pork-crackling leftovers, then you must store them properly to have extreme deliciousness on the next day.
How to Store Leftover Crackling
After cooking your pork crackling and enjoying yourself, you can now store your remaining pork crackling in an airtight container. That can be your favorite Tupperware storage container or a freezer bag.
You can store your leftover crackling for up to four days in your refrigerator. However, if you choose to freeze your leftover pork crackling— this method is not recommended due to the increased chance of changing the texture of the pork crackling— then try to avoid freezing it for more than two months.
Reheating Leftover Crackling
There are two methods to reheat pork crackling that do not compromise the taste and texture of the crackling.
- Oven: To reheat pork crackling, place your crackling on a baking sheet in a preheated oven at 350 degrees Fahrenheit for 15 minutes.
- Air fryer: Heat your air fryer to 400 degrees Fahrenheit, place your pork crackling on parchment paper and reheat for 10 minutes.
Microwaving leftover pork crackling is not recommended. Chewy, soggy pork crackling tends to be the result of microwave reheating.
Grilled Pork Crackling
Equipment
- meat tenderizer
Ingredients
- 2 lbs pork belly with skin intact
- kosher salt
- olive oil
Instructions
- Trim pork belly by leaving the skin and fat intact, but remove most of the meat. We only want a tiny amount of pork still left on the cut.
- Apply salt to the pork skin and cover with foil or a clean dish towel. Place in refrigerator overnight.
- Tenderize pork with a mallet and pat dry with paper towels
- With a sharp paring knife, score the skin surface in a grid pattern
- Fire up grill to 225°F (107°C), ensuring you are set up for 2-zone indirect cooking
- While the grill warms up, cut the belly into strips, each about 1-inch in width
- Apply olive oil to pork skin, before adding another layer of kosher salt
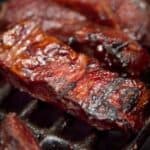
- Place pork skin strips on grill grates. Close lid and smoke for 1 hour.
- Increase heat to 400°F (205°C) and smoke for a further 30-45 minutes, until the pork surface has started to brown
- Remove pork from grill and transfer to wire rack or paper towels. Leave to cool and for excess fat to drain from pork.
- Once cooled, cut into squares. Enjoy immediately or refrigerate for up to one week.