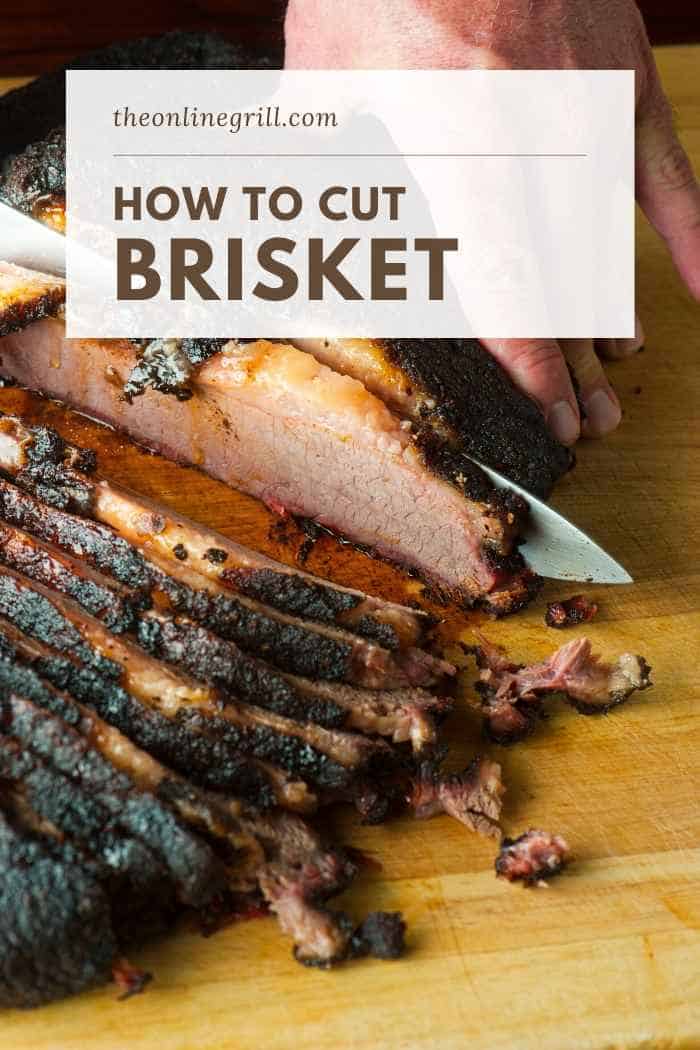
Find out everything you need to know with our step-by-step guide to cutting the perfect brisket.
Brisket is one of the most delicious, insanely massive cuts of meat out there for BBQ, and smoking is perhaps the most beautiful way of preparing meat. Is there a better barbecue matchup out there?
Getting the preparation just right isn’t easy, and slicing the meat into even, tender strips is much harder than it sounds.
It can be done though, and in my guide today I’m here to walk you through exactly how to cut brisket.
Four easy rules for cutting brisket perfectly:
- Cut against the grain when cooked
- Don’t cut the point and the flat together
- Use a serrated knife for cutting
- Use a sharp knife for removing the fat
Slicing brisket is where you can either be rewarded with beautiful cuts of meat, or punished with the disappointment of botching the joint.
You need to do it in a particular way, and this is where it can all fall apart for some people. This can be the difference between getting it right with tender slow-cooked meat or serving up string-like, chewy beef.
The cutting needs to be done in two stages: One prior to smoking, and one after.
We need to cut it down to size so you can fit it in your smoker while ensuring that we keep the fat content we need to keep it as delicious as possible.
After smoking, they can still be difficult to cut properly. The grains in the muscle meat run at different angles and directions, making cutting them a complicated process.
Check out my guide on how to smoke brisket.
The Main Parts of a Brisket
Brisket’s taken from the lower chest of a steer, but for a long time this cut of meat was disregarded and left unused due to the meat’s tough texture.
As BBQ methods have evolved however, brisket has found its way back on our menus. And boy am I glad it has!
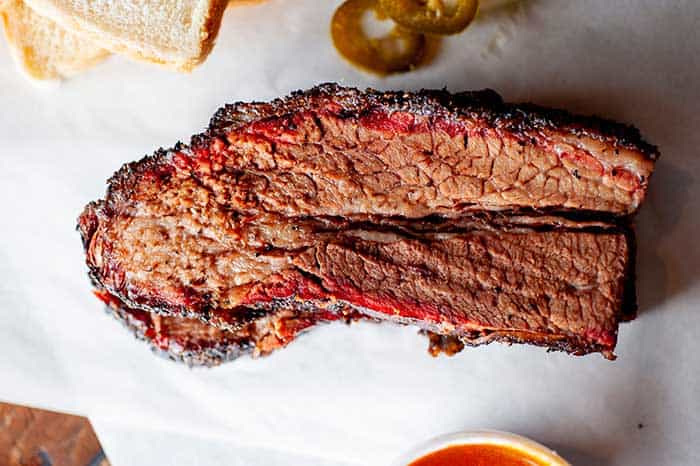
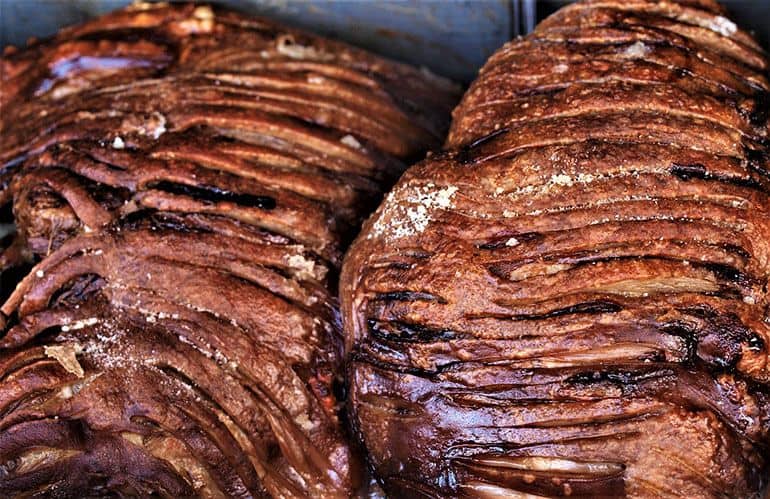
Brisket falls into two main parts: The point (sometimes called the deckle), and the flat.
These two parts are separated by a thick layer of fat. Another layer of fat sits on top of the brisket. We call this the fat cap.

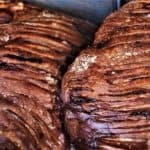
The point has the most fat on it, with the appearance of streams of fat running through it.
The flat has less fat on it and, true to its name, is flat in shape.
What to Look Out for
When choosing your brisket, make sure it has three things:
- Moisture. We want the meat to have maintained a level of moisture so that it can be juicy when it cooks
- Red. We want it to still look red in color so that we know it’s still fresh
- Quantity. We don’t want to break the bank for the sake of quantity here, but aim to have about 100g of meat per person you are cooking for.
Cutting Against the Grain
In this post I’m going to refer to ‘the grain’ a lot, and this is important. Often when serving, you need to cut meat against the grain, and brisket is no different. But why?
The long muscle fibers that form meat tend to align in patterns, and the direction of these patterns is what we refer to as the grain.

Muscle fibers are also very strong (because, you know, they’re muscle), which is what can make them chewy and tough to eat.
Muscles are able to contract and stretch, which is what makes them difficult to break down. As a result, if you were to try to cut the meat along the grain then it would be hard to do so, and any meat you did manage to yank off would be stringy and messy.
Separating fibers however is a lot easier than trying to tear them from end to end. If we cut against the grain, then we can get in between these fibers much more easily.
This makes slicing meat a lot simpler, but also the slices will be much easier to chew because the muscle fibers will be shorter rather than long strands. The meat will feel much more tender and satisfying to eat, as well as making it much easier on your poor ol’ gut to digest. So our aim is to cut the meat into short fibers and avoid having long strands. This is best done by cutting against the grain and helps us prevent ruining a high-quality serving of meat.
While a whole brisket contains both the point and the flat, if you’re concerned about space limitations then you might want to opt for just one. The point offers more fat and a juicier cut, while also lending itself much better to shredding.
On the other hand if you want something lean that can be easily sliced, then the flat is the cut to go for.
Remove the Fat Cap
To start things off we’re going to remove the thick layer of fat that sits on top of the brisket. The majority of this fat will be fixed on the point area of the meat.
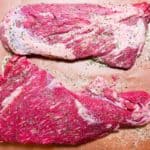
You have two choices here: You can either trim the whole thing off, which allows you room to apply more seasoning and beef brisket rub.
Alternatively, you can cut off most of it but leave a small bit of fat (usually about an inch) on top. While a small area of meat, this will allow you to impart a bit more of the fatty flavor on your meat as it smokes, and is an approach that the Aaron Franklin brisket method takes.
Whichever you choose, use a sharp slicing knife to remove the fat. The best way to do this is to mark the layer in sections about one inch by one inch, and use your knife to slide under one section of fat at a time and remove it. You might need to saw the fat with your knife back and forth a bit, but it will come loose with a bit of work.
If you’re only removing part of the fat, try to only remove the thicker parts of the fat. These are generally found around the top of the brisket.
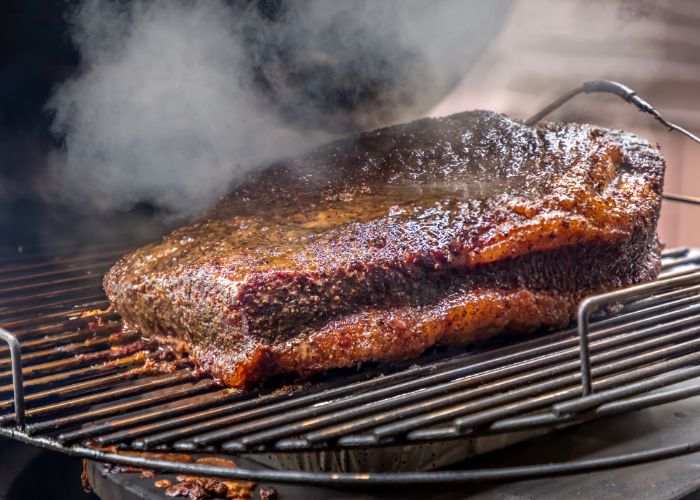
Quick tip: When you smoke your brisket, make sure that you place it fat side down on your smoker grates.
Trim the Flat
If you are only using the flat then you will find the fat mostly just on one side, and also a small spread of fat on the underside of the brisket. You can do this quite easily by pushing your knife underneath the fat and sawing it off.
It’s important to remove these smaller areas of fat as they can operate as a wall between the meats, obstructing the spread of flavor through the cut. Obviously, you will also need to remove this if you are also just smoking the entire brisket.
Don’t throw out the discarded fat right away. You can reuse the fat to make beef tallow, which you can then repurpose for sautéeing vegetables, skillet-fried potatoes, or pan-seared steak.
Remove the Dividing Fat
Finally, if you are using the whole brisket then look out for the large strip of fat that sits between the flat and the point. To retain the brisket as a whole you’ll need to largely keep that strip, but do try to trim some of it off.
Do this by shaving off small pieces of the fat on the edge. Do this until you start to see the meat underneath.
Find the Grain Direction
It’s important to cut against the grain on brisket to help produce more tender cuts of meat.
Place the cooked brisket on a chopping board. You’ll need to examine the flat and point carefully to find the grain. This is the direction in which the lines of the muscles run through the meat.
On either the flat or the point this grain should run in just one direction, but if you are using a whole brisket then these will likely run in two different directions. You can separate the flat and point to try and make this easier.
Slice the Cooked Brisket
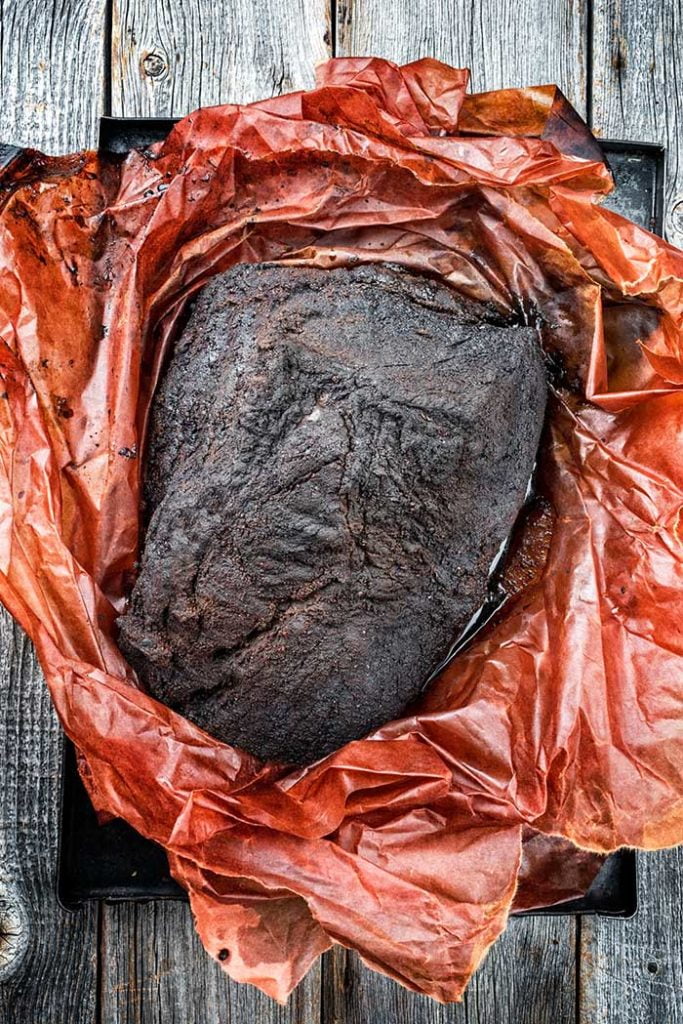
After removing the brisket from your smoker, allow it to rest for 20-30 minutes. This will help the meat retain its juices.
Important: If you are looking to cut very thin slices then you will want to wait a few hours in order to allow the meat to cool and firm up.
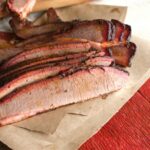
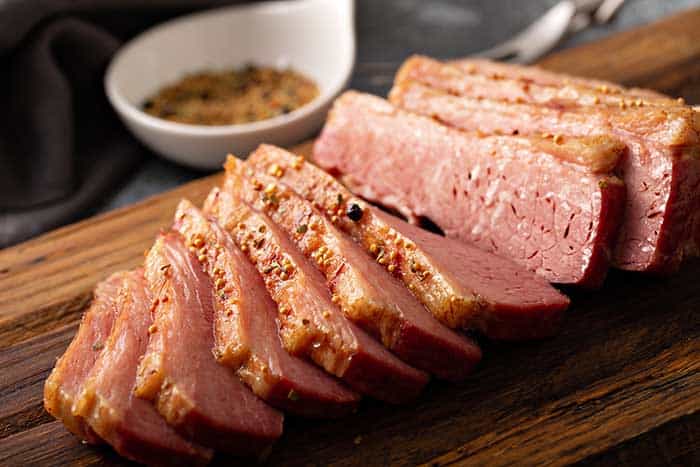
Using a long, serrated knife. If you’re not sure what to use, check out my guide to the best knives for slicing brisket. Cut the brisket against the grain in short strokes in a see-saw-like fashion, working from top to bottom.
Try to achieve a thickness of about ½ cm / ¼ inch. If the meat feels a bit unsteady and like it won’t hold at that thickness, then try to go a bit larger.
Try to leave some of the bark on each slice.
Now on to the point.
First, cut it in half in the opposite direction to that of the flat. Once in two parts you’ll be able to see the grain.
Start with one half. Turn it 90 or 180 degrees so that you can work against the grain. Start at the middle and work towards the outside, again slicing in ¼-inch slices. Again try to let each slice have a slither of bark on top of it.
Now ready to serve! Pro tip: Try to save the end pieces for yourself. They’re the best bit.