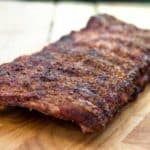
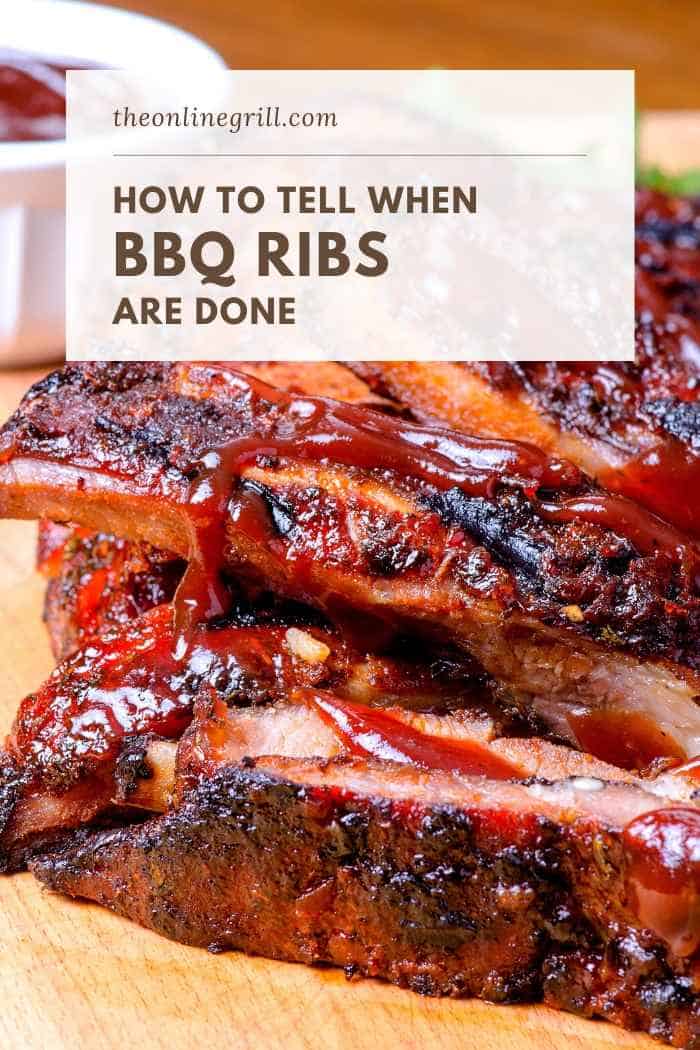
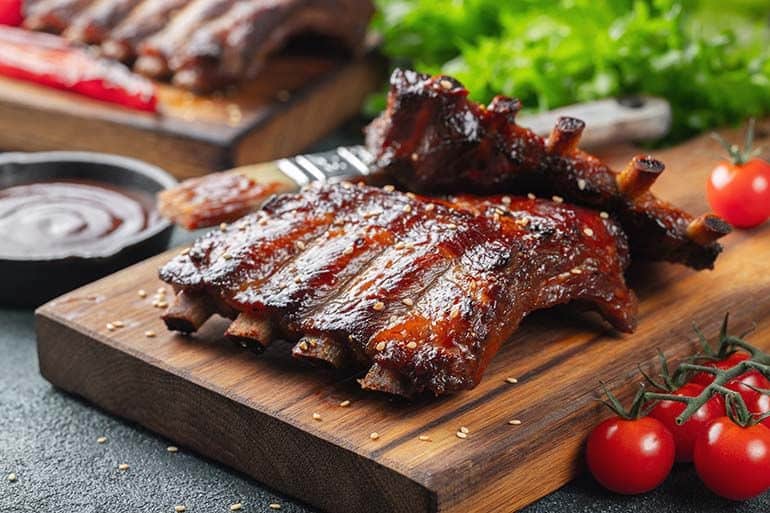
Want to know the secret to perfectly cooked BBQ ribs? Here’s our guide walking through everything you need to know, and how to know when ribs are done.
Cooking pork ribs is a lot more difficult than it looks. The thin layer of meat that stretches across the rack makes it difficult to get the timing just right.
You need to strike the perfect balance with bbq ribs. They need to be smoked long enough for their fat to render, but without cooking them for so long that they dry out.
That’s how we can get that beautiful drip-off-the-bone feel we all love.
In this post, I’m going to break down all the possible tests you can do to know when your perfect BBQ pork ribs are ready to eat.
A quick note: There’s often disagreement about what ‘done’ actually means. In this article, I’ll go by when the meat is safe to eat. This is when enough of the tough connective tissue and fat has broken down to make it delicious. This is broadly agreed as 145°F/63°C (source), at which point the ribs are beautifully tender.
Let’s get into the tests!
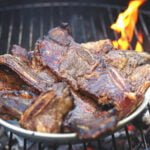
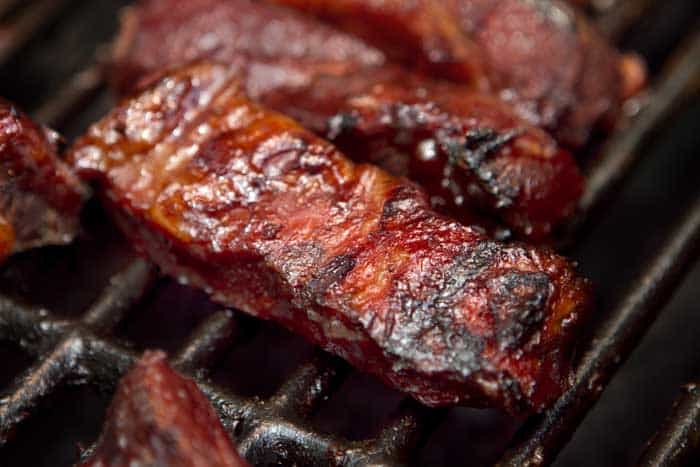
The Bend Test
This method has been trusted for years, and remains my favorite to this day.
It’s quick and simple, and gets the job done. Plus, who doesn’t like getting their hands dirty when grilling?
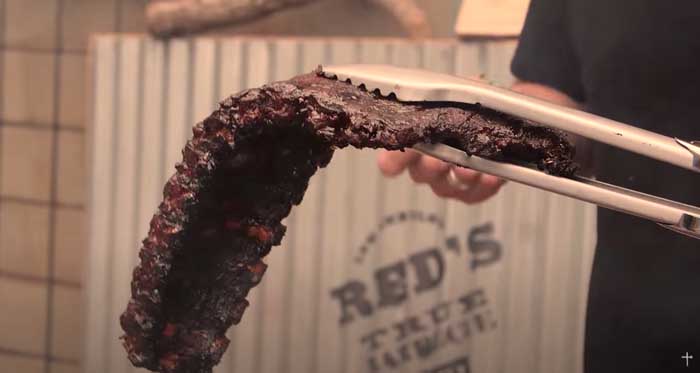
Pick up the rib rack with a pair of tongs. Lift it gently and jiggle or bounce it slightly. Pay close attention to how easily the meat cracks or breaks free from the bones.
This is a good indicator of if the meat is ready or not. The larger the crack, the more ready the rib.
If the crack is small then you’ll need to put the rack back on the grill for a little longer.
This method can take a little bit of practice to get used to, but once you get to grips with it you’ll never look back.
The Toothpick Test
Some methods stand the test of time for good reason, and the toothpick test is a great example of just this.
It’s one of the easiest methods out there for testing cooked meat, and is perfect for BBQ ribs.
Use a simple toothpick to gently poke into the flesh between the bones of the rib rack. If it’s ready, the toothpick will slide into the meat with very little resistance.
To make absolutely certain, I often poke a couple of holes elsewhere on the rack. Flesh thickness can vary across the same cut of meat, and you can never be too sure!
We love the toothpick test because it leaves your meat looking great without creating any real damage on its surface.
But be careful not to burn your fingers!
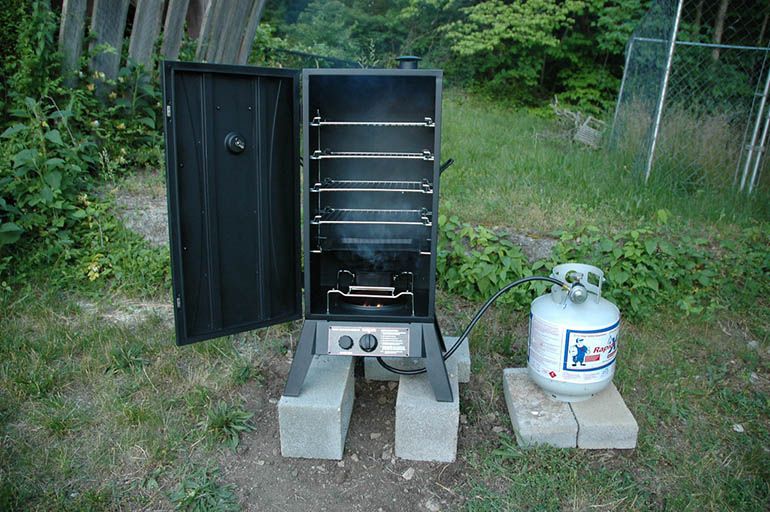
The Time Test
If you would prefer to rely on simple target times and temperatures like you would with an oven, then you can simply go by this rule.
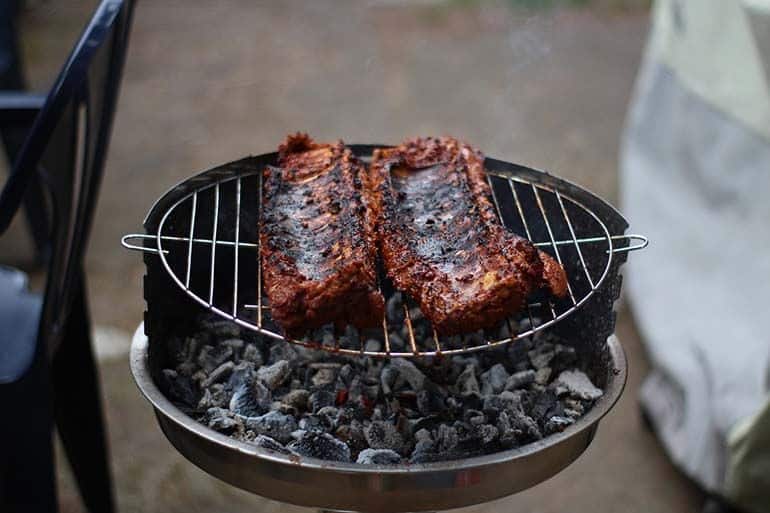
Pork ribs need to be cooked at 225°F on your grill or smoker. If you are cooking baby back ribs then aim for between 3 to 4 hours. If you are cooking St Louis ribs then you will need a bit longer, at about 5 to 6 hours.
Your ribs won’t quite be ready just yet though.
After this, cover the rack in BBQ sauce and then cook over high heat for a further 10 minutes so that the sauce can sizzle and work its way into the meat.
Cooking this way allows pork ribs to slowly come to ideal internal temperature, before then blasting them with heat to get them over the finish line.
The obvious drawback here is that it’s not the most reliable method. It doesn’t take into account a number of variables that can impact how your meat cooks.
The Taste Test
Just as the name suggests, this test involves getting a small chunk of the meat from the grill and tasting for its readiness.
The Taste Test is a great way of whetting your appetite as you wait for the main meal. Also, there is no wastage as you get to eat each piece you taste.
The down side here is that you run the risk of eating uncooked meat. This isn’t just disgusting to eat, but has obvious health and hygiene ramifications.
But, hey, nothing ventured nothing gained… Right?
The Pop-Up Test
This method relies on plain sight, but is widely used by experts who claim that the meat pulling back up the bone of the rack is a good indicator of doneness.
A good guide is to look out for the flesh pulling up about one-quarter of an inch up the rack.
There isn’t a lot that’s scientific about this method, but I like it because it doesn’t involve disturbing the meat while it cooks. This means that cooking heat should stay consistent and doesn’t need you to get close to the heat.
The glaring problem here is its unreliability. Meat can shrink more when temperatures are higher, even if the center of the meat isn’t cooked properly.
Not just this, but if you are cooking at a low and steady temperature of around 225°F then the meat might not recede until late on. This could mean that the meat is overcooked when you serve it.
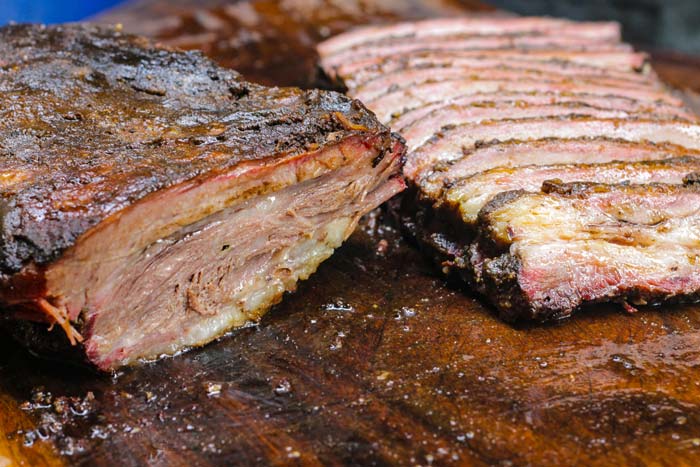
The Peek-a-Boo Test
This is another visual test, but instead requires you to get stuck into the meat.
When you think the ribs are close to done, you cut into the flesh and have a quick look.
Signs that you’ll need to look out for are a white color developing at the edges. Also pay attention to the absence of any deep pink spots, as these indicate blood spots.
If you have smoked your ribs, it’s common for the flesh near the edges to be pink in color. However, all meat closer to the center should be tan or white.
While a little impractical, a lot of people like this test as it allows you to develop a broader understanding of when meat is ready. If you’re a budding grill head, then this method could help you develop useful skills pretty quickly.
The big drawback here though is that once pork ribs are cut into, that flesh is exposed. If they need to be cooked for longer, the surface of the exposed pork or beef will cook faster and perhaps even dry out.
This isn’t a problem if you wrap them in aluminum foil, so is still a perfectly good method if this is your chosen grilling approach.
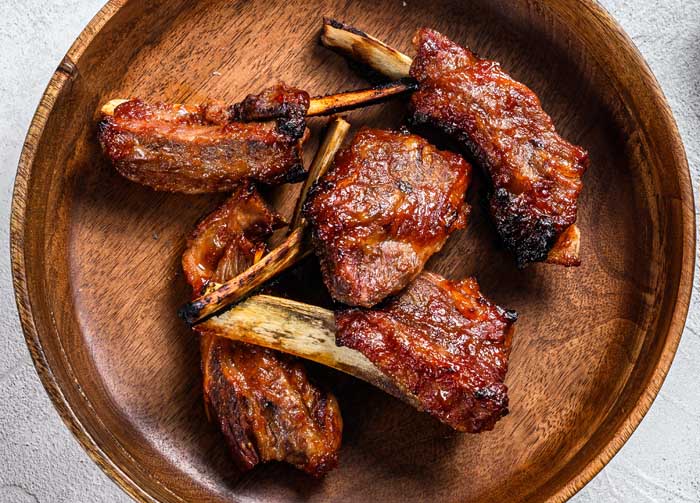
The Twist Test
I love quick and easy tests like this one.
The twist test simple involves cutting off one piece of the rib, and then gripping it in the middle. Gently twist it and see how the meat falls off from the bone.
The more the meat breaks free from the bone, the closer to cooked it is.
This will make that particular bone unpresentable, but is often a good indicator for how the remainder of the rack is developing.
FAQ
What temperature should you cook ribs on the grill?
As a general rule, a temperature of 225°F (107°C) is recommended when cooking ribs on the grill or smoker. At this temperature, it will take somewhere between 5 and 6 hours to have the ribs cooked.
There are variables that can impact on this. For example, are you wrapping your ribs? Are you cooking on a grill or a smoker? However, 225°F is always a safe bet.
In either case, your preferred cooking temperature will be determined by your cooking method.
If you have the luxury of time, you can set the grill to low and slow. If you are a little pressed for time, you can ramp up the temperature a bit to speed things a long. Doing this runs the risk of letting the meat dry out, so try to BBQ smoke them if you can.
See my guide to meat smoking times and temperatures.
Generally, ribs require grilling at a minimum temperature of 190°F (88°C). This is the ideal temperature that breaks down all the connective tissues that account for their lack of tenderness. However, cooking your ribs on the charcoal grill at a temperature of 225°F will not necessarily make them tender.
You can follow these steps to getting your ribs as tender as possible:
- Smoke them for 3 hours unwrapped
- Cook for a further 2 hours, this time wrapped in foil
- Cook for a further hour, wrapped in the foil, but this time at a higher heat
As opposed to a charcoal grill, a gas grill is ideal for fast cooking. So, you will definitely be working with high temperatures here. But as is the case with a charcoal grill, a steady heat of 225°F (107°C) will ensure your ribs cook for a period of 6 hours or so.
Needless to say, the temperature will also be impacted by various factors such as whether the ribs are wrapped in a foil or not.
But since gas grills are ideal for fast cooking, you need not work with the standard temperature of 225°F (107°C) . Instead, you can increase the temperature to 325°F (163°C) and cook the ribs on top of a rack unwrapped. This way, you will only need some 1 to 2 hours to break much of the connective tissues making them tough.
After about 2 hours, watch out for a deep color and wrap them in a foil to allow some steam to escape. You can then take them back to the grill and cook for 1 to 2 hours or so.
What are undercooked ribs like?
Color
Ribs that ready to eat should have a tan or white color. They may have a little pinkness near the surface but the center of the meat must always be white or tan.
Feel and texture
The ribs should easily break away from the bone when you tear them with your teeth (source). There might be a slight cracking sound too.
Taste
Taste will vary depending on the type of meat. However, cooked ribs will be tender and sweet to taste.