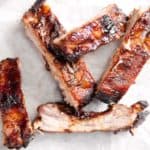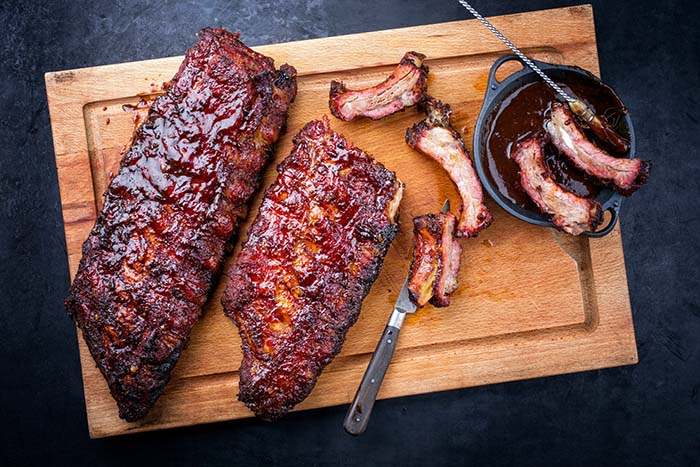
Smoke the perfect barbecue pork ribs on your charcoal grill with our step-by-step recipe and guide. Cooked over indirect heat and applewood, this smoked rack of spare ribs will rival anything you’ve had before.
Any good BBQ chef knows his way around a good rack of ribs, but some fall short by thinking they don’t have the right equipment. While ribs are traditionally cooked in a smoker or Kamado grill, they can actually easily be made on a charcoal grill as well.
Charcoal grills are often underrated for their flexibility, and unlike their gas brothers, they can actually be turned into brilliant smokers without compromising on that classic smoky BBQ taste.
Today’s guide will walk through the steps on how to cook ribs on a charcoal grill.
Need a recipe? Check out our Texas Style Baby Back Ribs
Gear Up
There are a few essential tools and ingredients you’ll need to get your ribs smoking.
You will need:
- Charcoal grill
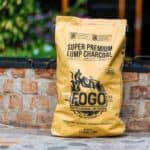
- Charcoal
- Hardwood chunks
- Rack of ribs (either sparerib or baby back)
- A good Rib Rub (Ingredients below)
- 1 disposable aluminum pan, about half the size of your charcoal grill
- A meat thermometer
- Heavy-duty aluminum foil (if you intend to wrap your ribs)
- Barbecue sauce
- A large knife
- Meat scissors
How to Prepare the Ribs
The key to any good round of ribs is proper preparation. This stage can make or break the success of your meal and neglecting good prep will give you bland, inferior ribs. Simply throwing them as you bought them onto the grill isn’t going to cut it.
For your rib choice, I suggest going for pork. And then there are 2 varieties: Spare or baby back ribs.
Personally, I prefer spare. They’re cut from the belly-end of the ribs, so are much meatier. Baby back are a little shorter but still an excellent choice. Cooking time tends to be about 4-5 hours for spare and 3-4 for baby back.
It’s also important to bear in mind that your grill will dictate the size of the rack that you can cook at once. We want as much of the ribs to be exposed at once, so it’s not a good idea to pile them on top of each other. As a result, you will probably only be able to fit one rack of spareribs on the grill or two racks of baby back. Keep this in mind when preparing your ribs.
You will then need to cut the ribs down to just the rib rack. If you haven’t done this before, check out my full guide on how to trim spare ribs.
Start by removing the membrane from the rack. Not a lot of grillers do this, but doing so removes this thin skin off the back of the ribs, allowing them to be tender and packed full of flavor.
You can do this with just a table knife, inserting it between the membrane and bone. Try to glide the blade around a bit until enough of the layer has loosed so that you can tear it off with your hands. Use a paper towel if it’s too slippery.
Once you have managed to peel off the membrane, trim off any excess fat with a pair of meat scissors. If you don’t have scissors, then use a sharp knife. Once you have done this, check the ribs for any loose meat. You will want to remove these so that all you’re left with is a clean and beautiful rack of ribs.
Use a Good Rib Rub
As with so many cuts of meat, a crucial stage of preparation is using a good rub. This will help infuse the meat with flavor while it’s cooking, while also creating a light crust over the pork, help to give it that satisfying crunch upon eating.
Many people like to use BBQ sauce, but I prefer to go without. For me, a good rub is better than any BBQ sauce.
Meat rubs are widely available online or in stores, or you can even make your own simply by thoroughly mixing your choice of herbs and spices in a bowl.
My homemade dry pork rub recipe contains:
- Smoked paprika
- Brown sugar
- Garlic powder
- Black pepper
- Onion powder
- Salt
- Oregano
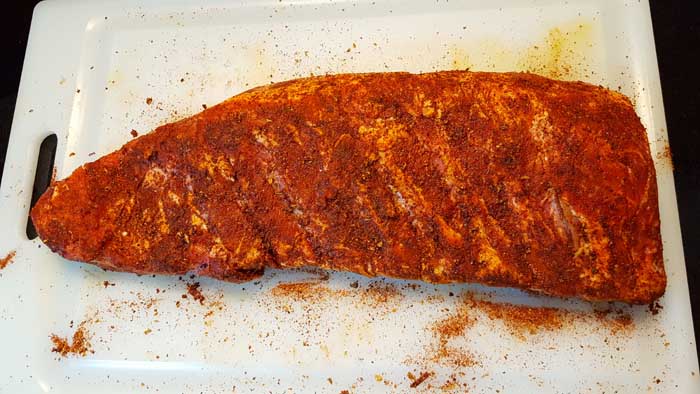
Whichever rub you choose, spread it generously on your ribs. Make sure you cover the entire surface of the rack, including the back and edges.
I always tend to do this immediately before cooking. Some people do it a lot further in advance, but there’s still a risk that if you do it too far in advance (as in, a day or more), then the spices start to cure the meat, making it a little more like ham.
How to Prepare the Grill
Our main aim here is to turn our grill into a smoker. This actually takes a bit of skill because we need to keep a good, constant heat of about 250F/120 C. Not only will this require the use of a good meat thermometer, but also a little knowledge of indirect cooking.
If you’re unfamiliar with indirect cooking, it’s a method that places charcoal lumpwood under one half of your grill grate, leaving the other side clear. You then put your meat on this clear side, allowing the heat inside the grill to cook it rather than the direct heat from the flames.
For a full guide check out my guide to indirect grilling.
With this approach, we’re going to be a bit creative and call on the help of a disposable aluminum pan. We’re going to fill it with water and use it to add moisture to our grilling environment, in turn helping to regulate the temperature. More on this in a moment.
Make sure your BBQ’s grates and drum are both thoroughly clean before cooking. There are a lot of benefits to having a spotless BBQ, so if your grill is dirty then I’d put aside half an hour to really clean it.
Once clean, remove the cooking grate and light the charcoal. There are a few methods to this, so if you’re not sure how to do this then take a look at my guide on how to light a charcoal grill.
You’ll need enough charcoal to cover half the grate area, and also enough to create 2-3 layers of charcoal.
Once the charcoal is lit, place it at the bottom of your grill and position it so that it is only covering half of the grill area. Add several large hardwood chunks to the charcoal. This will help us generate smoke throughout the cooking process.
Place the grate back on the grill. Fill your aluminum pan with water and place it on the half of the grate directly above the charcoal. The idea is for this to create a constant supply of steam, but do keep an eye on it: If it starts to finish up, you will need to refill it.
Remember that we are aiming for an internal temperature of 250F/120 C. If it passes that, then open the vents on the roof of your grill to allow some heat to escape. If needed then feel free to keep them open to allow enough ventilation to maintain a consistent temperature.
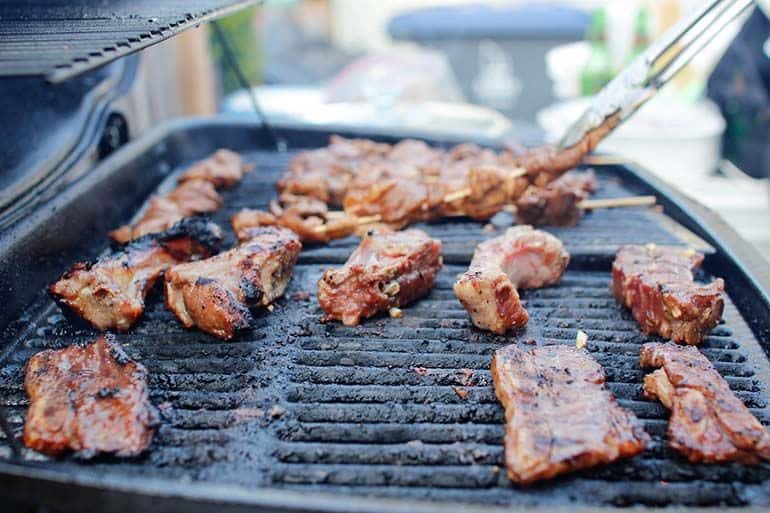
How to Charcoal Grill Ribs
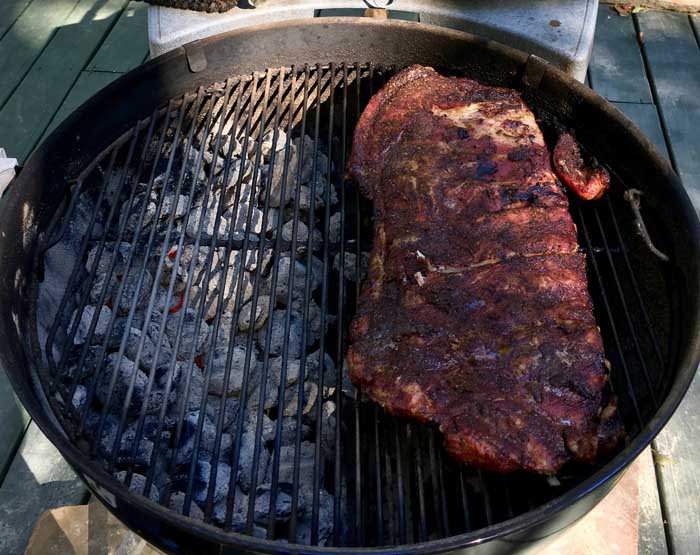
Now that our grill is ready, it’s time to get this rib cook-off going! Place the racks on the grate of the grill, ensuring that they’re placed on the half of the grate without charcoal underneath it, next to the water pan. Place them with the rib side of the rack facing down.
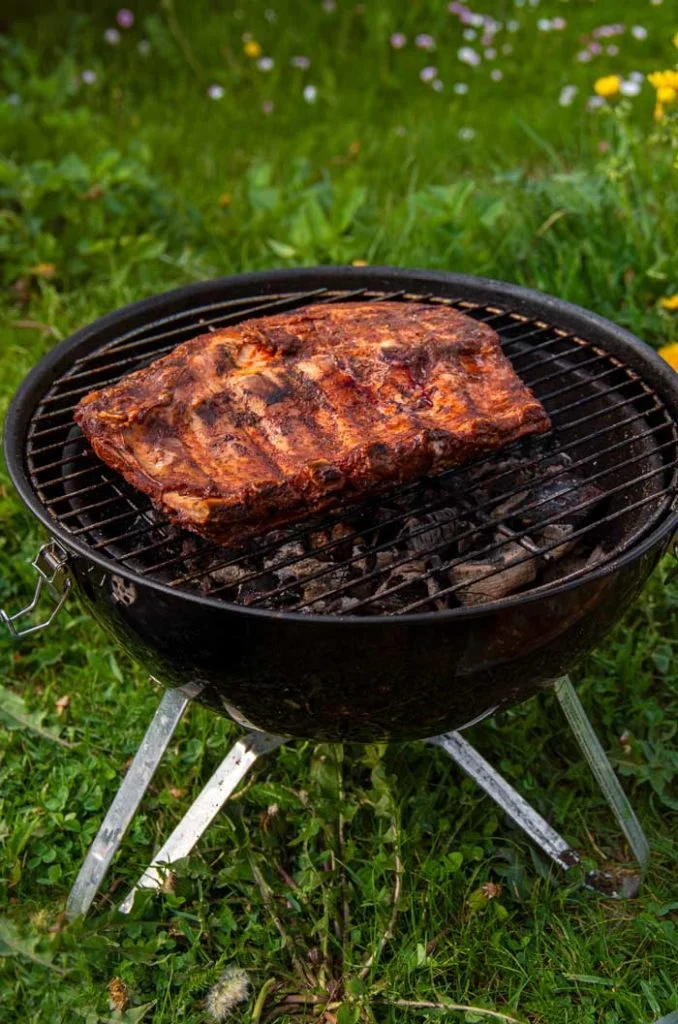
Aim to cook for 3-4 hours for baby back ribs, or 4-5 hours for spare ribs.
After one hour check on the ribs, making sure that the charcoals are burning nicely and keeping the grill hot. Also check that there’s enough water in the pan to maintain a healthy supply of steam.
Add a few more wood chunks to the coals and turn the ribs over to help give you a more even cook.
Check out our guide to smoking ribs on a gas grill
How to Wrap Ribs
Another hour later, check on the ribs. We want them to curve slightly without breaking. If they’re yet to reach this point, allow them to cook for a little longer. However, if they are bending nicely then double wrap the ribs in aluminum foil. We do this to help increase the internal temperature of the meat while also holding in moisture, making them extra juicy.
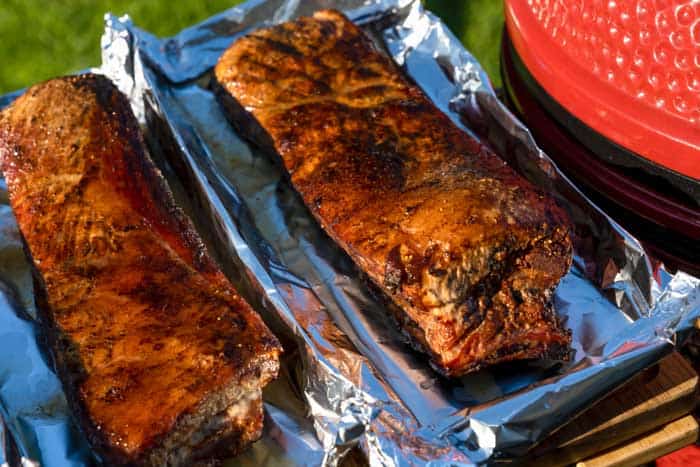
Place the wrapped ribs back on the grill. Check on the coals and water again. Don’t add more wood chunks this time as the ribs will have absorbed enough smoke.
Finishing the Smoking
Time for the home straight. About an hour after you have put the ribs in aluminum foil, remove them from the foil and place back on the grill. Cook for a further 30-60 minutes. This final round of cooking is so that we can dry the surface of the ribs slightly to help add some beautiful texture.
The final temperature we’re aiming for is around 180F/80C. The reason for this is that it’s the maximum temperature we can reach maintaining tender meat before it starts to fall off the bone.
Use a meat thermometer to check the internal temperature of the ribs (if you don’t have one then check out my guide to the best grill surface thermometers).
Of all the different cuts of meat, sparerib and baby back are one of the hardest to monitor temperature accurately for due to the relatively low amount of meat hanging on them.
The bone will have a different temperature to the meat, so when applying the thermometer be careful to get the reader in the flesh while not coming into contact with the bone.
If this proves too difficult, then you can adopt a more sight-based approach. Lift the ribs in the middle. Pay attention to the ends of the bones. If they droop loosely down, then they are done.
If the ribs have either reached our target internal temperature or have passed our sight test with the drooped ends, then the ribs are ready.
If you’re applying sauce to them, keep them on the grill and follow my next step. Otherwise, remove the grill and place to one side.
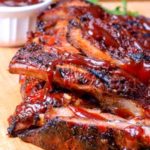
How to Apply BBQ Sauce
When the ribs are approaching done, apply your BBQ sauce. Be careful here: as tempting as it might be to thickly paste on the sauce, I strongly recommend spreading it in thin layers. Doing this will give us the satisfying and sticky surface of our ribs.
If we apply it to thickly then it won’t have the chance to dry, giving us a disgusting wet coating.
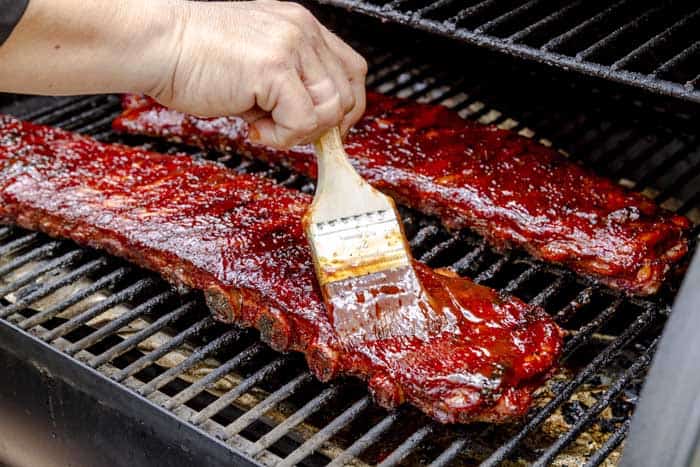
Layer carefully by applying a thin layer on one side, before turning over and doing the other side. Once both sides are coated, close the lid on your grill and leave for 5 minutes before repeating the process again. Repeat 4-5 times in total. Once done, remove from heat and put to one side.
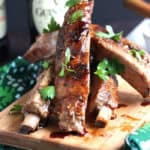
Serving Up
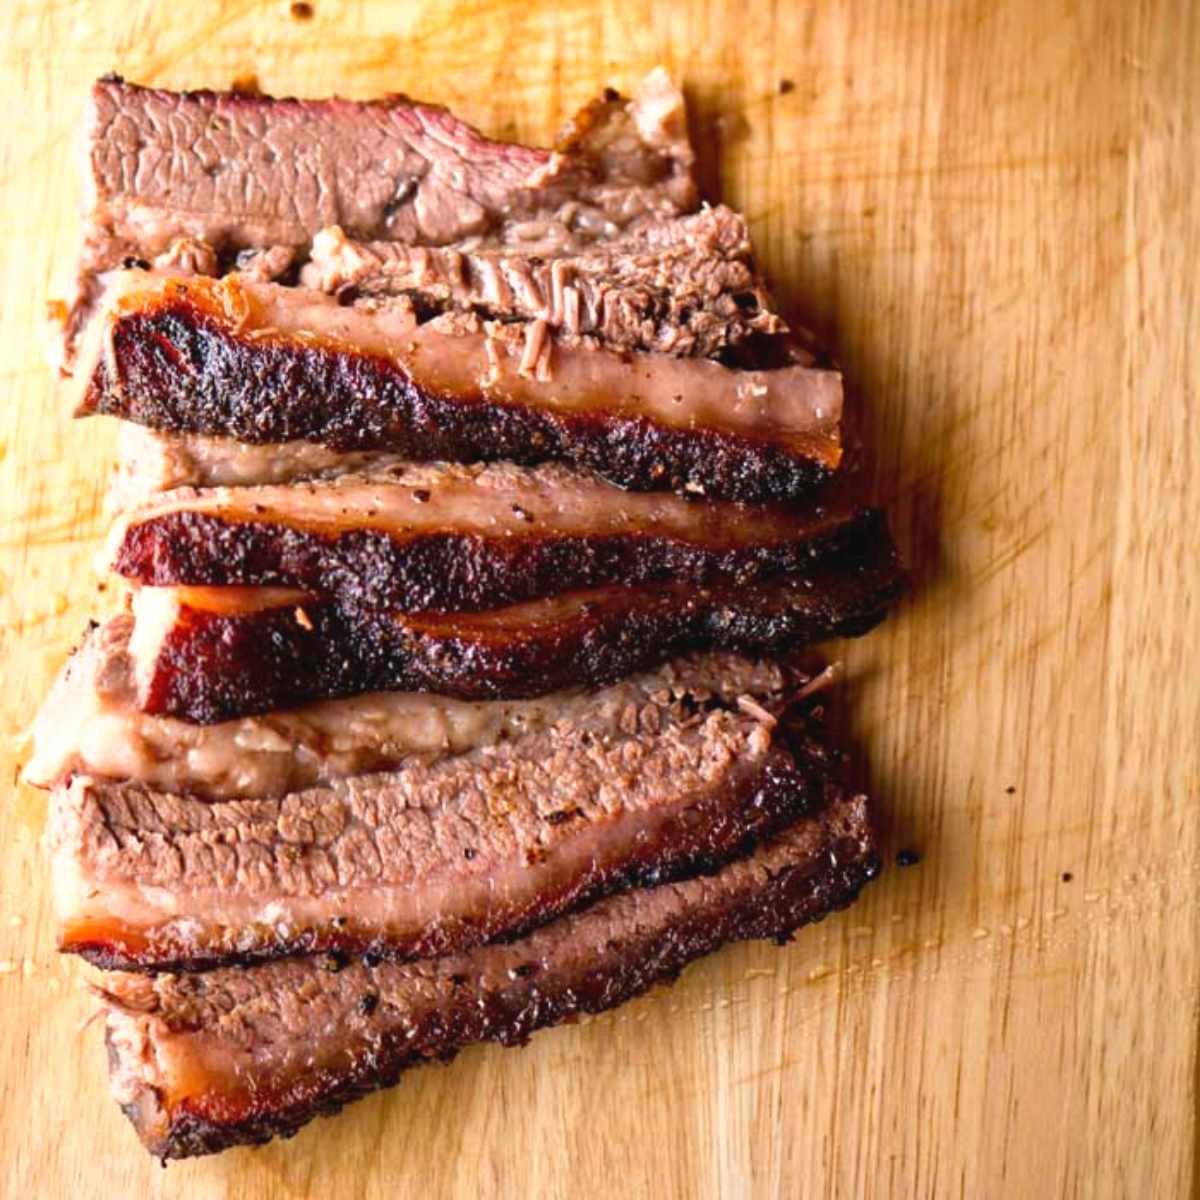
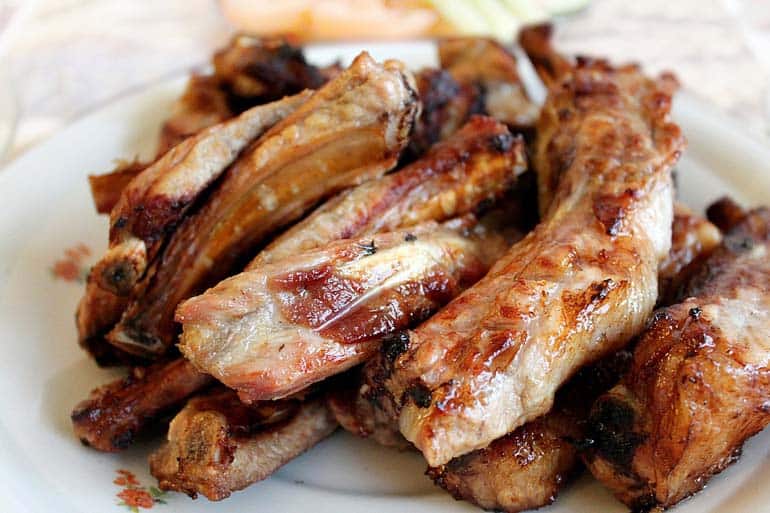
If serving immediately (I have instructions for holding and storing in my next step if not enjoying immediately) you will need to carve the ribs.
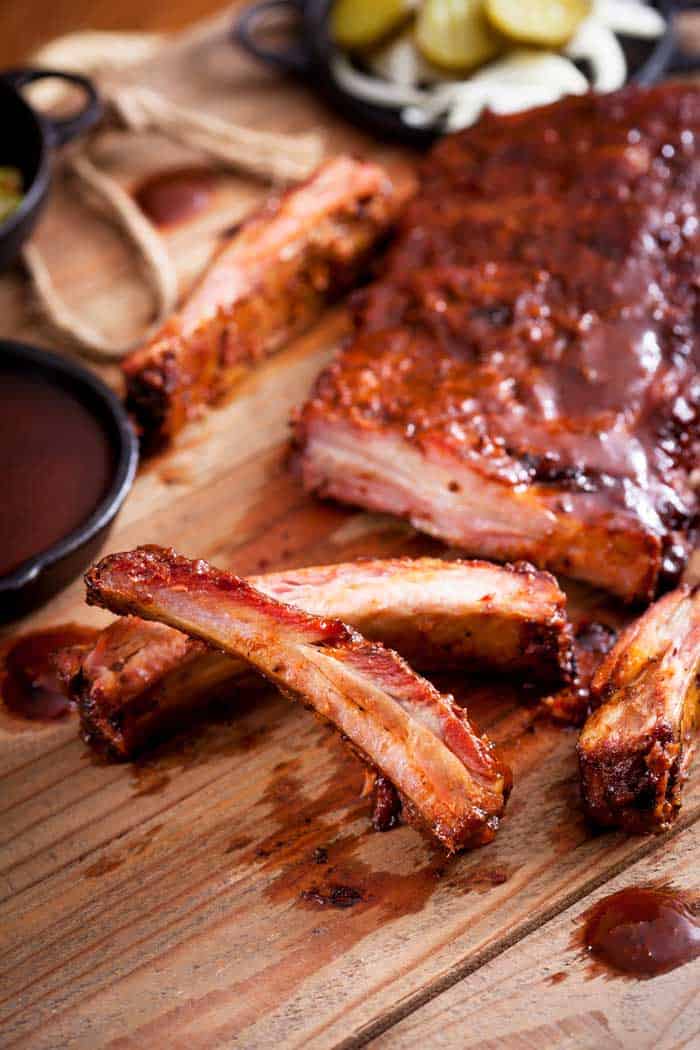
Place the ribs, bone side up, on a chopping board. Using a pair of tongs and a long sharp knife, slide the knife between the bones evenly. This should give you an even and uniform cut from the track.
The ribs shouldn’t need to cool after this as they should have cooled sufficiently during cutting.
Serve up with your choice of side and enjoy!
How to Hold Ribs (If Not Serving Right Away)
Sometimes time and circumstances won’t allow you to enjoy your BBQ ribs immediately, in which case it’s imperative that you hold and store them in a way that won’t heavily impact flavor or quality.
Remove the ribs from the grill and allow to cool for 10-15 minutes. Using plastic wrap, wrap the ribs tightly in a few layers. It’s key here that you don’t use aluminum foil as BBQ sauce and foil can actually react due to the acidic nature of the sauce.
If you are going to be enjoying the ribs any later than an hour after cooking then put them in the refrigerator. For tips on how to then warm them back up again, check out my guide on how to reheat ribs.
Charcoal Grilled Ribs
Ingredients
- 1 rack spare rib pork ribs
- 1 Bottle BBQ sauce
- 1 tbsp smoked paprika
- 1 tbsp brown sugar
- 1 tsp garlic powder
- 1 tsp ground black pepper
- 1 tsp onion powder
- 1 tsp kosher salt
- 1 tsp dried oregano
- heavy duty foil
Instructions
- Remove the membrane from the back of the ribs and trim off any excess fat. Pat the rack of ribs dry with a paper towel.
- Combine the smoked paprika, brown sugar, garlic powder, black pepper, onion powder, salt, and oregano in a bowl.
- Sprinkle the rub very liberally over both sides of the ribs and the edges.
- Light your charcoal and place in the grill. Leave to heat up until charcoal has started to turn white with ash. Add wood chunks and put the grate back in the rack.
- Fill an aluminum pan with water. Place it on the grill grate, directly above the charcoals. Get the internal temperature of the grill up to 180F/80C.
- Place the ribs on the side of the grill without charcoal underneath it. Close the lid and leave to cook for an hour.
- After one hour, check the water and charcoals. Add a handful of more wood chunks.
- After a further hour, wrap the ribs in a double layer of aluminum foil. Put back on the grill and cook for another hour.
- Remove aluminum foil from ribs and cook for 30-60 more minutes.
- Apply a thin layer of BBQ sauce to each side of the ribs and cook for 5 minutes before adding another layer. Repeat this process 4-5 times in total.
- Remove from grill and place on chopping board. Leave to cool for 10 minutes.
- With a long knife and tongs, cut the ribs evenly and uniformly between the bones.
- Serve up and enjoy!