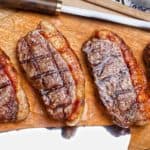
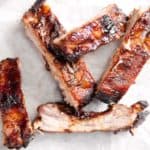
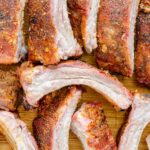
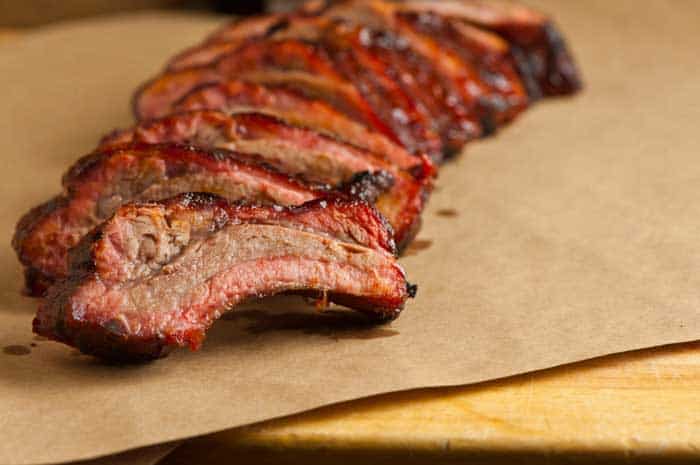
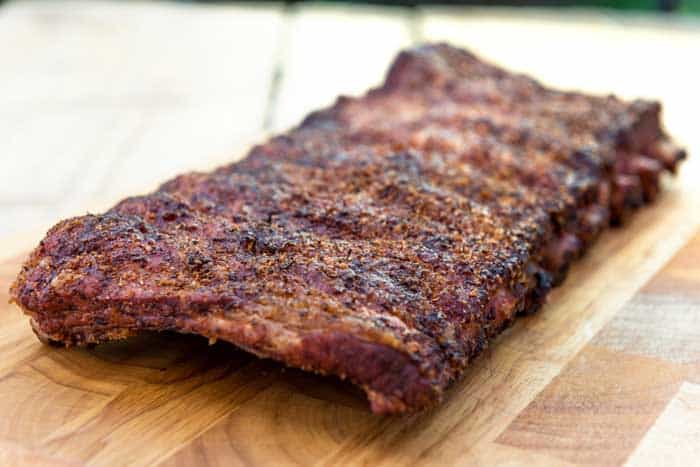
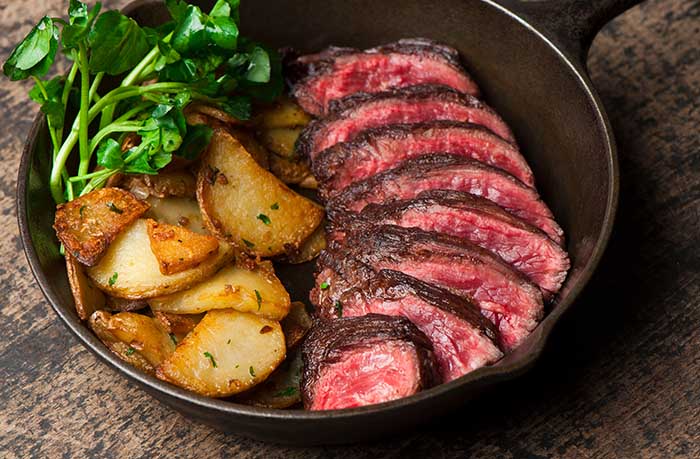
Sometimes we can’t reach for the BBQ smoker or grill, but rather than go for the oven there’s another cooking method that is the ultimate backup to barbecue. The sous vide cooker is a lifesaver, and can replicate the juicy, tender beef ribs that we’d want from our BBQ smoker.
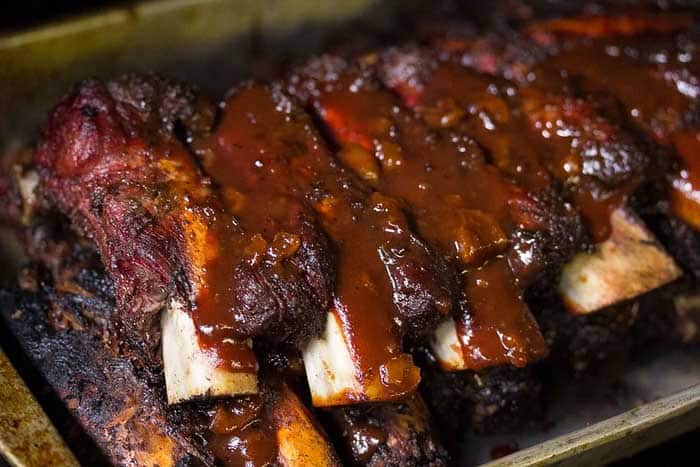
From times, target temperature, and meat prep guide, find out everything you need to know with our recipe. Here’s how to sous vide cook beef ribs.
Benefits of Sous Vide Beef Ribs
Sous vide slow-cooks meat at a low temperature for hours, slowly bringing it to our target temperature. The meat is vacuum-packed in plastic so there is no risk of it drying out through exposure to hot air, and instead allows the meat to sit in its own juices as it cooks.
It’s one of the best cooking methods for producing perfectly cooked, tender meat.
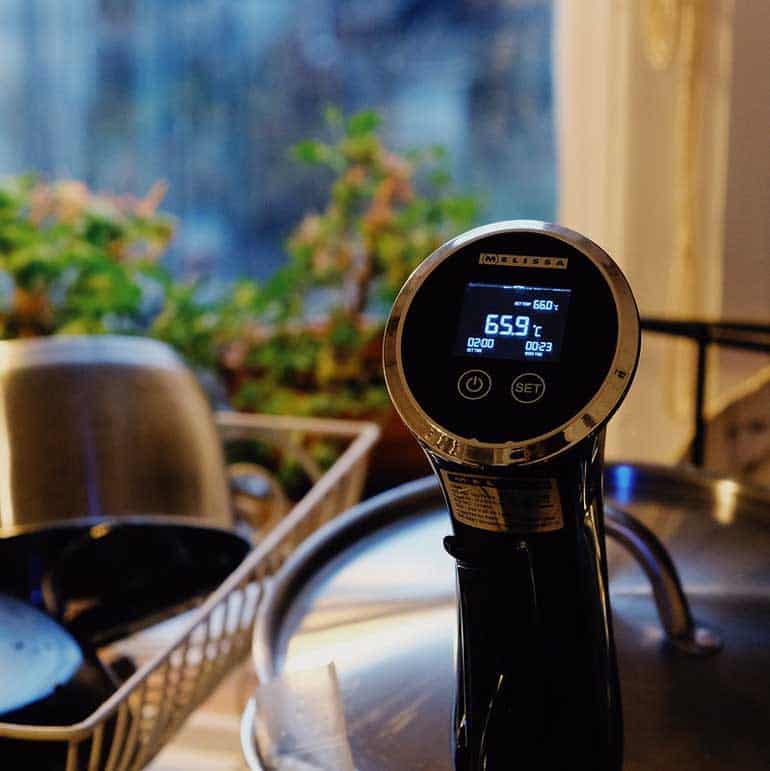
It’s also a great hands-off form of cooking. While barbecue smoking does allow us to leave meat cooking for hours, you do still need to monitor it from time to time. With sous vide cooking, we can almost completely leave the water bath to do its thing. No basting. No flipping. Just cooking.
If you’re as lazy as I am, it’s a no-brainer.
In the case of beef, it slowly breaks down the connective tissue found in the meat over the course of 24-36 hours (yes, really!).
What’s the Best Cut of Beef for Sous Vide Ribs?
For this recipe we’ll be using beef back ribs. These are sometimes confused with beef spare ribs, but don’t be alarmed if this is what your butcher hands you: Beef spare ribs are fine for this recipe too.
Most people consider back ribs as the go-to cut for beef ribs, and for good reason. While there tends to be less meat on back ribs than there is on short ribs, the meat is very tender. It’s perfect for a long-form slow cooking method like sous vide! Don’t forget to check out our smoked beef back ribs recipe to see how it turns out with low and slow barbecue.
Beef Back Ribs vs. Short Ribs
If you go looking for beef ribs, you’ll have a choice between back ribs and short ribs. Back ribs are, true to their name, from the cow’s back, cut near the shoulders. Back ribs are longer and leaner, with most of the meat coming from between the ribs.
Short ribs come from the part of the rib cage that is called the short plate. The short plate is lower on the cow’s body, near the brisket and right beneath the beef ribs. Short ribs have more meat because you can find it between and on top of the bones. Short ribs also have a layer of fat on top of them, making them greasier than back ribs.
Both back ribs and short ribs are delicious. You can usually use them interchangeably, as long as you add more fat if substituting back ribs for short ribs. However, when cooking sous vide, back ribs are better thanks to their lean texture. Cooking meat at low heat for a long time tenderizes tougher cuts such as beef ribs. You can also sous vide short ribs, but for optimal flavor and texture, opt for back ribs.
Sous Vide Beef Ribs Temperature
Because back ribs aren’t too meaty, to achieve a good level of tender we want to cook them at a a very low temperature so that we can achieve that tender and juicy finish we want.
I’ve done low temperatures with sous vide beef before, just like with our sous vide tri-tip. It’s what gives us the best results, and brings the best out of the beef.
We will cook them at 150°F (65°C) to achieve a medium-rare finish. If you prefer something closer to medium, then set your sous vide for 165°F (71°C).
How Long to Cook Sous Vide Beef Ribs?
We will cook them for 24-38 hours in the sous vide. This is a long amount of time, but is the best way to allow our meat to come to temperature, while also guaranteeing the tender and fall-off-the-bone consistency we want from barbecue beef back ribs.
How to Remove the Membrane From Beef Ribs
Unless your butcher has already removed it, you should see a thin layer of skin or membrane (also called silver skin) across the top of the beef rack. While some people argue the case for keeping it, I’m a big believer in removing it. It can block heat and flavors from working their way into the flesh of the meat, and it can turn rubbery when cooked.
Removing it is the same as how you would remove membrane from pork ribs, although you might find that the skin is a lot more stubborn to remove on beef back.
To remove it, slide a blunt knife under the skin. Use a paper towel to get some purchase on it, and slowly pull it away. It might come away in one go, but if not don’t worry. It’s fine to peel it away in pieces.
Then, rub your beef ribs with your spice rub. You can make it as simple, with just kosher salt and black pepper, or as complex as you want it to be. Just be sure to season the meat before cooking.
How to Make Sous Vide Beef Ribs Tender
Everyone wants tender beef ribs, and the sous vide cooking method is one of the best ways to make sure you get them. Make sure that your ribs are cooking at a low temperature, around 150 to 165 degrees Fahrenheit. Opt for a longer cook, up to 24 to 36 hours. The longer that you cook beef ribs, the more tender they will be.
That’s why sous vide is such a great cooking method, particularly for tougher cuts such as back ribs. Meat is tender without having to worry about overcooking it.
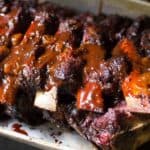
Sous Vide Beef Back Ribs
Ingredients
- 2 racks beef back or spare ribs
- 1 cup BBQ sauce optional
Dry Rub
- 2 tbsp kosher salt
- 2 tbsp ground black pepper
Instructions
- Trim the fat off the rib racks. Remove the silver skin, as well as any excess fat across the surface off the rack. Leave rib rack intact (i.e. don’t cut down into individual ribs)
- Prepare the rub by mixing one part kosher salt to one part black pepper. Mix thoroughly before rubbing liberally over the surface of the ribs, making sure to work into any dips or crevices on the racks.
- Place the racks in a vacuum bag each and seal.
- Place bags in sous vide water bath and set temperature to 150°F. Leave for 24-38 hours.
- Remove bags from water and carefully open sealed bags with scissors.
- Pat dry with paper towels to remove excess liquid.
- Transfer beef to preheated grill and sear over high direct heat. For 1-2 minutes on each side.
- Transfer ribs from grill to counter surface. Carve and serve.
