Take your smoking game to the next level. Find out everything you need to know for using an electric smoker.
There’s no better way of cooking than smoking.
To this day it’s still one my favorite type of outdoor cooking. No other type of cooking gives you the same room for experimentation or improvisation.
The quickest and easiest way of cooking is with an electric smoker. It’s a beginner-friendly way to replicate charcoal or pellet smoking, without having to go through the steep learning curve.
They’re safer and cheaper to use, while still boasting great quality and performance.
Their real appeal lies in how hands-off you can be with them. This is one of the big differences between electric smoker and propane smokers. Its temperatures are monitored and controlled digitally. This means that once you have set up your meat and heat dial, you can more or less leave it to do its business.

It’s not all plain sailing though.
To take your barbecue to the next level, you’re going to want to pay attention to our easy electric smoker tips.
You’ll learn how to make the most of the water pans, pellet tubes, and vent dampers that come with your electric smoker.
Get these right and you’ll be making deliciously tender and juicy smoked meat time after time.
Let’s get into it.
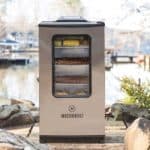
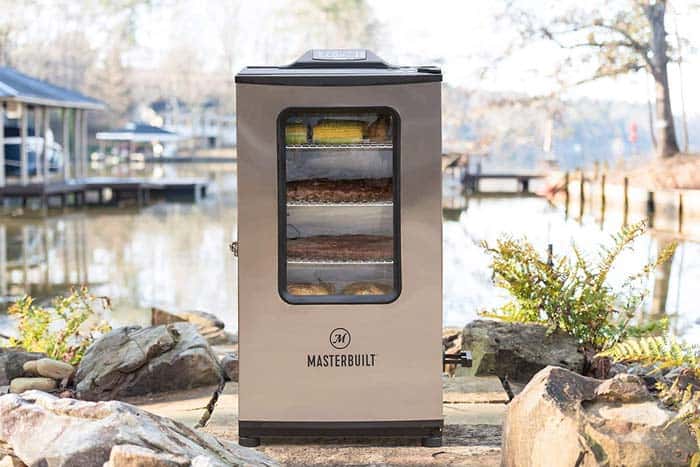
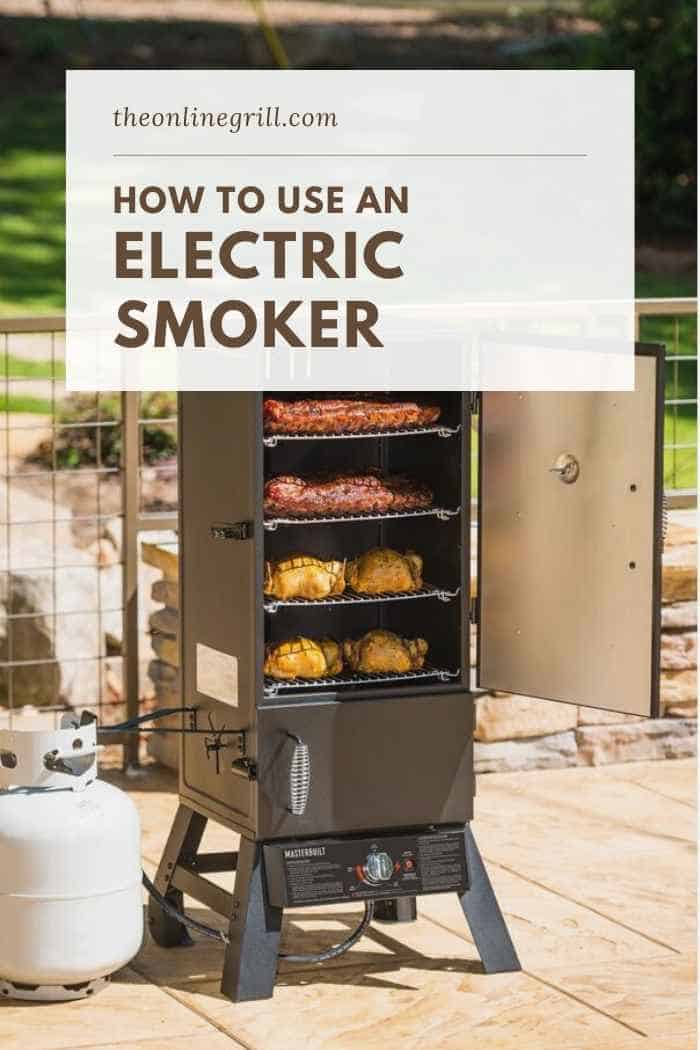
Choose your smoker
In short: Choose a cabinet smoker with a digital controller, a water pan, and a wood chip feed with easy access..
The most important (and fun!) step: Choosing your smoker.
Broadly speaking, electric smokers fall into two categories: Vertical water and electric cabinet. Vertical water models work brilliantly in warm weather but not so much in cold weather.
Electric cabinet smokers however have much better core temperature controls, which make them more effective during the colder months.
When choosing between the two, the key question to ask yourself is therefore: “When I going to be using this?”. If you’re likely to be using it year-round then opt for cabinet smokers. However, if you’ll only be using it during the summer then I suggest going for a vertical water smoker.
Also, a key consideration is how much the digital controller offers you. The numeric pad is the brains behind the operation when compared to the body’s brawn.
An excellent digital control panel will help you manage timers, set temperatures and control cooking times.
Also important is the smoker’s drip pan. This component is put in place to catch all the juices that drip from the meat during cooking. While this also has the obvious benefit of keeping the smoker unit clean, it also helps regulate its internal temperature.
A final thing to consider is the placement of the smoker’s wood chip bowl. During smoking, you will need to replenish your smoker’s chips regularly, so it’s vital that the container is within easy reach with no obstructions between it and yourself.
If you have to open the main chamber of your smoker too much, then you will interfere with the temperature levels and airflow within the smoker, jeopardizing the quality of your cooked meat.
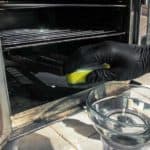
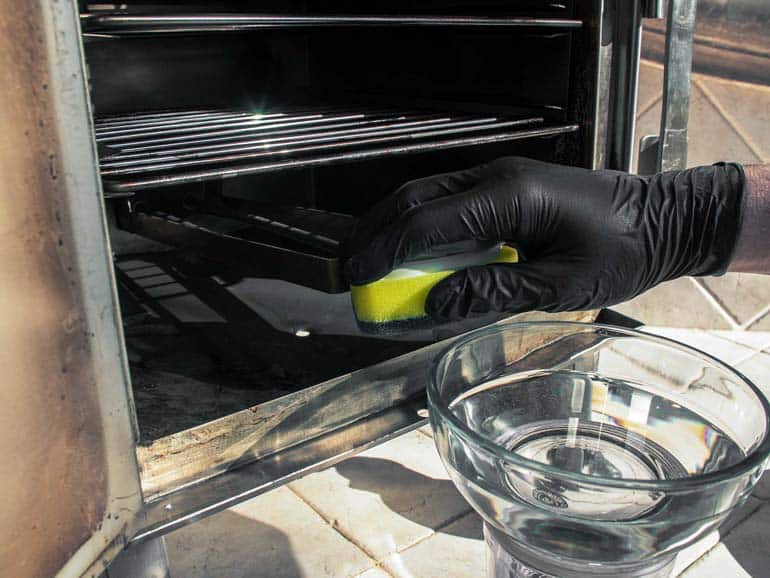
Season your smoker
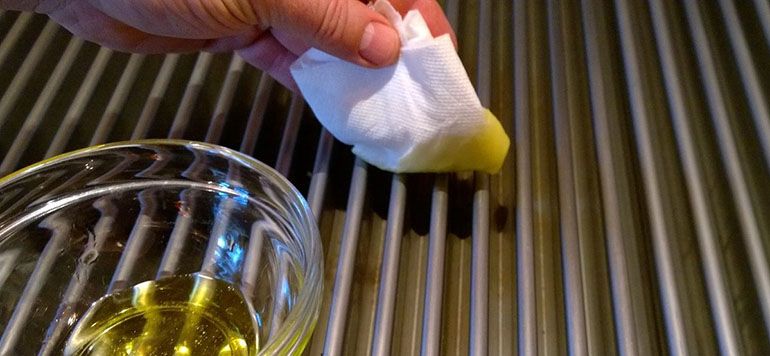
In short: Coat the racks and inside of the chamber with a thin layer of oil. Heat up your smoker to allow the oil to set. Once cool, wash down with soap and water.
This is a crucial step and unfortunately one that is often overlooked by people. Seasoning your electric smoker before using it is essential because it helps to remove any dust or odors from its interior and grates.
Start by using cooking oil to coat its racks and any other interior surfaces. Then, turn it on for 1-2 hours at a moderate heat. Turn it off and leave the door open to let it cool. Once cool, use salt to season the grates and interior surfaces.
Insert wood chips
In short: If your smoker has a wood chip tray or insert, fill it with our chosen chips (e.g. hickory, pecan, oak) and then insert it into the base of the smoker.
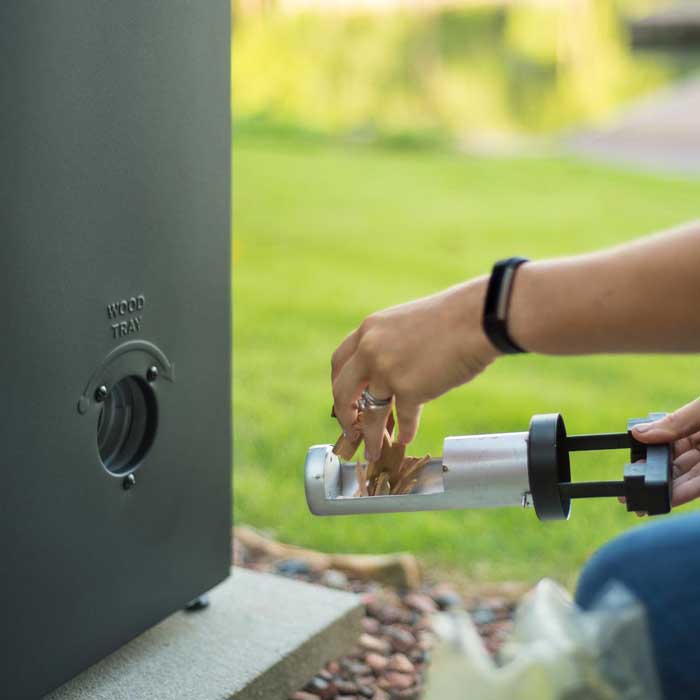
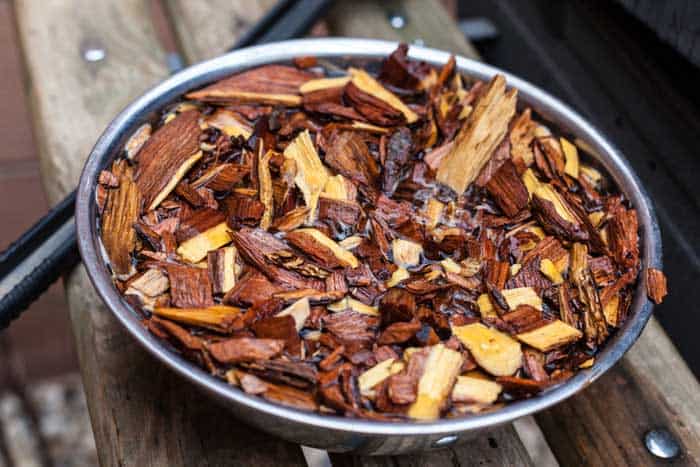
Wood chips aren’t too difficult to get a hold of. You can easily buy them online, as well as many grocery or hardware stores. However, it’s imperative that you get the right wood chips. Some smokers only work with particular kinds, and some electric smoker recipes pair far better with certain types than they do with others.
Types of wood chips include cedar, maple, and hickory. This can vary brand-to-brand, but in general, you’ll need about 4 cups of chips for every 4 hours of smoking.
It’s worth mentioning that not all smokers are designed to hold wood chips, but they can be adapted to use them. If yours doesn’t have a rack for them, you can easily fill a tin pot or can with them and place them at the foot of your smoker, just above the heating element.
When adapting your tin pot or can for them, only fill your it three-quarters of the way full. Then fold the upper section of the pot over to almost cover the chips. This will help prevent the chips from being exposed to too much air, and instead just let them smolder.
When you’re ready to place them in the smoker, use a pair of tongs and place the can or pot upright at the foot of the grill on the lava plate. Once the smoker has reached its target temperature, the internal heat will be enough to let the chips smolder.
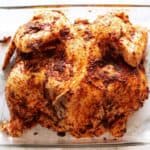
Prepare the meat
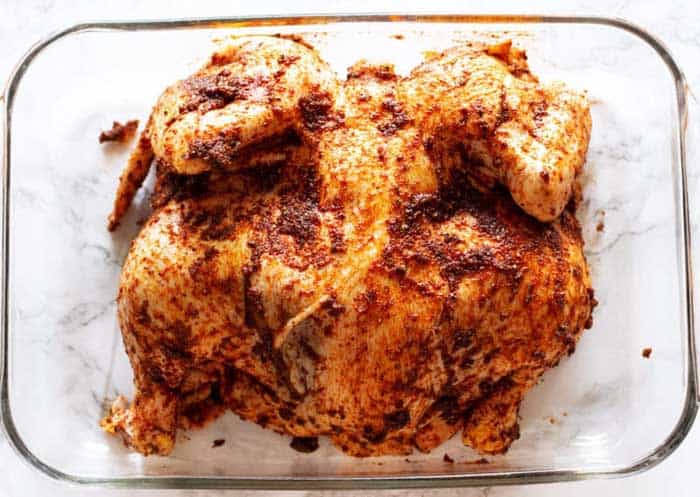
In short: Apply a good BBQ rub to your chosen meat and leave in the refrigerator while your smoker heats up
How you do this step will largely depend on what meat you’re working with, but many cuts will require brining or marinating before being BBQ-ed.
Brining in particular can demand several hours (sometimes even a day), so make sure you plan ahead properly and take into account the preparation time that you’ll need.
Alternatively, if you are just seasoning the meat then use a dry rub or herbs and salt, before then storing overnight in your refrigerator.
Preheat smoker and add water
In short: Fill your smoker’s water pan insert. You can add a little cider or beer for added smoker flavor if you wish. Turn on the smoker and set target cooking temperature
If you have an electric water smoker, then it will have a water receptacle in it. Fill this up.
The purpose of adding water to your smoker is to create steam as it warms up. This steam will then help to tenderize and moisturize your meats, preventing them from drying out.
An adding benefit of the water receptacle is also that you can add ingredients to it, infusing the meat with aromas and flavors. Firm smoking favorites are apple cider, orange and citrus peels, beer and wine.
Be aware that your water vessel is likely to run out during the smoking process, so keep an eye over it as you cook and fill it up whenever it’s looking close to running out.
Tip: Replenish your water vessel with hot water rather than cold. Doing this will help keep temperatures consistent and reduce the risk of interrupting your steam flow.
Check your smoker’s temperature
In short: Monitor your smoker’s built-in temperature gauge. Aim for a target of 225°F (107°C). Use a purpose-made smoker thermometer for more accurate results.

Different electric smokers will take different amounts of time to warm up, so to get an accurate sense of how long it’ll take for your meat to smoke it’s important to bring them to the right temperature first.
A lot of smokers come with a temperature gauge as well as controls to help you know when they’re ready for your meat, however not all do.
If you need a thermometer then I recommend getting an air probe to help you. A lot of grilling thermometers are designed to read meat temperature, but what you’ll need is an air probe to gauge the internal temperature of the smoker.
Make sure you wait until the smoker has fully reached your target temperature and not before then. On average, it takes roughly 30-45 minutes for an electric smoker to heat up.
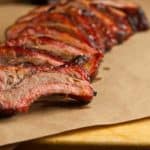
Start cooking
In short: When you have reached 225°F (107°C), carefully transfer your meat to the smoker. Monitor the internal temperature of your meat for best results.
Once you’ve hit that target temperature, you can get going. Place your meat on the grates inside the smoker, making sure to close the lid or door of the smoker firmly.
Depending on your choice of meat, smoking could take anywhere between 2 and 8 hours. Be sure to monitor your food regularly using a meat thermometer to check the internal heat of your grub. If you don’t have one yet, then check out my guides to the best meat thermometers here.
What is BBQ smoking?
Smoking is a process of cooking food (usually meat) at a low temperature over a long period of time. This often leads to far more delicious results than grilling or regular oven cooking because the sustained lower temperatures allow the meat’s fats and connective tissue to break down and melt, allowing the meat to stew in its own juices.
It usually takes 4-6 hours and requires a brining or marinating period beforehand, so it is very demanding on time. However, its results speak for themselves and remains a favorite means of barbecuing for BBQ enthusiasts all over the world.
How does an electric smoker work?
The heat in more traditional kinds of grills or smokers comes from combustion, and when this is mixed with wood, gases are emitted to infuse the meat with flavor. In the case of electric smokers, the unit’s metal rod helps the wood smolder, which in turn cooks the food.
There’s a misconception that electric smokers don’t compare to the quality of charcoal, gas or wood pellet cookers, but this just isn’t the case.
What meat works best in an electric smoker?
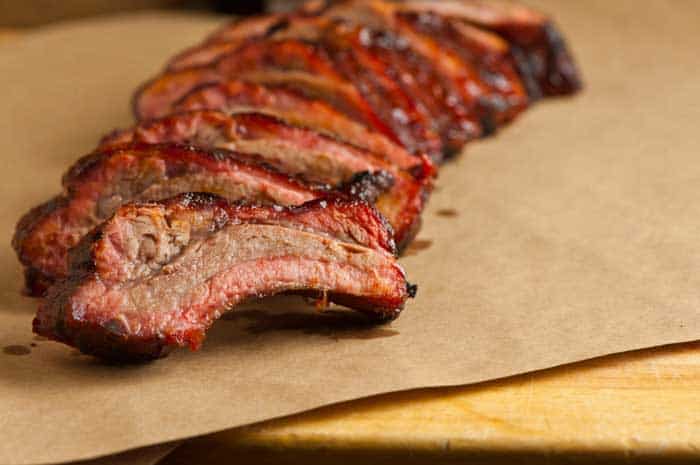
Here there isn’t a big difference between this kind of smoker and traditional cookers. Pork and beef roasts till hold up fantastically well, as well as brisket and sausages. You can even smoke ribs in an electric smoker.
The trick is to go for slightly cheaper cuts of meat with higher fat content, as this will infuse them with more flavor. For an in-depth guide, check out my guide to the best meats for smoking.