Ready to take your BBQ game up a level? Follow this step-by-step method to turn your regular charcoal grill into a fully fledged BBQ smoker.
If you know anything about good BBQ smoking then you’ll have heard of ‘low and slow’ cooking.
New to grilling? Check out my guide on how to use a charcoal grill
It’s a beautiful way of preparing meat so that it’s cooked for a long time at a very low temperature. This melts the fat in the meat, making it incredibly tender and outrageously delicious.
If you don’t have a smoker then you might be frustrated at the thought of not being able to make the most of this style of cooking.
The good news though is that you can replicate this cooking technique on your regular outdoor barbecue. Any good charcoal grill with a large enough chamber can be adjusted to emulate the food you would cook in a smoker.
If you’re new to smoking, then the key things to keep in mind are to keep a very close eye on temperature, and to be very patient.

The differences between smoker vs charcoal grill
These two types of barbecue items are markedly different, which is what makes their cooking styles so distinctive.
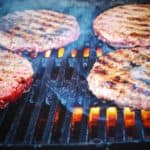
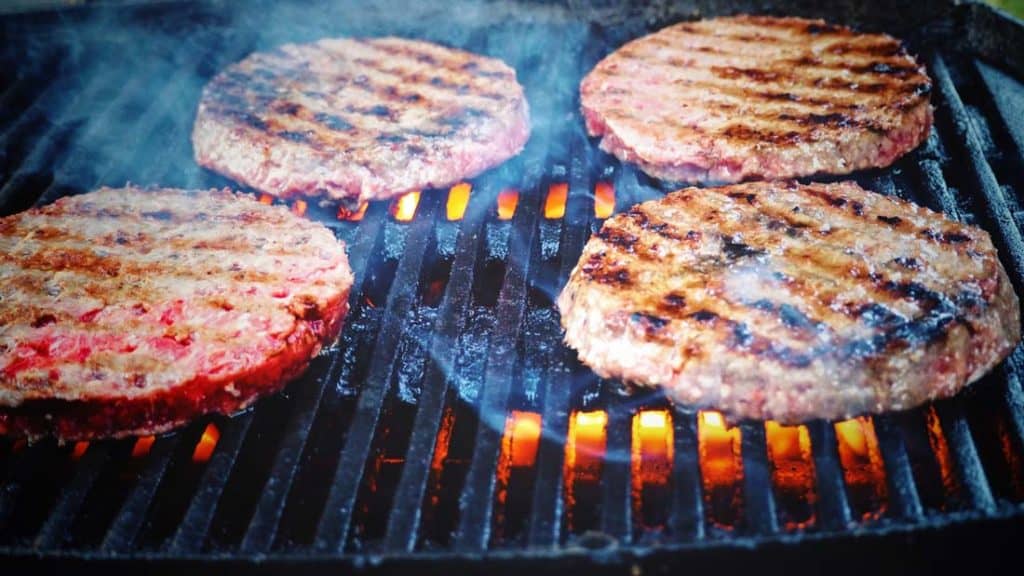
Charcoal grills tend to have their grilling grates directly over the flames or coals in your unit’s chamber. This allows food to be cooked at a relatively high heat, giving you the option to sear it as well.
Quite often you will have the grill lid open to allow the fire to breathe and keep it going. Average temperatures at grate surface can vary wildly, but it’s not uncommon to see temperatures of well over 400°F (200°C).
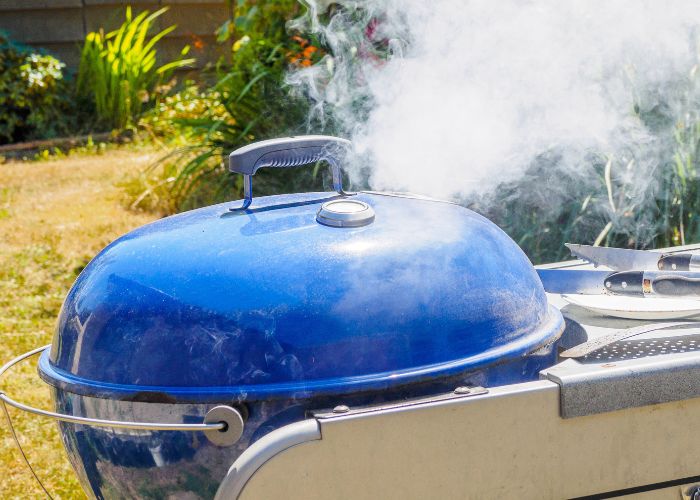
Smokers however house their heat source further away from your food, helping to keep the heat low and stable. Target smoking temperatures typically lie at around 225°F (110°C).
Contrary to belief, charcoal grills can actually do both these styles of cooking. We can replicate these smoking conditions using a technique called indirect grilling.
The technique essentially calls for you to create 2 zones, whereby one zone on one side houses your burning hot coals, while the other zone on the other side is where you put your food. This creates a lower temperature in your grill without exposing your food to flames or high heat directly.
How to set up your charcoal grill
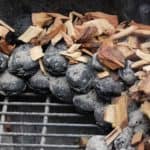
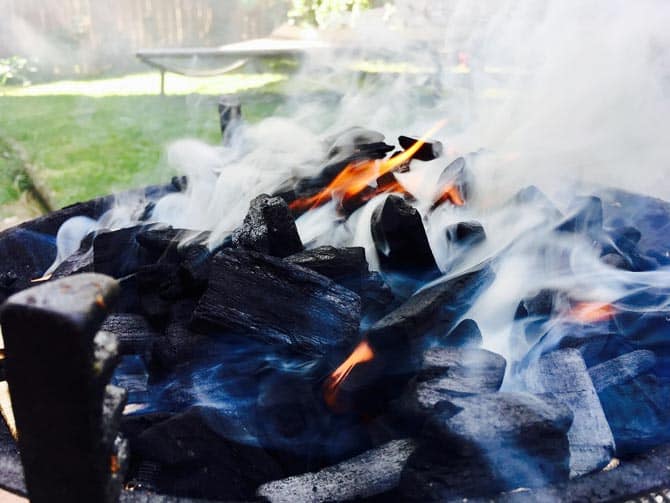
To kick things off, you’ll need your chosen fuel. For this I would use charcoal as it doesn’t tend to burn down as quickly as hardwood, which you means you won’t need to open the chamber up and disrupt the ambient temperature in the pit as often.
If you’re not sure where to start, be sure to check out my guide on the best lump charcoal.
You’ll also need a means of lighting your charcoal grill. I tend to find a chimney starter much easier, but you can also light the coals directly. I recommend not using lighter fluid though.
See my full guide to using a charcoal chimney here

Make sure that you invest in a grill surface thermometer. The best kinds are dual probe thermometers, which means that they can simultaneously monitor the internal temperature of your meat and the ambient temperature of your chamber.
If you’re stuck for choice then I personally use the Ivation dual probe. It’s reasonably priced but well renowned for being extremely accurate and can monitor your meat temperature remotely.
Try not to get a dial grill thermometer. They’re cheap but you get what you pay for, and have been known to be at least 50°F off. Accuracy is really key.
Finally, get yourself a drip pan and water pan. These pans serve two slightly different functions.
A drip pan helps collect any run-off from your meat as it cooks. This is particularly important with smoking, as a lot of the fat content of your meat will drip off. Having a drip pan will help collect this and help us quickly remove it from the inside of your pit chamber.
A water pan works to help provide water vapor within the chamber of your grill, which will help prevent your meat from drying out. An issue a lot of people who do BBQ smoking often run into is their meat losing moisture due to long exposures to relatively high temperatures. A water pan will help keep more moisture in the air, which will in turn help keep your meat moist for longer.
Water pans are a great addition to the cooking environment. They absorb heat and radiate it back evenly mitigating temperature fluctuations, and they add humidity to the air helping to reduce evaporation from the food. The moisture also mixes with the smoke and combustion gases to create wonderful bacony flavors.
For both water pans and drip pans, you can buy specially made ones or you can simply use small aluminum pans that are widely available at a lot of stores or online.
How to set up for 2 zone grilling
I’ve written in-depth about setting up for indirect grilling and 2-zone cooking before, but here is a fairly brief summary.
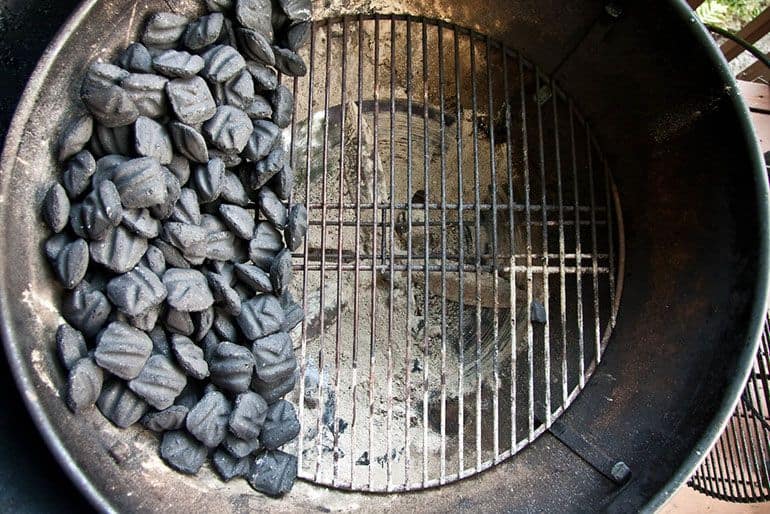
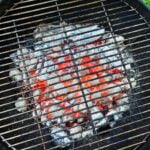
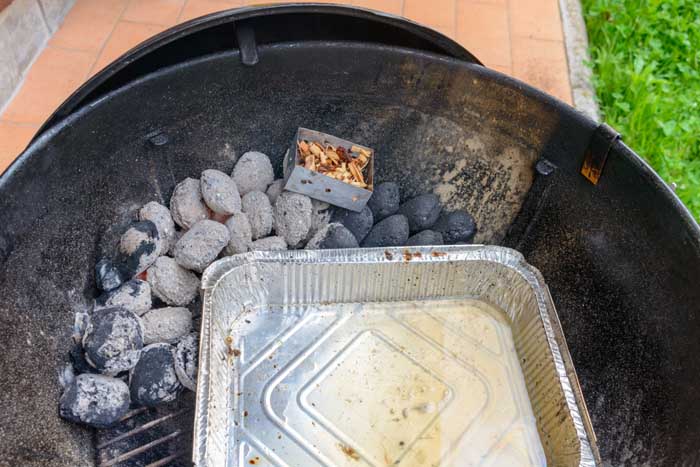
Remove the cooking grates from your grill. Looking down, visually divide the chamber of your barbecue into two halves. In one half, create the heat zone. Do this by igniting your coals and stacking them one side to create a constant, but not high, heat. This can take a bit of practice.
Airflow is key with temperature control, so make sure your grill is not exposed to wind or rain. You might need to shut the lid on your unit after igniting it to allow the chamber to warm up, before putting any food on it.
Fill your water tray two-thirds full with water. Place both trays in the other zone of your chamber, ensuring that there are no coals underneath either tray. Put your cooking grates back into place.
Use your thermometer to judge the ambient temperature in the grill chamber. Once it reaches 225F then you are ready to go.
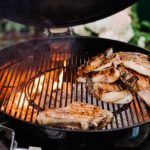
Place your chosen meat on the grates, in the no-heat zone of your cooking environment. Also make sure that you place the meat over the drip tray.
If you have a dual probe thermometer, put the meat probe in the food, and rest the other probe on the grates. Make sure both are in the no-heat zone of the barbecue.
Shut the lid of your grill, and try to make sure the meat is fairly close to the top vent.
Control your grills dampers to regulate temperature
The key to smoking is maintaining a constant temperature throughout the whole process. The best way to control the temperature is learning how to use your grill’s vents, or dampers.
These dampers can be opened or closed to control the amount of air coming in and out of your grill. This is important because oxygen is what feeds the heat in a grill.
Your grill should have two dampers. One at the bottom of the chamber, called the intake damper. As the name suggests, this is where oxygen enters your pit area. The other vent is located at the top of the chamber, and is called the exhaust damper.
This is where heat and smoke escapes through, relieving the pressure inside the grill chamber and creating a vacuum for more oxygen to come in through the intake damper to.
Maintain the temperature at 225°F
The ideal setting is for both dampers to be partly open so that the ambient temperature of the grill can settle at 225°F.
You will also need to keep an eye on your coals so that you can replace them as they start to burn out.
Inevitably this means you will have to open the grill lid to replace them, which will disrupt the heat levels inside the grill.
The flames will liven up, so you will have to shut the vents slightly to compensate. It’s very easy to overdo this though, so I recommend considering an automatic temperature controller.
These can help regulate your chamber’s internal temperature by using an inbuilt fan to control airflow into the barbecue. They’re particularly good at rebalancing this warmth after you open your grill.
Usually they’re meant for smokers, but they can also work on grill dampers.