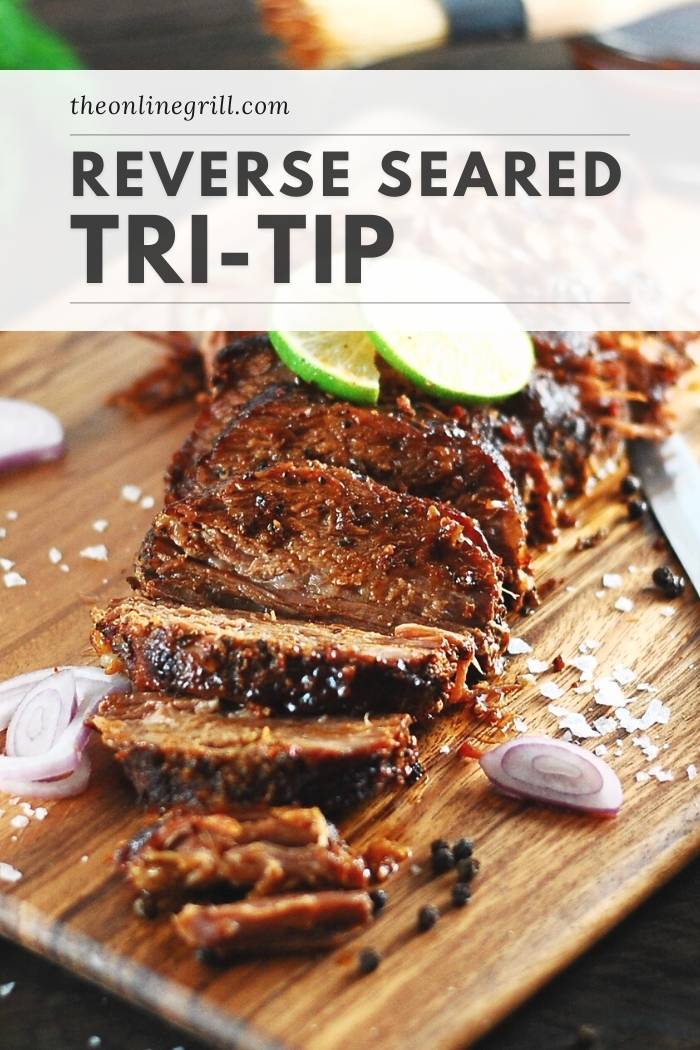
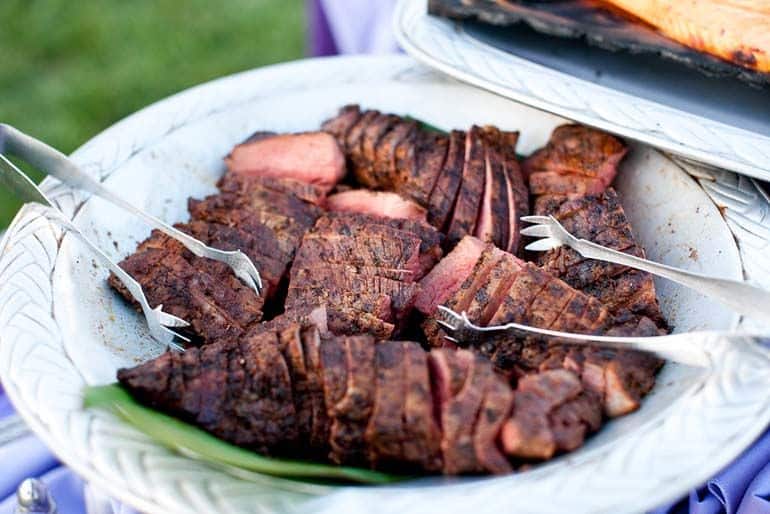
Tri-tip is a fantastic cut of meat that can go a long way at your next BBQ. Here’s how to reverse sear it properly to make sure it’s moist, tender, and delicious.
Reverse searing offers you the best of both worlds when it comes to BBQ. You get to cook something, low and slow, to its perfect temperature. This locks in its juice and brings out the meat’s natural flavors.
After that, you give it a blast of searing heat to provide you with the dream grilling finish that we love on all barbecue food.
In this recipe today, I’m going to walk you through how to make the perfect reverse seared tri-tip and give you some crucial tips to help you get the very most out of your dish.
What is Reverse Searing?
Reverse searing is different from regular searing as the meat undergoes a period of being cooked low and slow before being transferred to a high temperature for its sear.
There are a few key benefits to this cooking method:
- It gives you far more control over temperatures, making you far less prone to overcooking your tri-tip.
- The long exposure to warm temperatures helps dry the surface of the tri-tip, which makes searing it far more effective
- Slowly bringing it to the target temperature gives you a more consistent internal color.
- It’s great for larger cuts of beef, as it better ensures the right level of doneness throughout the meat
- It can present a beautiful crust on the surface of the meat

Useful Tips
Here are some quick tips to help you get the most out of your BBQ tri-tip:
Find a Good BBQ Rub
Everyone has their favorite BBQ rub for different types of meat. I have one below in my post but don’t be afraid to experiment or buy a well-reviewed store-bought version.
Don’t Forget to Dry Brine
Brining helps us retain moisture and flavors in the meat, which is particularly crucial when using a long cooking method like barbecue smoking. Dry brining involves lightly coating meat with coarse kosher salt. The salt then extracts moisture from the meat before absorbing it back in. This effectively locks in the flavored juices.
Learn How to Use Indirect Heat
This is key if you’re using a BBQ grill as a smoker. Indirect grilling involves setting up two heat zones in your grill: A ‘direct’ zone, with your burning coals or burners immediately beneath it; and an ‘indirect zone’ away from the heat zone. This indirect zone is where we will place our food.
Judge According to Internal Temperature
The best way to judge how ‘done’ meat is, is by its internal temperature. Forget comparing the texture to your fist; internal temperature is key. With tri-tip, we want to smoke it to 110°F (43°C) and then sear it until 125°F (52°C). Anything lower and it’ll be unsafe to eat; anything higher will be tough and dry. To ensure the most accurate temperature reading possible, invest in a good meat probe thermometer. You won’t regret it.
Rest in Foil
After you remove your beef from the grill, you will need to wrap it in foil and allow it to rest. The meat’s proteins can relax and reabsorb any water dislodged while cooking.
Slice Against the Grain
When you are ready to slice your tri-tip, the best way to do so without deforming the meat is to cut it against the grain. This can be tricky as the tri-tip grain tends to radiate from its corner and then go in two directions. The best way to combat it is to cut the meat in half from corner to crook and slice it.
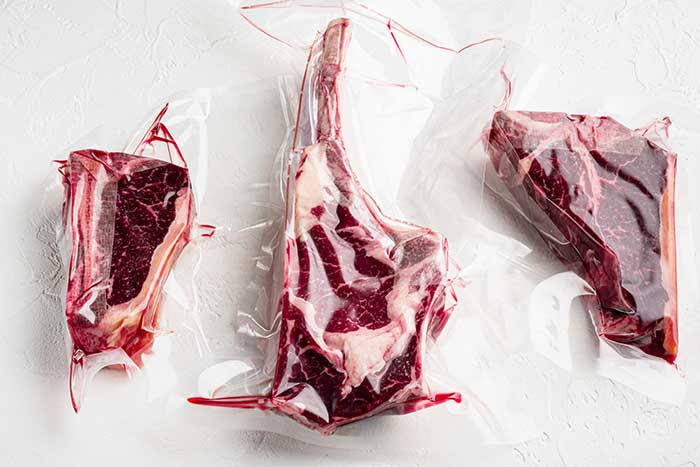
What to Look for in a Good Tri-Tip
Your bbq will only be as good as your meat, so you must give yourself the best chance by picking the right cut of beef.
I recommend going for prime-grade tri-tip that weighs about 2-3 pounds. Always try to choose grass-fed beef and either ‘choice’ or ‘prime’ cuts.
How to Prepare Tri-Tip
Trim any excess fat from the meat and any layers of silver skin (the thin layer membrane or connective tissue sometimes found on the top of meat).
Have a sous vide cooker? Why not try my sous vide tri-tip recipe?
You need to create a dry brine, which we can do simply with a generous amount of coarse kosher salt.
Dry brining helps lock in moisture by allowing the salt to extract the juices from the meat, and then get reabsorbed together into the meat.
Wet brining usually requires several hours, but dry brining can often be done in several minutes and is particularly effective for red meat as it is often better at helping bark and sears form on the outside of beef (source).
Apply the salt across the entire surface of the meat and allow to rest for about 15-20 minutes. You don’t need to place the meat back in the refrigerator while the dry brine takes effect.
After the time is up, rinse the salt off under a cold tap. Place on a chopping board and tenderize it using a meat tenderizer.
Once you have tenderized it, apply your choice of BBQ rub. You have a lot of freedom here. Prepared BBQ rubs are widely available online, but I always recommend making your own. You can tweak them according to your taste, and homemade versions usually have less sodium and additives.
Tri-tip BBQ Rub Recipe
Here’s a quick rub you can make in mere seconds. Simply combine all the ingredients below in a medium-sized bowl before applying generously across your beef’s surface.
- 2 tbsp paprika
- 2 tsp chili powder
- ½ tsp cayenne pepper
- 1 tbsp cumin
- 1 tbsp dark brown sugar
- 1 ½ tsp granulated sugar
- 1 tsp garlic powder
- 1 tsp onion powder
- 1 tbsp salt
- 2 tsp black pepper, ground
How to Reverse Sear Tri-Tip
Now it’s time to fire up the smoker! While 225°F is often the temperature you see floated around as the ideal cooking temperature for smoking, in this instance, I recommend going for 275°F. This will just help us dry the surface a bit more, which will help us produce a better sear effect when we move it to the grill.
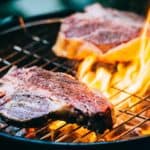
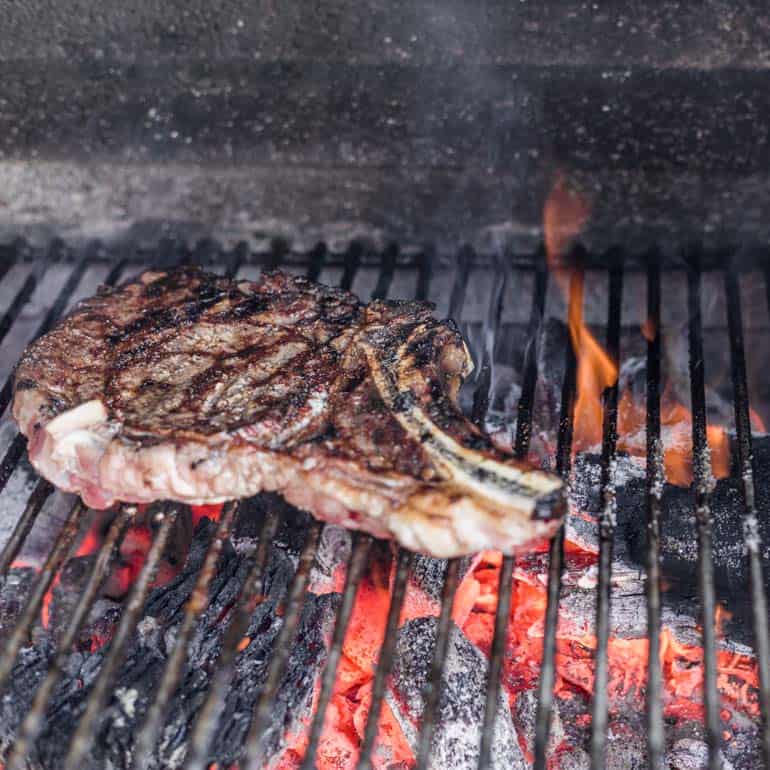
Once the internal temperature of your tri-tip reaches 115°F (remember to use a meat probe thermometer), remove it from the smoker, and transfer it to a preheated grill to create the sear.
Sear hot and fast, and on both sides. Cook until it’s done to your liking. Take a final temperature reading with your thermometer to ensure it’s about 135°F degrees. Try not to go above this, as anything above 150°F can let the meat start to lose its tenderness.
Remove the tri-tip from the grill, and transfer to a side table or surface. Apply a thin coat of any leftover rub you have, then wrap it in foil. Leave to rest for 10 minutes while wrapped in the foil to help it retain its moisture and flavors.
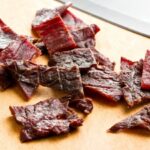
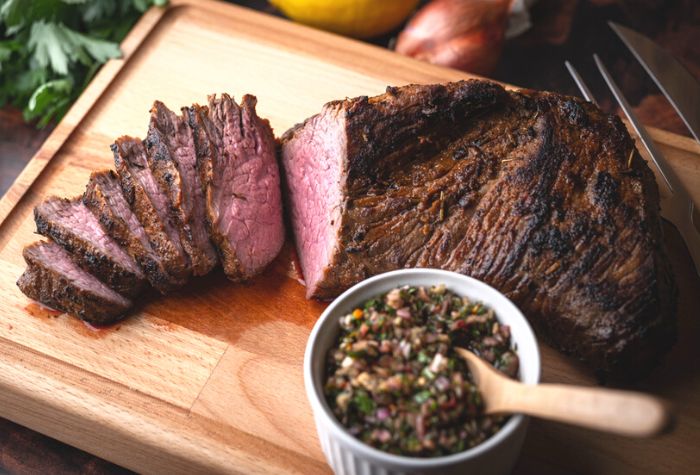
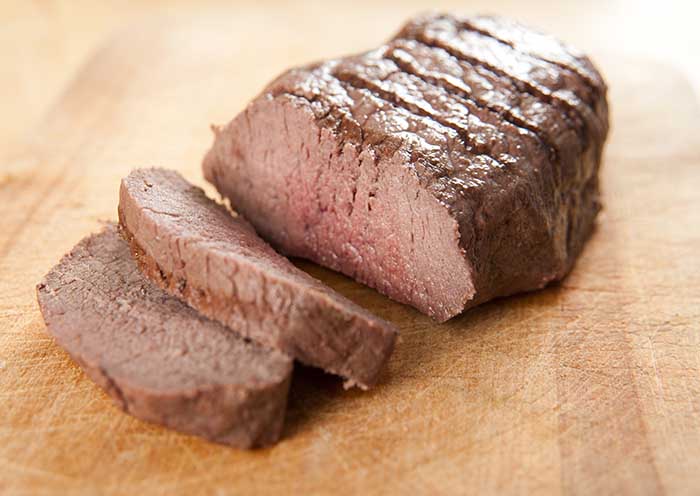
After you have allowed it to rest, remove from the foil and cut it against the grain. Serve up!
Combining a prime cut of beef with salt brine and the use of a tenderizer, should give you a beautifully tender cut of meat. Tri-tip can be naturally tough, so going through these steps helps give you something far more beautiful in mouthfeel.
Why Do We Rest Meat Before Slicing It?
Resting meat after cooking it is about a lot more than just allowing it cool. In fact, it’s much more about retaining moisture, texture, and flavor.
See, raw beef is about three-quarters water, and is largely stored in the muscle fibers of the meat.
When beef cooks, its proteins start to compress and contract (source). This can lead to some proteins bonding and some dissolving. These changes of state can force water out of the fibers and can cause the meat to shrink. Sometimes this change is so significant that you can even see it shrink.
If you were to cut the meat at this point, a significant amount of this water would leak out of the beef, leaving you with a dry, rubbery mess.
If you allow the meat to rest, often wrapped in aluminum foil, you then allow the flesh to relax and reabsorb water and replace any dissolved proteins. You then have a juicier and far more tender cut of tri-tip to enjoy.
If you have prepared too much meat, don’t worry. It will keep in the refrigerator for two or three days and can be used in a range of leftover tri-tip recipes.
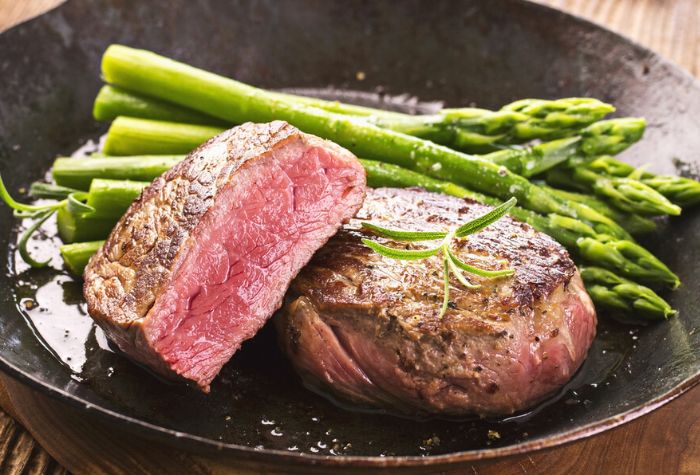
What Pairs Well With Tri-Tip?
Pairing rich meat like beef with other food is often not as easy as it might sound. I’d recommend keeping things simple and just serve it on a bed of almost anything green.
Due to tri-tip’s Californian origins, it goes fantastically with salads and traditional Hispanic sides, like pinquito.
Reverse Seared Tri-Tip
Ingredients
- 3 lb beef tri-tip
- ¼ cup kosher salt
BBQ Dry Rub
- 2 tbsp smoked paprika
- 2 tsp chili powder
- ½ tsp cayenne pepper
- 1 tbsp cumin
- 1 tbsp dark brown sugar
- 1 ½ tsp granulated sugar
- 1 tsp garlic powder
- 1 tsp onion powder
- 1 tsp kosher salt
- 2 tsp ground black pepper ground
Instructions
- Fire up your smoker to 225°F (107°C). If you are using your grill as a smoker, set it up for indirect grilling and 2-zone cooking.
- Prepare tri-tip by trimming off excess fat and silverskin
- Create a dry brine by applying kosher salt over the surface of the meat. Leave for 10-15 minutes. Rinse the salt off with cold water, and pat dry with paper towels.
- Tenderize the tri-tip with a meat tenderizer
- Mix the dry rub ingredients in a medium-sized bowl. Apply rub to tri-tip
- Place tri-tip on the smoker grates and insert thermometer probe. Close the chamber and cook until internal temperature of the meat reaches 115°F (46°C).
- While the meat smokes, preheat grill to high (about 400-600°F) for searing
- Once target internal temperature has been reached, remove the tri-tip from the smoker and transfer to grill
- Sear directly over heat on each side for 3-4 minutes, or until internal temperature reaches 125°F (52°C)
- Once target internal temperature has been reached, remove from grill. Apply a little more rub, wrap in foil and leave to rest for 10 minutes
- Unwrap and transfer to chopping board. Slice across the grain and serve
Nutrition
Wanting more reverse sear recipes? Check out our reverse seared tomahawk steak recipe