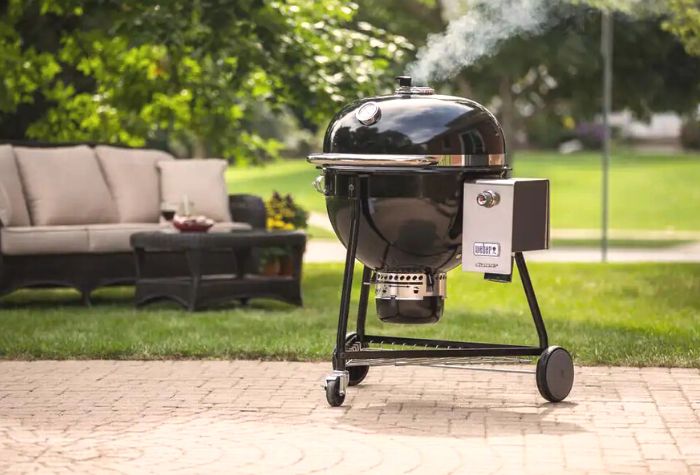
The best way to clean your Kamado Joe cooker. Preserve your grill grates, deflector, and more with our full maintenance guide.

All BBQ grills need regular cleaning and maintenance to ensure they function properly, and your kamado grill is no different.
With the proper care, you can make sure that your ceramic kamado grill performs just like brand new every time.
In this guide I’m going to walk you through all the steps needed to clean your kamado grill perfectly.
To start with, here are some basic points of care and maintenance to carry out regularly in order to keep your cooker humming along nicely. Kamado grills have a unique design, which can make maintenance a challenge.
Basic Kamado Grill Maintenance and Care Checks
Just like with a car, the key to having your kamado grill working smoothly and reliably is to perform regular checks on it. This will help keep the grill in great condition, and make cleaning it far less stressful.
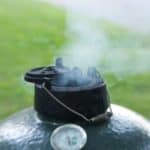
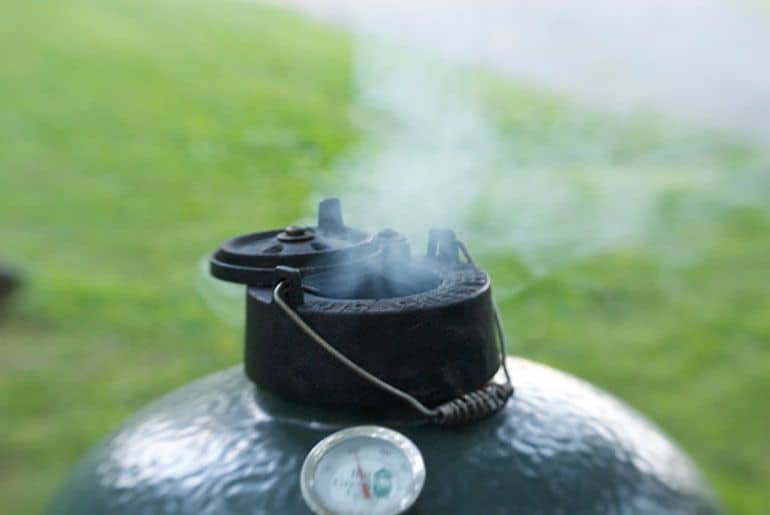
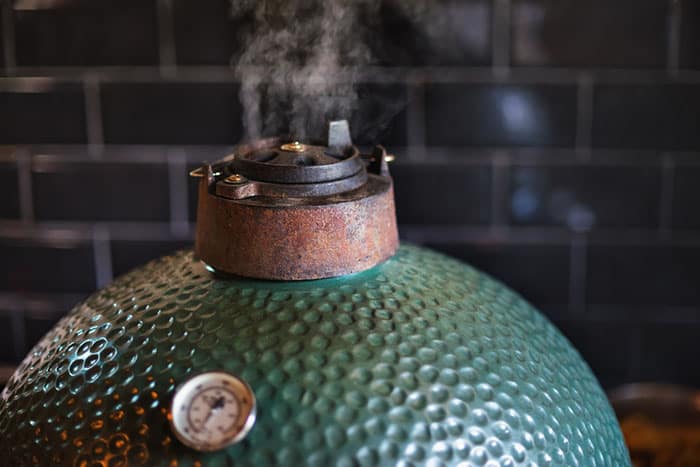
Ash removal
With each use your grill is going to create a buildup of ash sat at the bottom of the grill chamber. Every time you use your Kamado grill, the buildup of leftover coal and ash is inevitable.
The thing is, ash really gets in the way and can even create problems like blocking your air flow dampers, or even contaminating your food.
So getting rid of the stuff frequently is a big deal.
I recommend disposing of your ash after every single use. Seriously, I mean it.
The good news however is that this is really easy, and a lot of modern grills have made this even easier by offering easy ash disposal trays at the foot of your grill chamber.
If this sounds like a tedious task don’t worry: It takes mere seconds to do. But regular disposal will add years to the lifetime of your grill.
To get rid of your ash:
- After you have finished using you grill, allow it to cool down completely. Then, open the lid and use a rod or stick to stir any coals still left at the bottom of your grill chamber. This will help any residual ash fall though the holes at the bottom, into your ash tray.
- The exact positioning of your ash tray might differ model to model, but in most cases it’s sat at the foot of your kamado chamber, behind the lower draft door. Place a bucket or large bowl underneath the grill to catch any ash that spills out, and open the draft door to remove the ash tray.
- Empty the ash tray into a garbage bag and then put the tray back.
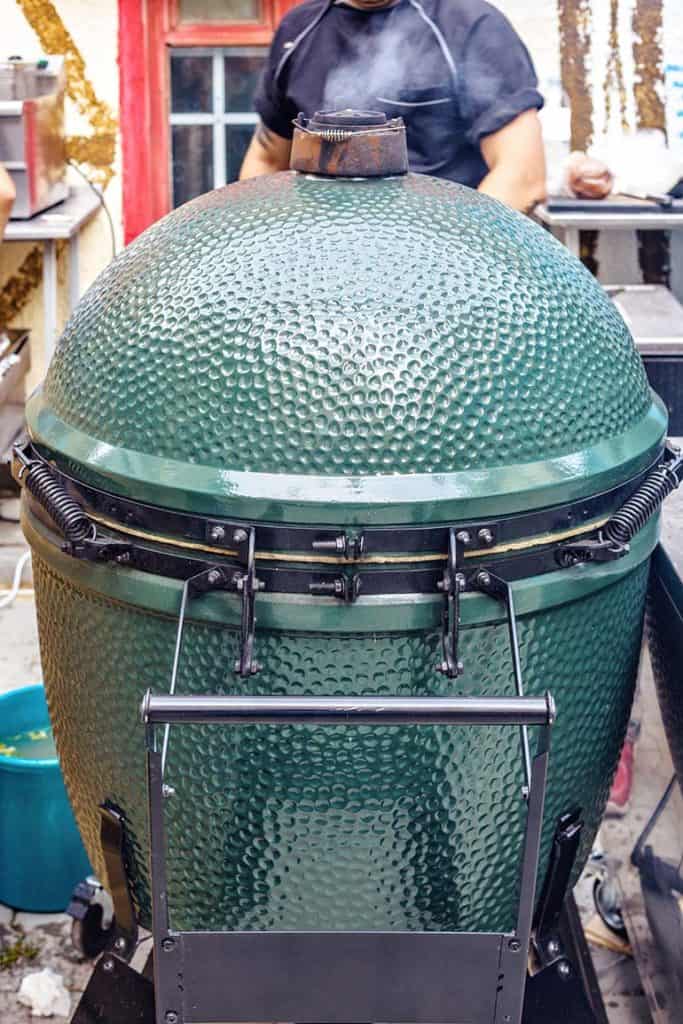
Clean out mold
Yep, this one’s a bit more gruesome. But for anyone who’s experienced mold turning up in their bathroom or kitchen, they’ll attest to the importance of nipping this stuff in the bud the moment if threatens to rear its ugly head.
It’s not uncommon to go a few months without using your grill, especially over the winter months. Unfortunately this can mean that in that time sheltered away, mold can start to gather inside the grill. This is especially problematic if it turns up on the grilling grates or in the internal walls of the chamber.
If this happens – don’t worry. It’s very common, and is very easy to get rid of in a kamado grill and be done entirely without the use of any cleaning chemicals.
Here’s how to do it:
- Heat up your grill and place all components like the grilling grates and heat deflectors in the grill where they normally fit.
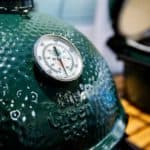
- Open the grill dampers/vents up fully and close the kamado lid. Leave the grill and ramp the temperature right up high, to about 500-600°F. Don’t go higher than this as it can put undue stress on your grill.
- When the grill reaches this temperature range (use a temperature gauge to check), keep it at this heat for about 20 minutes. Then, close the intake damper (the bottom vent) and let it cook for a further 20 minutes. Then close the exhaust damper (top vent).
- With the vents shut, the heat in the grill will naturally die down. Allow the grill to cool down completely.
- Once the grill has cooled, open it and use a grill brush to clean the grates. You can do this without soapy water or chemicals.
This method can take a little bit of time, but is a fantastic way to do away with any unwanted dirt or mold naturally and – crucially – without the use of any chemical agents, so you don’t run the risk of contaminating your food or leaving any traces of nasty smells or tastes.
Pizza stone cleaning
If you use a pizza stone in your kamado grill then – first of all – congrats. They’re brilliant, and one of the best Kamado grill accessories you can invest in.
Secondly, it’s another component that’s important to clean regularly. However, the method in which you clean them is very specific and important you get familiar with to ensure you do it right.
First of all, here are some key things not to do or use when cleaning your pizza stone.
- Don’t use any soapy water to clean your stone
- Don’t ever submerge the stone in water to clean it
- Don’t use any oils to try and preserve, protect or season the stone
- Don’t ever use your pizza stone in a kitchen oven
- Don’t ever use any cleaning chemicals
OK, I know. That’s basically a list of most cleaning methods. But ceramic pizza stones are specific in the ways they need to be cleaned.
Luckily for you, I’ve listed them below.
The flip method
Since only one side of your stone is really ever in use when cooking, simply flip it over for your next use. This will give you a clean surface to use, and will burn away and dirt and grease on the other side while you cook through direct exposure to heat.
Use a brush
If you don’t have one already, then make sure you get a grill brush. They’re more hard wearing than regular dish brushes, will last much longer, and are far more effective.
After use, let the stone cool completely. Use a brush to gently scrape off any leftover dirt or grease on the stone.
Store the stone in a dry place. It’s important to do this to allow the stone to last a long time.
How to do a deep clean on a kamado grill
Ok so the time has come to get stuck into a deep clean on your kamado grill.
For all the regular ash removal and mold cleaning you do, it’s still important to do a deep clean on your kamado every few months (I do mine twice a year).
Don’t worry though. This is a lot more straightforward than you might think, and can easily be broken down into just a few steps.
- Place all components such as cooking grates and deflector plates in their allotted place in the grill.
- Heat up the grill with the lid closed and air vents/dampers wide open. Aim for about 500-600°F.
- Allow the grill to stay at this temperature for about 30 minutes, before then closing the vents and allow the grill to cool down.
- Once the grill has cooled, open the lid and remove the grill grates and deflector plates. The long exposure to the heat will have burned away much of the dirt and grease, but you will then have to use a grill brush to clean away the rest. Don’t use any soap, water or chemicals for this.
- Remove any coal inside the kamado, and then take out any other components in the grill (e.g. fire box).
- Remove any residual ash. This can most efficiently be done with a vacuum clean. Follow this up by using a slightly damp cloth or paper towel to pick up any stubborn ash.
- Remove the ash tray and empty it.
- Put all components back in the grill, and place lid back on grill.
And that’s it. It’s a lot easier than people think, and only needs to be done once or twice a year. In comparison to regular charcoal or gas grills, kamado grills are far easier to clean and lower maintenance.
How to clean Kamado Joe heat deflector
The deflector component of your kamado grill is similar to the others in that it is essentially self-cleaning. The ceramic component simply needs to be allowed to cool after use, and then wiped down with a brush before being stored in a cool place.
Each version of the Kamado Joe Classic has a split deflector plate, and this will need to be removed to be cleaned and degreased.
It’s important to note that is a point in general care. If you have used your deflectors as a makeshift drip pan and you have a caked on layer of fat or run-off forming on them, then I advise using a plastic scraper (not metallic!) to remove what you can before then flipping it on your next use to burn it off.