From temperature control to seasoning and airflow, find out everything you need to know to become a master on your Kamado grill or Big Green Egg.
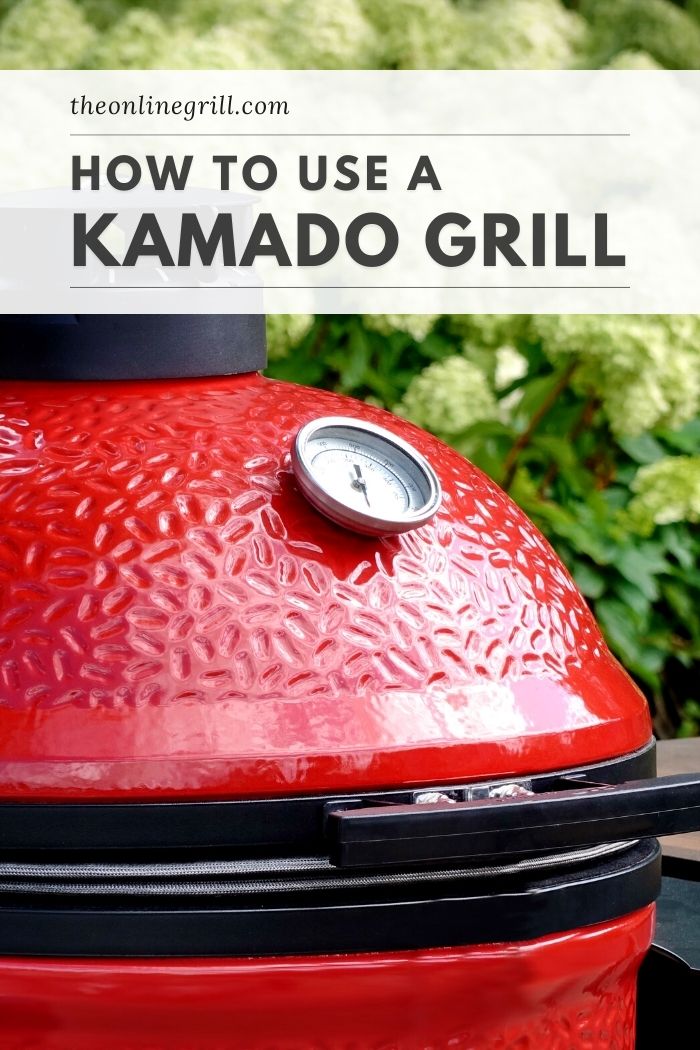
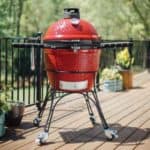
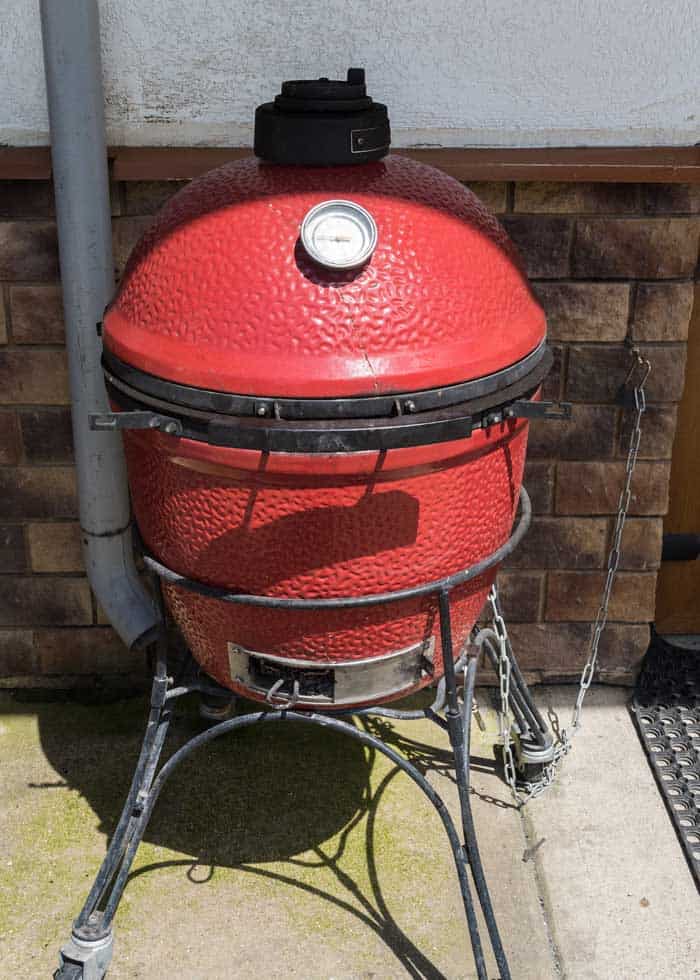
Kamado grills and Big Green Eggs are a truly unique range of grills, and offer a very different cooking experience to your run-of-the-mill charcoal or gas grill.
With their ceramic builds and heavy insulation, they’re great at producing high temperature and intense layers of smoke to infuse your meat with rich flavors.
This can make them daunting to use for beginners, and can take a while to get used to.
So here are 4 key steps to keep in mind when using your Kamado grill.
Ready to become a Kamado master?
How to Light a Kamado Grill
One of the best things about Kamado grills is they allow for over-the-fire cooking.
You get to mold your coals, stack them delicately, and keep the embers going while you cook your meat.
This comes with its own challenges though, and it can be a skill learning how to keep the temperature of your fire at just the right levels for good Kamado cooking.
Just like with charcoal grilling, Kamado grilling can be done either directly over a hot fire, or as low and slow smoking.
Both are great barbecue methods that are specific to different types of cooking, but they each require very different setups. Knowing how to do both will make sure you master kamado cooking quickly.
Direct grilling is exactly what it sounds like. It’s grilling your food directly over the fire. It’s perfect for creating beautifully seared meat and grill marks, and for simple BBQ food like hamburgers and hot dogs.
The problem with direct grilling is that it’s perfect for meat that only needs short blasts of heat to cook it.
In some instances though, we need something lower and slower that cooks meat without exposing it to ridiculous temperatures.
This is where indirect grilling comes in. Often also called 2-zone cooking, it involves setting up two heat zones across your grilling surface.
The first zone sits over your fire, but with no food on it. The other zone is where you put your meat, but with no heat directly beneath it. This setup allows the heat from your fire to create ambient heat, much like you would have in an oven, which in turn cooks your meat.
What makes this different to direct grilling is that it doesn’t expose your meat to high temperatures. This allows it to retain its juices without the skin to drying out or burning.
To set up for indirect grilling, drop a generous amount of coal into the main chamber of your grill. Arrange the coals into a rough peak, and place firestarters in the pile about one-third down. Don’t use lighter fluid.
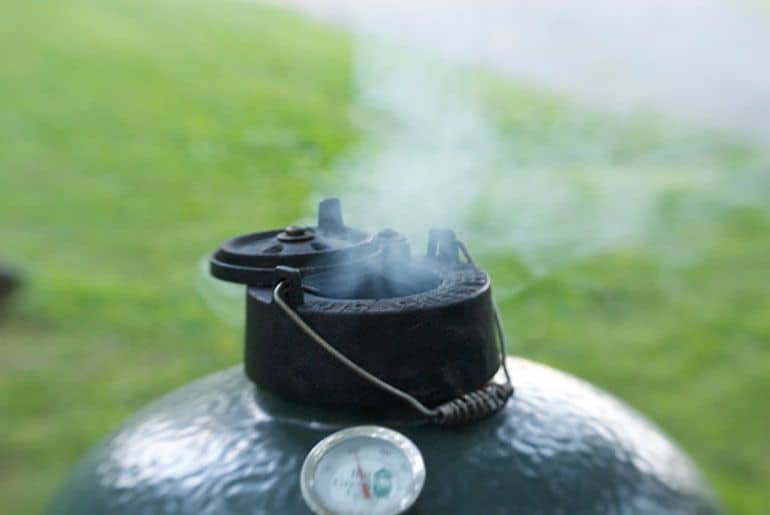
Charcoal can take a while to reach your target temperature, so place the lid on your grill and allow the coals to heat up. Usually this takes about 10-15 minutes, but measure the internal temperature of your grill with a thermometer. You also want your coals to have settled down a bit, and in the form of embers rather than raging flames.
This kind of approach to lighting is called top-down because it’s just that: Your fire is lit by starting at the top of the fire and burns downwards. The reason this works is because it tends to last for longer (sometimes for as long as 10-12 hours) before you need to start replenishing your coals. This is especially true in kamado grills because the insulation is so good.
Once the grill is ready, add your smoking stone insert (this usually comes with your kamado grill), which works by effectively diverting heat away from your heat. Don’t forget to insert your grill grate.
Allow a few more minutes for the fire to stabilize (any opening of the grill’s lid will disturb the temperature in your grill) before then adding your food to the indirect zone of your grill.
Direct grilling setup is far more straightforward, and is much the same as regular charcoal grilling.
With direct grilling it’s ok to be a bit looser with coal formation, so I tend to get them going in a charcoal chimney before then transferring to the grill chamber. No need for top-down. We just want a good amount of coal on the go as quickly as possible.
Put a generous amount of coals in the chamber and insert several firestarters across them. We want high heat quickly.
Shut the lid and allow the grill temperature to reach your target temperature before inserting your grill and placing your food on the surface.
How to Control Kamado Grill Temperature
When BBQ smoking, Kamado grilling is mostly set and forget and doesn’t require constant control or monitoring.
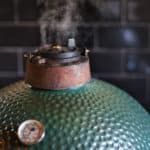
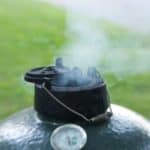
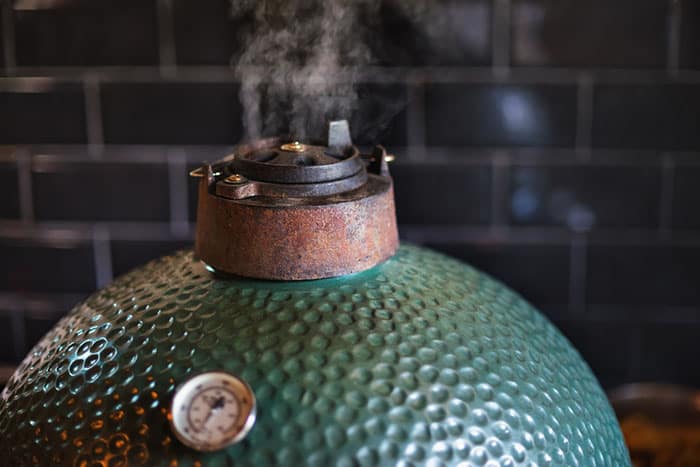
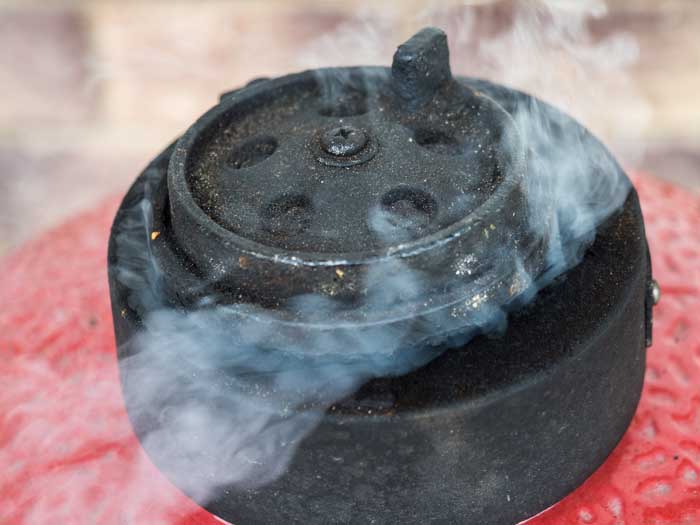
Your grill has an intake damper at the bottom and exhaust damper at the top. This allows air to enter the grill at the bottom, and then exit through the top. These dampers are adjustable so that you can control the flow of air through your grill. The wider they’re set, the more oxygen you’ll allow into your grill and therefore heat you’ll generate.
This can take a little getting used to it, but you’ll soon get used to how your grill reacts to changes in damper settings. Check out my guide to grill vent use here, and consider getting a temperature controller here.
Once your grill has reached target temperature, you can often tweak the top damper to be almost shut. This should maintain the temperature well, but if you notice it start to drop, then you can open it slightly to try to get things going again.
Try not to overthink it though. This can often be left alone and doesn’t need continuous tinkering – despite how tempting it might be!
How to Use a Kamado Deflector Plate
One of the essential accessories to use on your kamado grill is the deflector plate.
This circular plate-shaped tool helps shield your food from flare-ups and ensures that your meat is cooked indirectly rather than being exposed to roaring flames.
It comes in the form of an insert with hooks, that you place underneath where your grill grates go and allow the hooks to grip onto the rim of the grill chamber.
They’re particularly useful if you’re cooking pizza in your kamado, as you don’t want the flames to sear the underside of the crust.
If you’re cooking meat, I also recommend placing a drip pan on top of the deflector plate and beneath the grill grates. This will help catch any fatty runoff from the meat while it cooks, without allowing it to drop onto your coals.
How to Cool Down a Kamado Grill
When you’re finished with your grill, close the intake damper at the bottom of your grill. This will stop any more oxygen coming into the grill, therefore cutting off much of the fuel that your flames need to keep going.
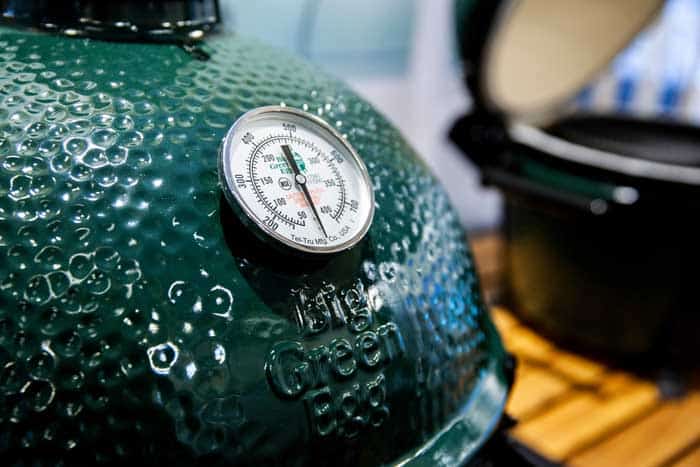
You should see the temperature on the built-in temperature gauge start to drop. Once the temperature falls below 400°F close the exhaust damper at the top of your grill, but leave it open ever so slightly to help prevent any smoke buildup.
Once the dome of the grill chamber is completely cool to the touch, you can cover it or remove the grill grates for cleaning.
It will take a while for the grill to cool down because Kamado grills tend to retain heat so well, especially the Kamado Joe Classic models.