A good grill thermometer is key to perfecting your grilled food. But not all grills come with one installed. Fortunately this can easily be worked around. Here’s my guide on how to install a thermometer on your grill.

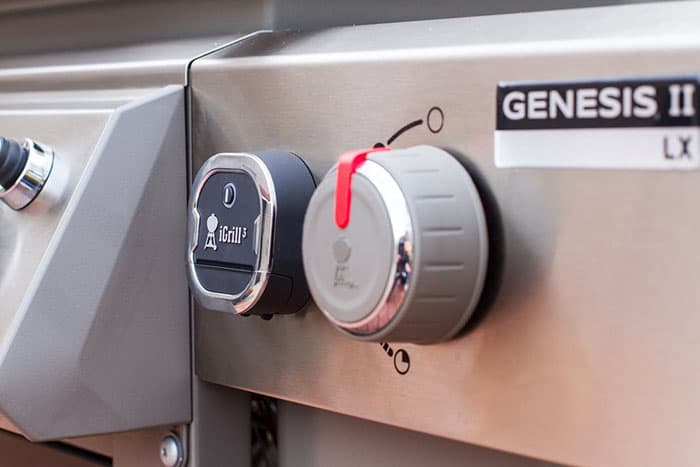
A lot of today’s modern grills come with already installed thermometers, whether they’re digital or analog. However this isn’t the case with all BBQ grills, particularly older models.
Getting an accurate read on your grilling temperature is crucially important though, so if your grill doesn’t already have a thermometer installed then I highly recommend getting one. Luckily, it’s not hard to do yourself.
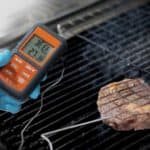
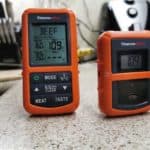
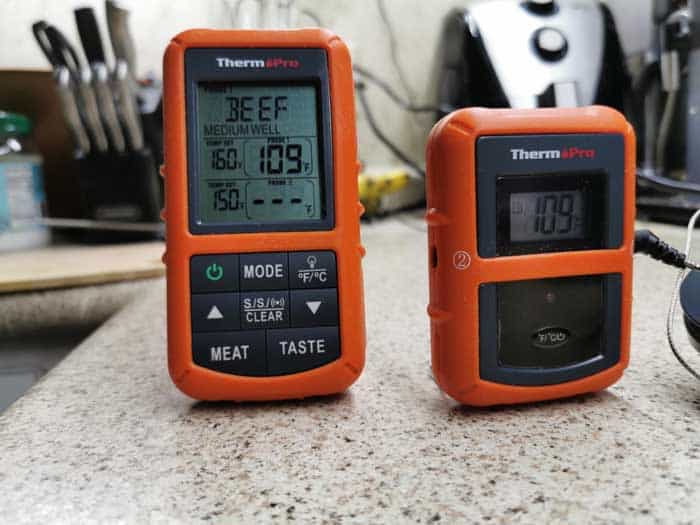
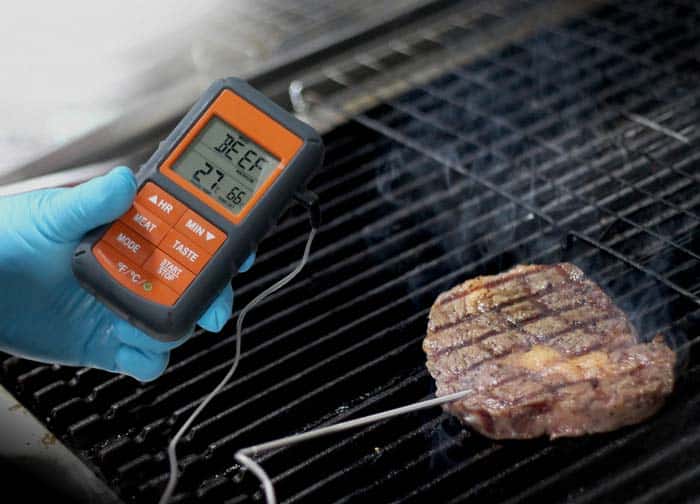
If you have a digital probe then these can be simply placed on the grill, or with the probe stuck in the meat. However with analog thermometers we need to install them into the lid.
In this guide, I’m going to show you how to do this with a charcoal kettle grill, and also a drop-in gas head.
You will need:
- A drill
- A ⅜ screw
- Ruseoleum’s high heat anti-rust spray (you can get it on Amazon here)
- An analog grill thermometer
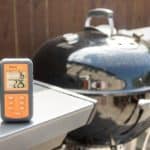
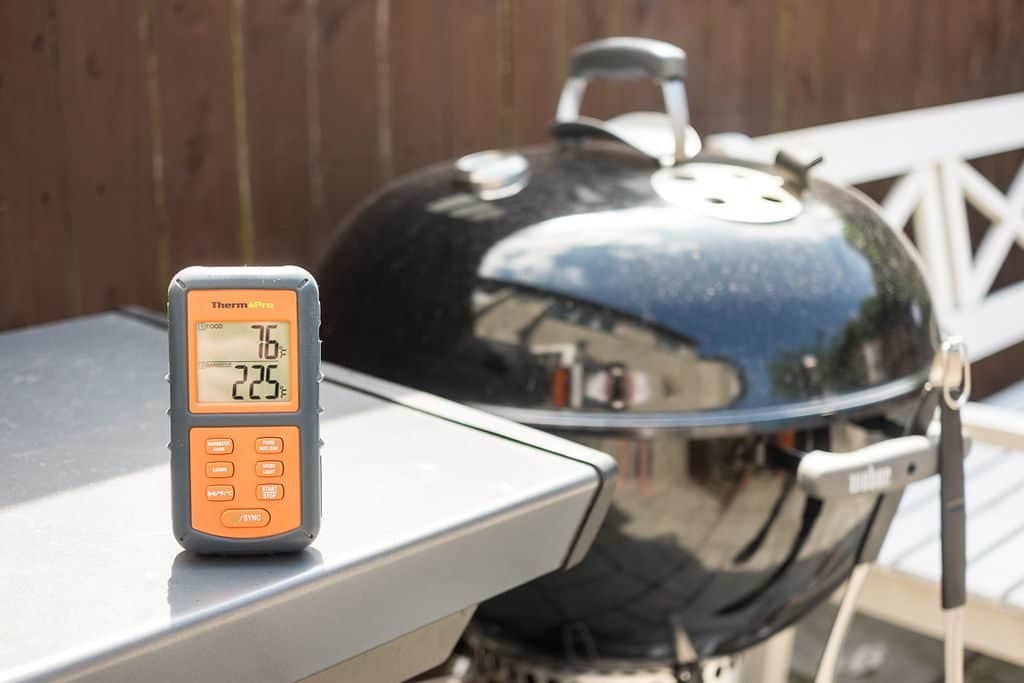
How to install a thermometer on a Weber Kettle Grill
If you have the older version of the Weber Kettle that didn’t feature the thermometer then here’s how to do it.
You’ll need a drill and a 3/8 sharp drill bit, as well as a thermometer. While a few analog thermometers could work well here, for the sake of simplicity and ease I’d recommend just getting a Weber thermometer. That way you know that it’ll fit.
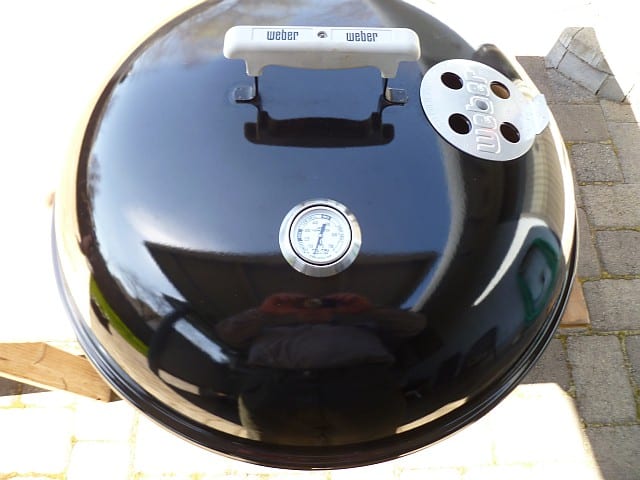
You then need to decide where to place it on your grill lid. We want to place it so that the probe end can be as close to the center and cooking surface as possible. This means not placing it directly above the center of the grill, but also not right by the rim of the lid.
I recommend trying to replicate the height placing of the vents, but on the other side of the lid. This is so that any airflow doesn’t disrupt the reading of the thermometer and give you an inaccurate read on the general internal temperature of the grill.
If you’re unsure then try consulting a picture of a Weber Kettle with thermometer in. I’d say that there is no ‘wrong’ position, but the closer you can place it so the probe can be near the center of your grill surface, then the better.
Carefully start to drill into the lid, making sure the lid is firmly held or locked down while you drill it. Drill slowly and with steady pressure so that you don’t damage any of the enamel beyond that of the hole you are drilling.
Once you have pierced the lid, carefully rub away any chipped enamel on both the inside and outside of the lid. This will help reduce any resistance when you insert your thermometer into the lid.
We then need to spray it with anti-rust spraypaint. This so that any of the scarring from the drilling won’t rust up. For this I use Ruseoleum’s high heat anti-rust spray, which you can find on Amazon here.
Just give it a couple of light sprays on each side of the hole. You might want to use tape on the outside to try and keep it neat, but that’s to you. Once you are done, leave the lid to dry.
Once it’s dry, slide your thermometer in, and fix it in place with the corresponding wing nut. Try to tighten it firmly in place, but be careful no to let it crack. And then you’re done!
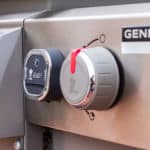
How to install a thermometer on a gas grill
While a lot of modern gas grills have built in thermometer systems, this isn’t always the case with older systems. Gas grills can be a bit more daunting due to their size and also the fact that you’re dealing with propane, but fortunately installing a thermometer on them is also quite straight forward.
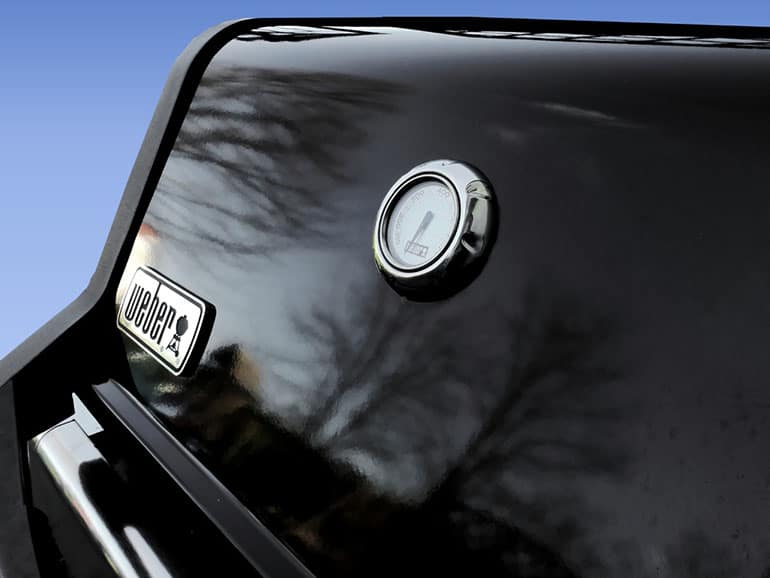
Close the hood of your gas grill and use a tape measure to find the horizontal centerpoint of the hood. Much like with Weber Kettle, we want the themomerter to sit in the hood so that its probe can be close to the grill surface and also the centerpoint. So you don’t want to install it too high up the lid, nor do you want it too low.
Once you decide on where you want to install it, use a marker pen to mark where you want to drill.
Use a drill with a 3/8 screw to drill. Be slow and firm, carefully trying not to damage any of the enamel beyond the hole that you are drilling
Use anti-rust spray (link above) to coat the rim of the hole in paint, which will help protect it from rust. Spray lightly with just one or two sprays on both sides. Leave to dry.
Once your grill lid is dry, insert your thermometer. Be careful here: If your probe has screw threads on it then you will need to be careful screwing it in without damaging either the the grill lid or the threading on your probe.
Attach the wing nut and screw on firmly.
How to calibrate your grill thermometer
As I said, accuracy is imperative when grilling. If you think that your thermometer isn’t reading temperature properly then you’ll need to recalibrate it.
This is quite easy to do thankfully. Remove the thermometer from your grill hood and using either oven gloves or pliers, hold the stem in boiling water.
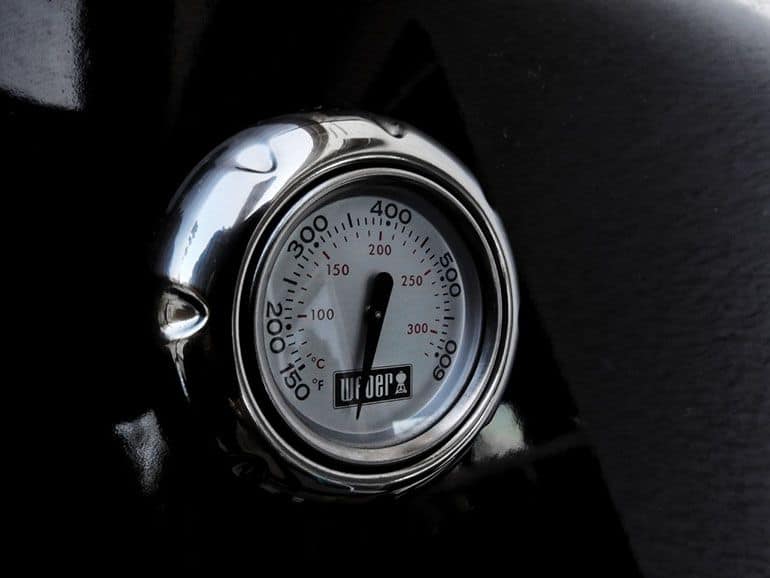
The dial needs to read as close to boiling point as possible (212°F/100°C). If it doesn’t read this then the stem can be rotated to help line it up close to the true reading.
This can be done by gripping the dial in one hand, and then using pliers on the stem to rotate it. You can then test it again in boiling water to see if the reading is any closer.