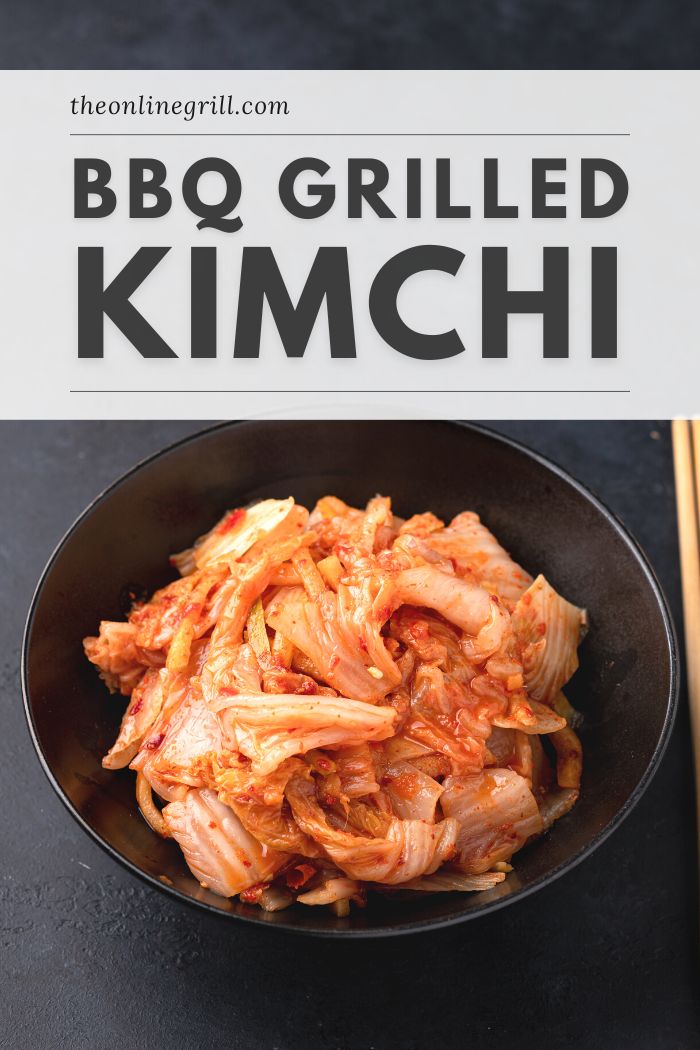
Check out this beautiful grilled kimchi recipe. Korean BBQ is one of the best versions of the cuisine, and while dishes like bulgogi might be what you think of first, grilled kimchi is a delicious way to make the most of the traditional Korean side dish.
Side dishes are the most underrated part of any good barbecue.
And while dishes like corn on the cob and fries might be most people’s go-to, it’s often the most unusual recipes that grab the headlines.
That’s why next time I urge you to give grilled kimchi a go.
Now, I know that kimchi might not be your first choice when choosing condiments, but hear me out here.
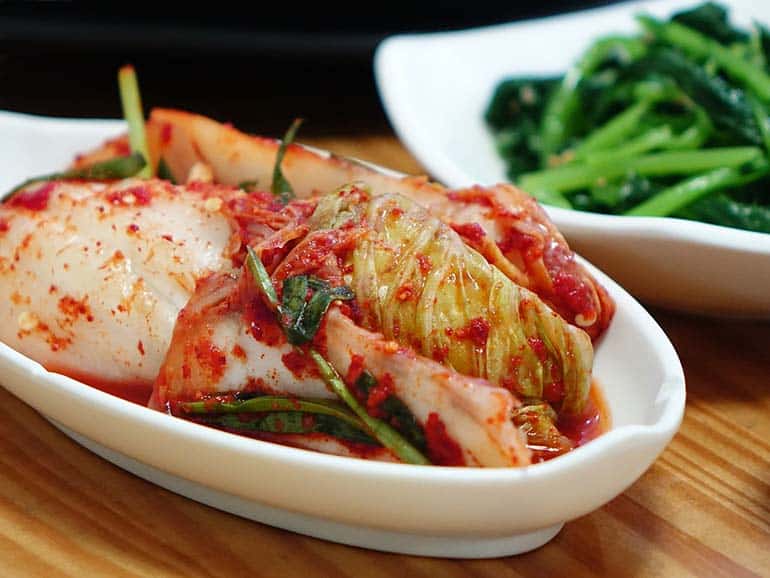
The fermented cabbage side is a Korean BBQ classic, and grilling kimchi gives it a whole new dimension of flavor. It goes sour and vinegary, to smokey and caramelized.
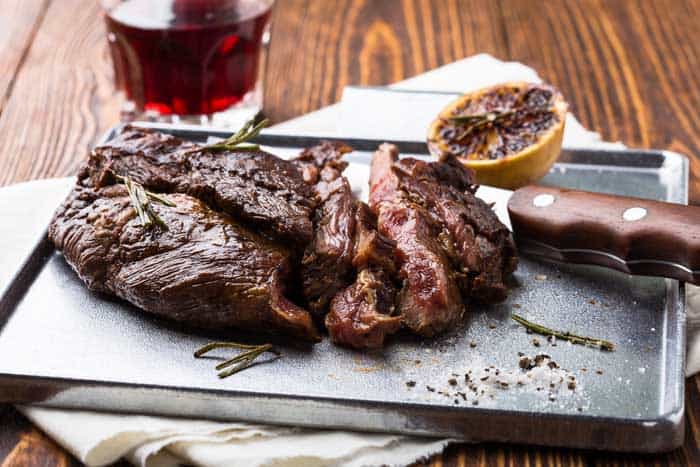
This makes it perfect for matching with almost any kind of meat, and can go great in burgers and grilled hot dogs, as well as sat on the top of BBQ grilled chicken or pork.
The best part is that it only takes a few minutes.
You simply throw a large serving of it on your charcoal BBQ grill, and grill on high for just 1-2 minutes on each side.
Here are some key tips:
1. Try to drain it as much as possible before throwing on your grill. This will help caramelize it better, while also reducing the risk of any flare-ups.
2. Grill the cabbage leaves in the kimchi individually. If you try to grill a large round of cabbage then it won’t grill properly.
3. Extra fermented kimchi will yield the best results. So if your kimchi if overly sour then this will actually makes for the best grilled kimchi.
If you haven’t made kimchi before then here’s a guide we put together a while ago on how to make it from scratch.
What is Kimchi?
Kimchi is a wonderful food native to South Korea, known for its punch. If you’ve never tasted it before then get ready for a taste explosion in your mouth.
This national dish of Korea is a traditional fermented food, and tends to serve as a side dish – known as banchan – to most meals in the country. Incredibly there over 300 variations of it! That means that there’s no escaping the dish over there! But you certainly wouldn’t want to.
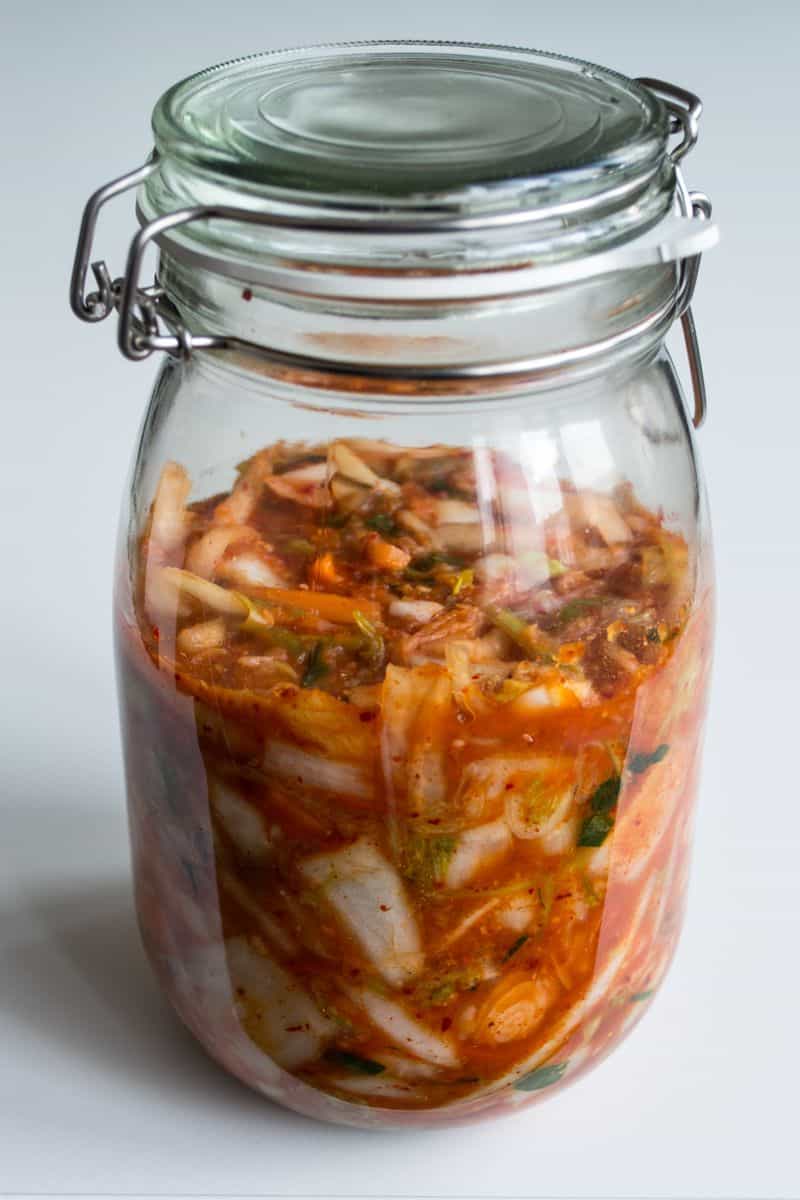
It’s a tangy, spicy, crunch dish, not too dissimilar to homemade sauerkraut or pickles, and can in fact go well with Western dishes like barbecued hamburgers, hot dogs or even sandwiches.
Kimchi’s is packed full of spices and vegetables, like napa cabbage and daikon radish, and is in fact lacto fermented. This means that it’s up to the eyeballs (no it doesn’t have eyeballs, don’t worry) with healthy probiotics to help boost your immune system and digestion.
Lacto fermented foods like kimchi have more than a hundred times more probiotics than most supplements.
In other words, it’s a superfood that goes with all Korean food… and it deserves a place in your diet!
Ready-to-eat kimchi is widely available, particularly in Asian supermarkets, but the majority of these are so loaded with artificial flavorings and preservatives that you’d be much better creating your own. Luckily, homemade kimchi is fresh, delicious and healthy!
How to Make Kimchi
There are a few key ingredients that you will need that are fairly unique to Korean food, and as such will require a trip to your local Asian supermarket. This is always a an opportunity to check out some of the wonderful things you can only get there… but perhaps that’s a post for another time!
You’ll need…
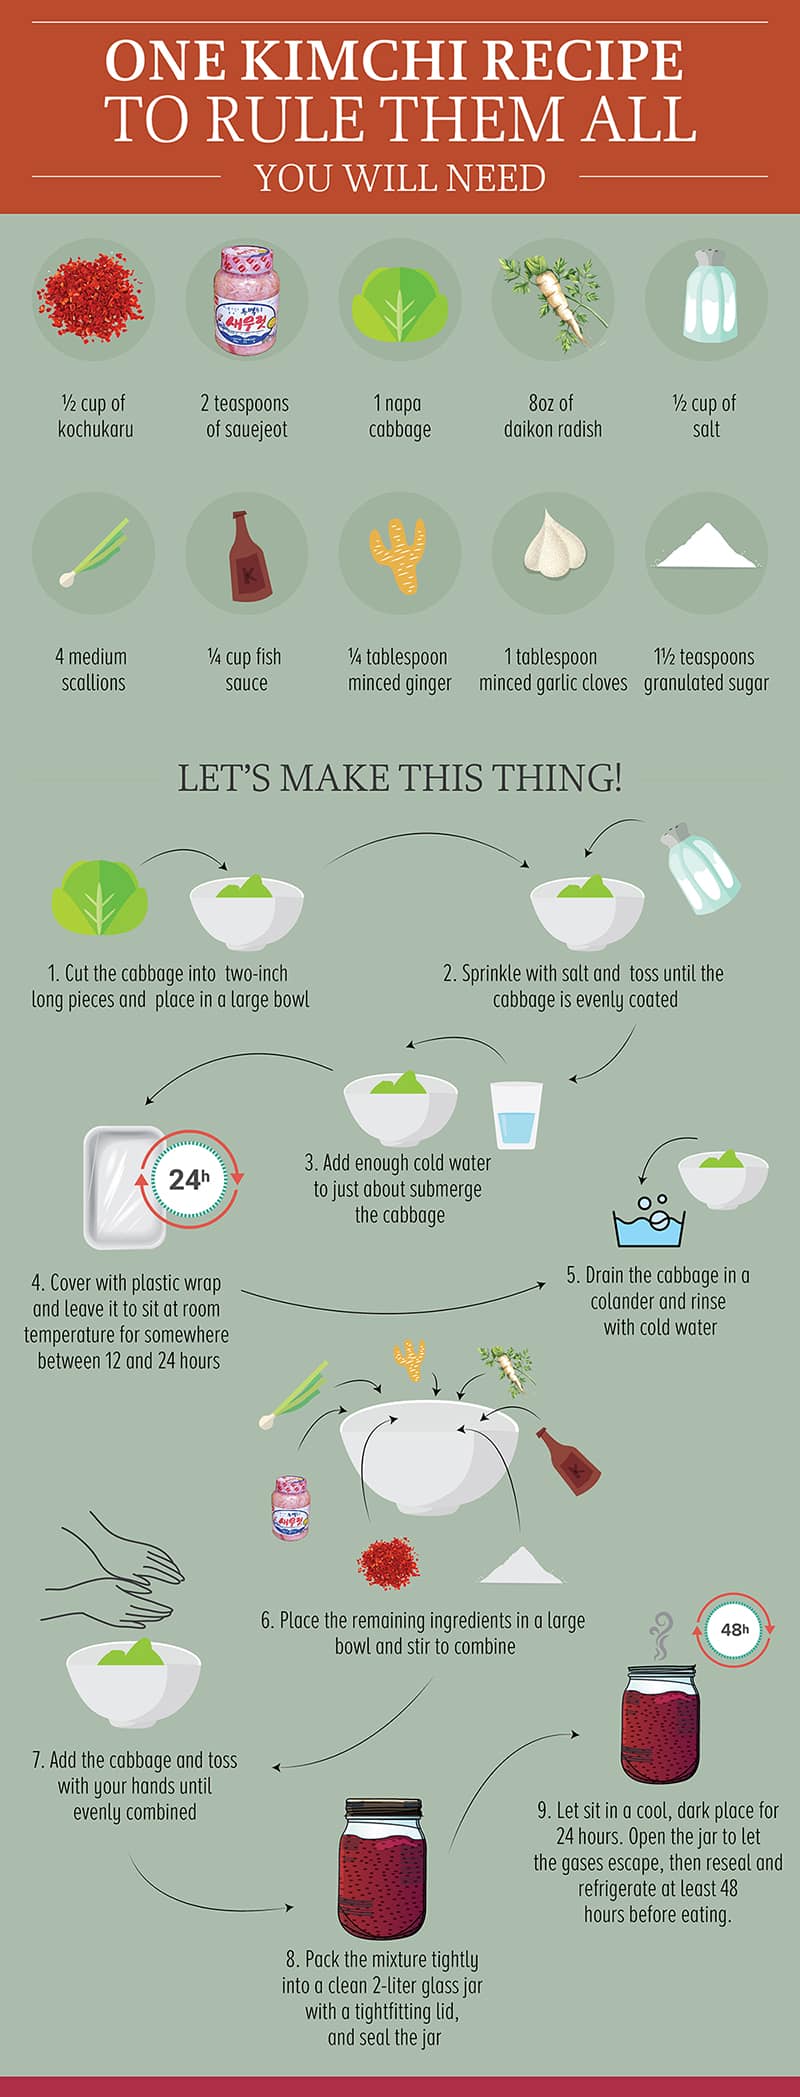
Half a cup of kochukaru
This is the crucial element in giving kimchi its spiciness! It’s red pepper powder and is usually available in different levels of spice, so choose one that suits your preference. Perhaps err on the side of caution though, as Asian food is known to pack a punch!
2 teaspoons of sauejeot
These are tiny, fermented shrimp that are usually available in jars. It might sound a little bit strange, but these disperse the unique flavour that gives kimchi its kick! Not to be missed out on.
1 napa cabbage
Sometimes known as ‘Chinese cabbage’, it’s easily recognizable as a slightly more oblong version of the kinds of cabbages that a lot of us are used to. South Koreans use napa for everything, and so we’re going to use it for our kimchi.
8oz of daikon radish
Daikon is magic stuff. It’s naturally spicy and tart, and so matches perfectly with the flavors we want to envoke with our kimchi. Also, for you health nuts out there: the white pigment in daikon is called anthoxanthin, which is an antioxidant that has been linked with lowering cholesterol and blood pressure. Prepare this peeled and cut into 2-inch-long sticks.
and also…
- Half a cup of salt
- 4 medium scallions, ends trimmed, cut into 1-inch-long pieces
- Quarter cup of fish sauce
- Quarter cup of minced ginger
- 1 tablespoon of minced garlic cloves
- 1½ teaspoons granulated sugar
and also…
Large glass jars
Ok, not an ingredient, but having these in your arsenal is crucial! I suggest liter-sized jars as the best way to go, with sealable lids to help aid the fermenting process.
Do not use plastic! The odors from the fermenting will stain the material and… just trust me… you don’t want that smell to linger. You also run the risk of the food being contaminated with bisphenol-A (BPA) and phthalates. Also, steer clear of anything metallic as the salts from the ingredients (including natural salts) could corrode the metal.
Plenty of time
You won’t be able to turn this stuff around on a whim; it takes a bit of planning and organization… but the payoff will be worth it! Start your batch about a week before you need it, and that will give it good time to ferment and be ready for use.
Here are some tips to help get the most out of your kimchi recipe:
- Use only fresh and organic vegetables
- Try to choose cabbages that are have densely packed leaves. The lighter varieties of the vegetable tend to turn into mush and won’t ferment well.
- Throw in some seaweed to increase the mineral, vitamin, and fiber content of your kimchi
- Try using a starter culture to prompt the fermentation process and to help make sure that your ferment gets packed with essential probiotics.
- Put the lids on the jars slightly loose, as they will expand due to the gases produced in fermentation.
So, on with the kimchi recipe!
Quick Tips
For this recipe we want to grill each kimchi leaf individually opposed to clumped together, or still as a whole cabbage. This is to ensure the best results, and to guarantee even caramelization across the leaves.
The best results will come from kimchi that has a pronounced sourness and will provide a flavor that’s deeper and richer.
CKC also recommends investing in a good grill basket, and I agree. We often use these for grilling vegetables, and kimchi leaves are no different. You can read my guide to the best grill baskets, or if you just want a simple recommendation then go for the Grillaholics Heavy Duty grill basket (Amazon link).
You can serve this alongside a lot of meat, particularly beef. You can also enjoy it in a grilled cheese sandwich (trust me, it works) or in a sausage sandwich or Philly cheesesteak. It’s much in the same vein as homemade sauerkraut in this context.
In my recipe below, I have also outlined a full kimchi recipe if you want to make your own. If you want to buy your own and want to skip straight to grilling, then feel free to jump ahead in the recipe.
Grilled Kimchi
Equipment
- Mason/fermenting jar, 2 liters
Ingredients
- ½ cup kochukaru
- 2 tsp sauejeot
- 1 napa cabbage
- 8 oz daikon radish
- ½ cup kosher salt
- 4 medium scallions ends trimmed, cut into 1-inch-long pieces
- ¼ cup fish sauce
- ¼ cup minced ginger
- 1 tbsp of minced garlic cloves
- 1½ tsp granulated sugar
Instructions
To make the kimchi from scratch
- Cut cabbage into 2-inch long pieces and place in a large bowl
- Sprinkle with salt and toss until the cabbage is evenly coated
- Add enough cold water to just about submerge cabbage
- Cover with plastic wrap and leave to sit at room temperature for somewhere between 12 and 24 hours
- Drain cabbage in a colander and rinse with cold water
- Place remaining ingredients in a large bowl and stir to combine
- Add the cabbage and toss with your hands until evenly combined
- Pack the mixture tightly into a clean 2-liter glass jar with a tightfitting lid, and seal the jar shut
- Let sit in a cool, dark place for 24 hours. Open the jar to let the gases escape, then reseal and refrigerate at least 48 hours before eating
To grill the kimchi
- Heat grill to high. Drain or squeeze he kimchi leaves of any excess liquid
- Place each kimchi leaf on grill spaced out. You may need to do this in batches in order to accommodate all the leaves.
- Grill each leaf until you have achieved sear marks on one side of the leaf.

